Posted in Children, God Loves Me!

Children’s Sermon: Matthew 5:4 (Beatitudes)

unnamed-image
My Nannie’s prayer shawl, gifted to her by the Franke at Seaside Prayer Shawl Ministry when she broke her shoulder.

Blessed are those who mourn, for they shall be comforted.

Scripture: Matthew 5:4 – the second Beatitude

Props: something you have that someone else gave you as a gesture of comfort

This morning we are continuing to study the Beatitudes, what Jesus said at the Sermon on the Mount. Today’s focus is on this sentence: Blessed are those who mourn, for they shall be comforted.

What does “mourn” mean? Sad, someone died, someone lost something important

What does is look like when we see someone mourning? Crying, falling to the ground, wearing black

And we see and read right here that Jesus said that those who mourn will be comforted. Now, I’m a linguist, and that’s about the highest kind of English grammar teacher. And, like a lot of sentences in the Bible and many other books, when I read today’s beatitude, my brain fills in some gaps. Here’s what my linguist brain reads:

Blessed are those who mourn, for they shall be comforted BY WHOM? Someone had to do the comforting, right?

Let me tell you about this blanket I brought with me today. It’s not actually a blanket but a prayer shawl, my Nannie’s prayer shawl. You see, there’s a group of ladies who love to knit and they love to pray, and many years ago, they started to pray comfort and peace and help into every stitch they knit. And then they gave the prayer shawls to ministers and doctors and caregivers to give to people who had broken bones or really bad illnesses in the hospital or at home. These knitting ladies don’t know who will get the shawl and their prayers; all they need to know is what Jesus promises in today’s scripture: that someone is mourning and deserves comfort.

And when my Nannie put this shawl around her shoulders (demonstrate with your own shawl), she could hug herself and it was like getting a hug from God and Jesus and wonderful people who cared that she needed help not being so sad anymore.

Now when you see someone mourning – who is crying or sad or hurt – who is here to give them comfort like a hug? God – yes, God gives us comfort, but does he have arms? Jesus – oh, definitely, but he’s not here on earth anymore. Who did Jesus leave to keep giving out hugs? US! Yes, US! We are all part of this one sentence in the Bible – whether we are the sad person who needs comfort or the person sees a need and gives a hug or prayer for comfort.

I’ll ask you to pray with me and think – believe – that someone here in the church today is sad and probably needs some comfort:

Dear God, Thank you for reminding us to look for and see who needs comfort. We will hug the people we can read and ask you to send hugs to the ones we can’t reach with our arms. And we ask you to bless us when we are sad and lost with hugs and prayers of comfort. Amen.

Children’s Sermon delivered at Palmetto Presbyterian Church in Mt. Pleasant, SC, on Sunday, February 5, 2017.



Posted in Being Healthy, Children, Cooking

BuzzFeed Recipe Trial: 4-ingredient Chicken Bake

On January 29, 2016, I shared BuzzFeed recipe video below on my Facebook feed with a note to use the kale from my local CSA share to make this for Sunday dinner. And I did. And paired it with simple salt-and-pepper thin spaghetti noodles.

HUGE hit! Takes maybe 5 minutes to layer in the casserole dish (line with aluminum foil to make clean up faster and easier too), and it turned out to be a GREAT way to HIDE VEGGIES from my guys because what they saw looked like pizza on top of chicken. They just thought it was all chicken-y cheesiness and AWESOME.

https://www.facebook.com/plugins/video.php?href=https%3A%2F%2Fwww.facebook.com%2FBuzzFeedVideo%2Fvideos%2F1826534510820756%2F&show_text=0&width=560

I’ve made this several times since that first weekend dinner with the following variations:

  • frozen chicken with fresh toppings – little bit juicier in the bottom of the pan, but otherwise no difference; the breasts were small and thin, and took 45 minutes
  • cubed chicken breast and everything layered more like a casserole for more servings, and baked directly over cooked penne pasta in the casserole dish; same temp and time as original recipe
  • “Mexican” style using canned chopped chilis and pepper jack cheese, still using the sliced tomatoes
Posted in Everyday Musings

LinkedIn’s Programmers are Missing the Mark

LinkedIn tells me I’ve been a member (aka, had a free profile) since January 25, 2010. Twice I’ve subscribed to the job seeker upgrade ($19.99/mo) when exploring career change opportunities. Once, for an extended period of time, I joined groups and mined connections in an effort to populate a list of prospective clients for an employer.

Two of the features that made the connection mining successful were Notes and Tags.

  • With Notes, I could identify how I found or knew the connection and what communication exchanges we’d had.
  • With Tags, I could create a collection of features by which to define each connection that would make it easy for me to search for smaller subsets of clients based on what my employer-at-the-time was focusing in sales and products.

linkedin-notes-and-tagsAnd today, January 11, 2017, LinkedIn sent me an email to tell me, since they know I use Notes and Tags, that they are discontinuing the two features but that, if I subscribe to their new service Sales Navigator, I’ll still be able to capture similar information.

I’ve watched LinkedIn struggle to find/create an identity for itself as part of the rise of social media. But its continued attempt to be both a sales CRM, competing with giants like Salesforce and Zoho, and an ATS, competing with giants like Indeed and iCIMS, while providing no content filters to minimize political, entertainment, and personal ad posts is crippling this platform.

Yep, I said it. LinkedIn’s programming and development priority towards revenue-generating strategic repositioning should be to create and implement an automated and a manual system for filtering content.

Posted in Cooking, corn free, gluten free, nut free, soy free

Pantry Magic: Chicken Enchiladas

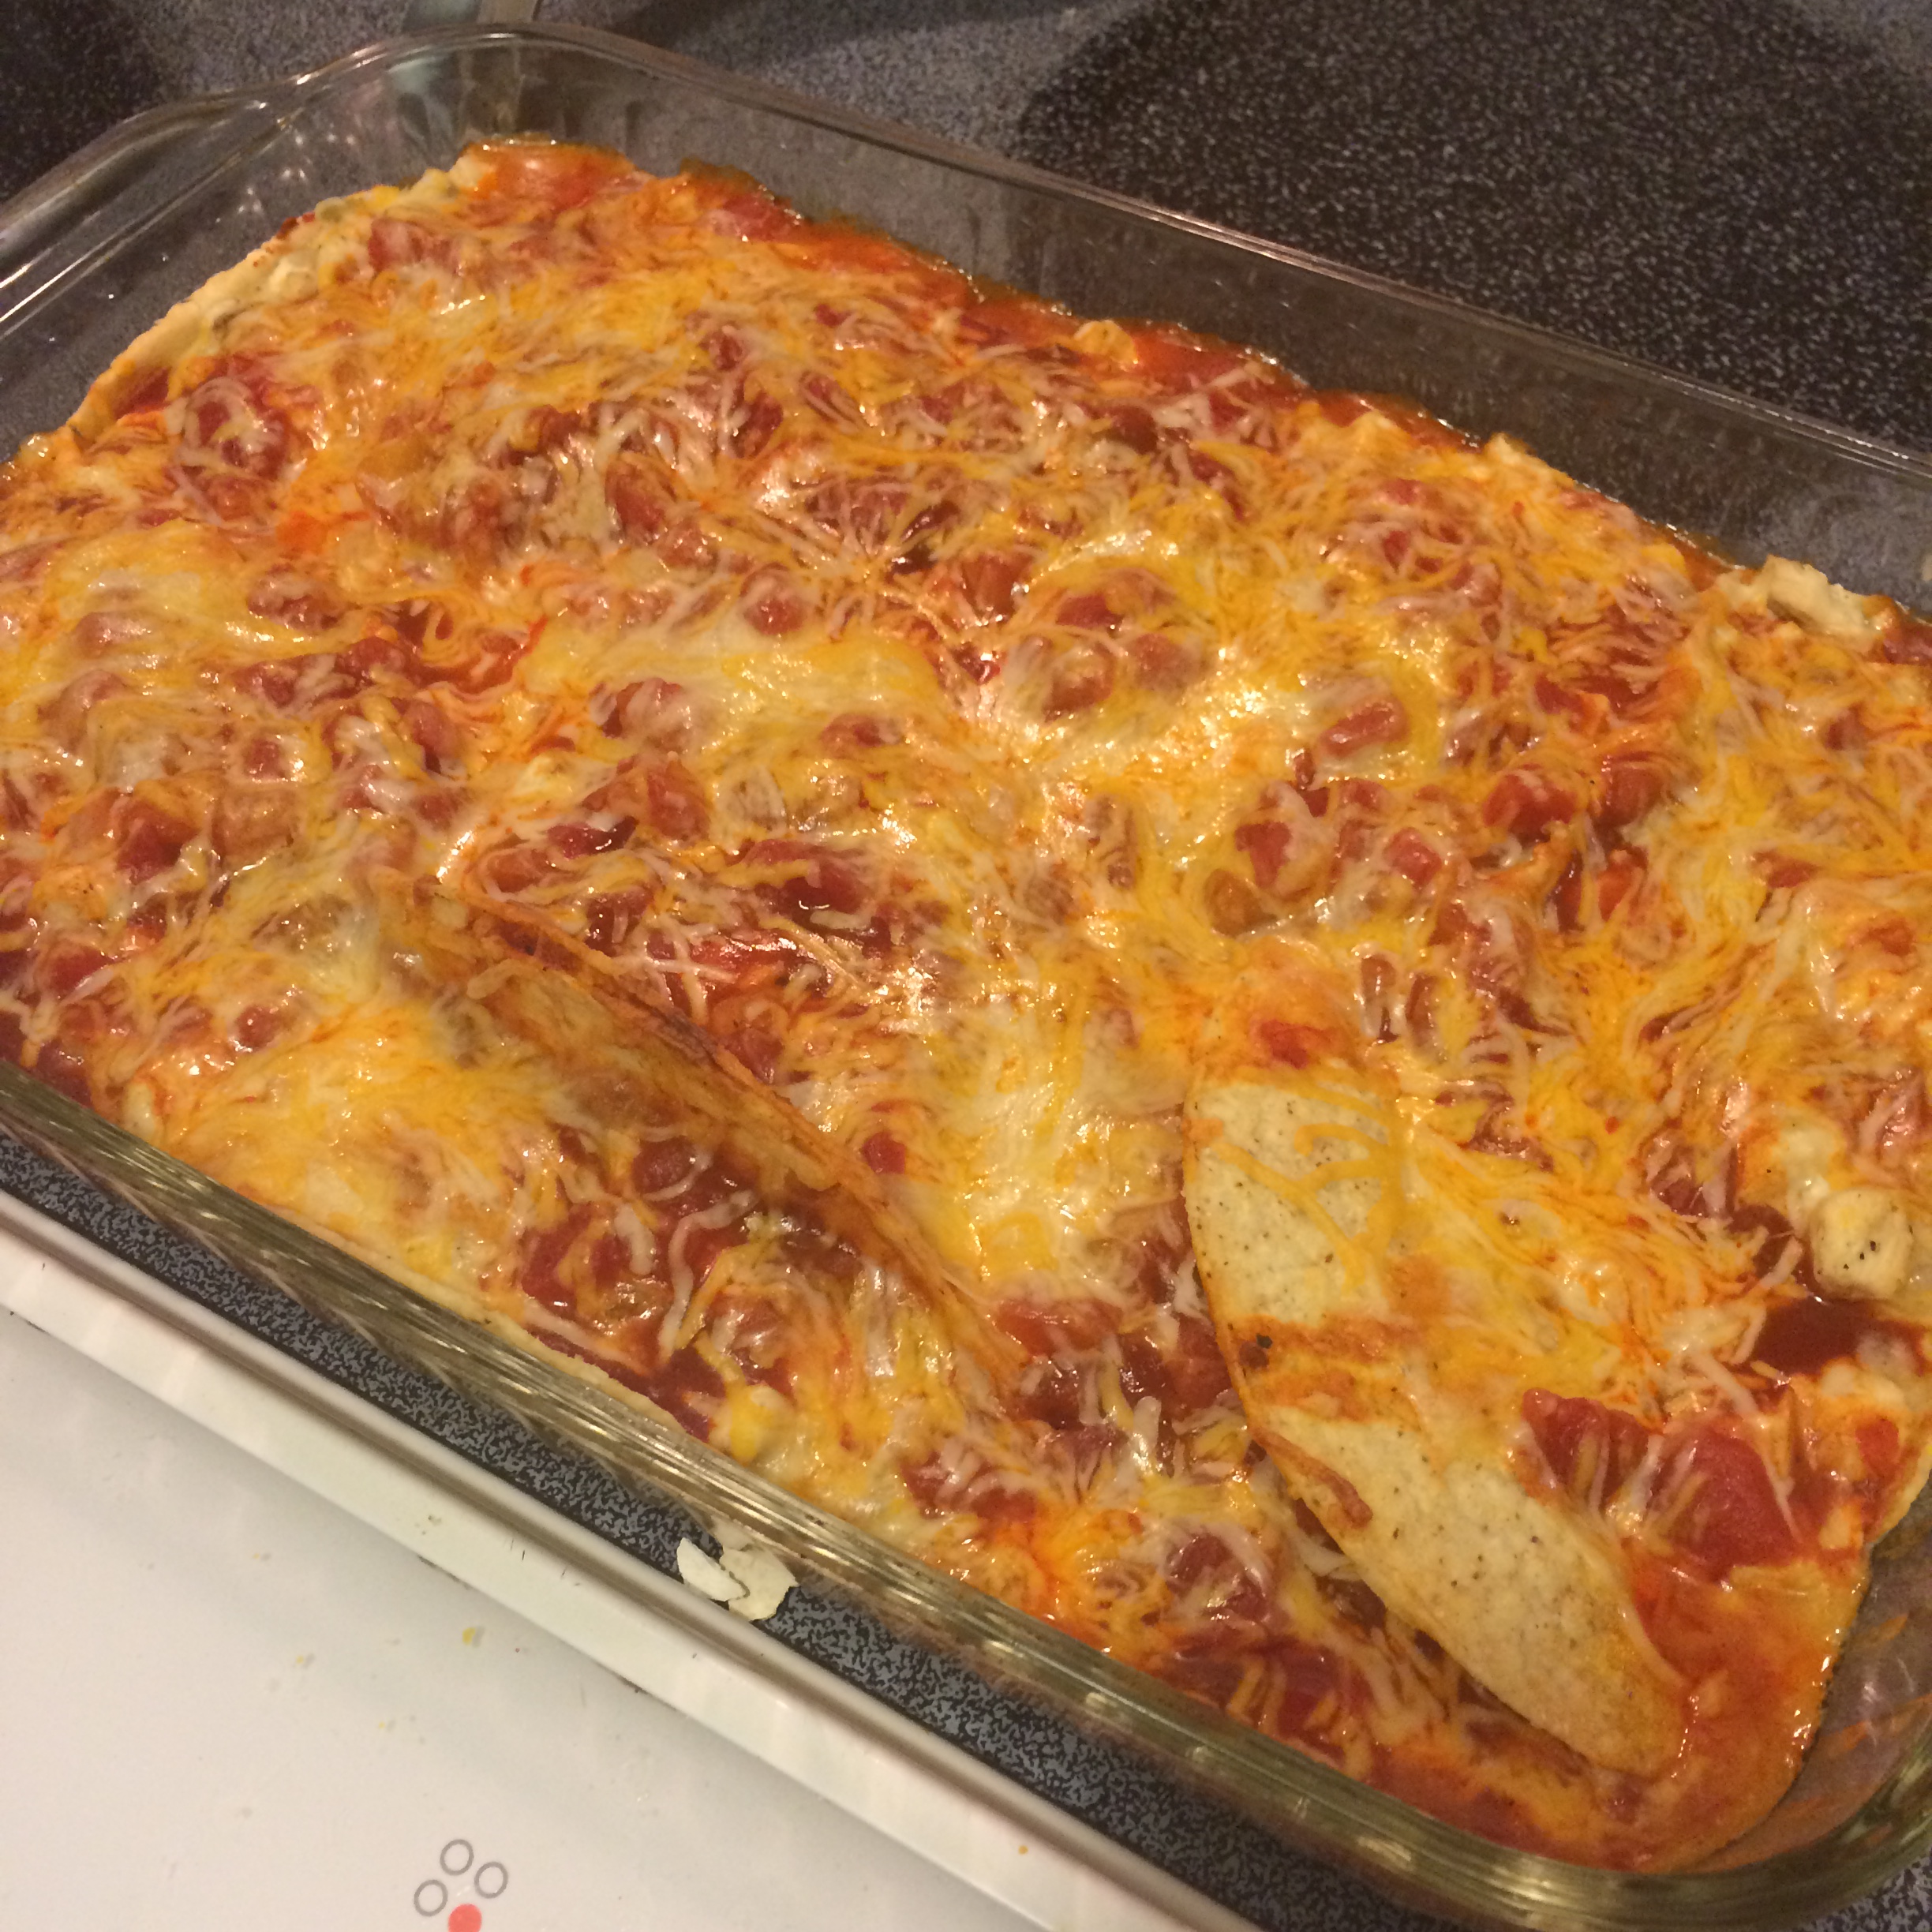
img_1458The request: chicken enchiladas.

The problem: no one shopped for enchiladas this week.

The pantry, fridge, and freezer produce the following:

  • frozen chicken breasts and thighs
  • frozen turkey stock from Thanksgiving
  • bag of Mexican blend shredded cheese
  • half a wheel of Mexican fresco crumbly cheese
  • an absurd number of cans of chopped chiles
  • 1 can of refried beans
  • 1 can of enchilada sauce
  • 1 can of Rotel tomatoes
  • 1 baggie of leftover soft tortilla boats and crunchy corn taco shells

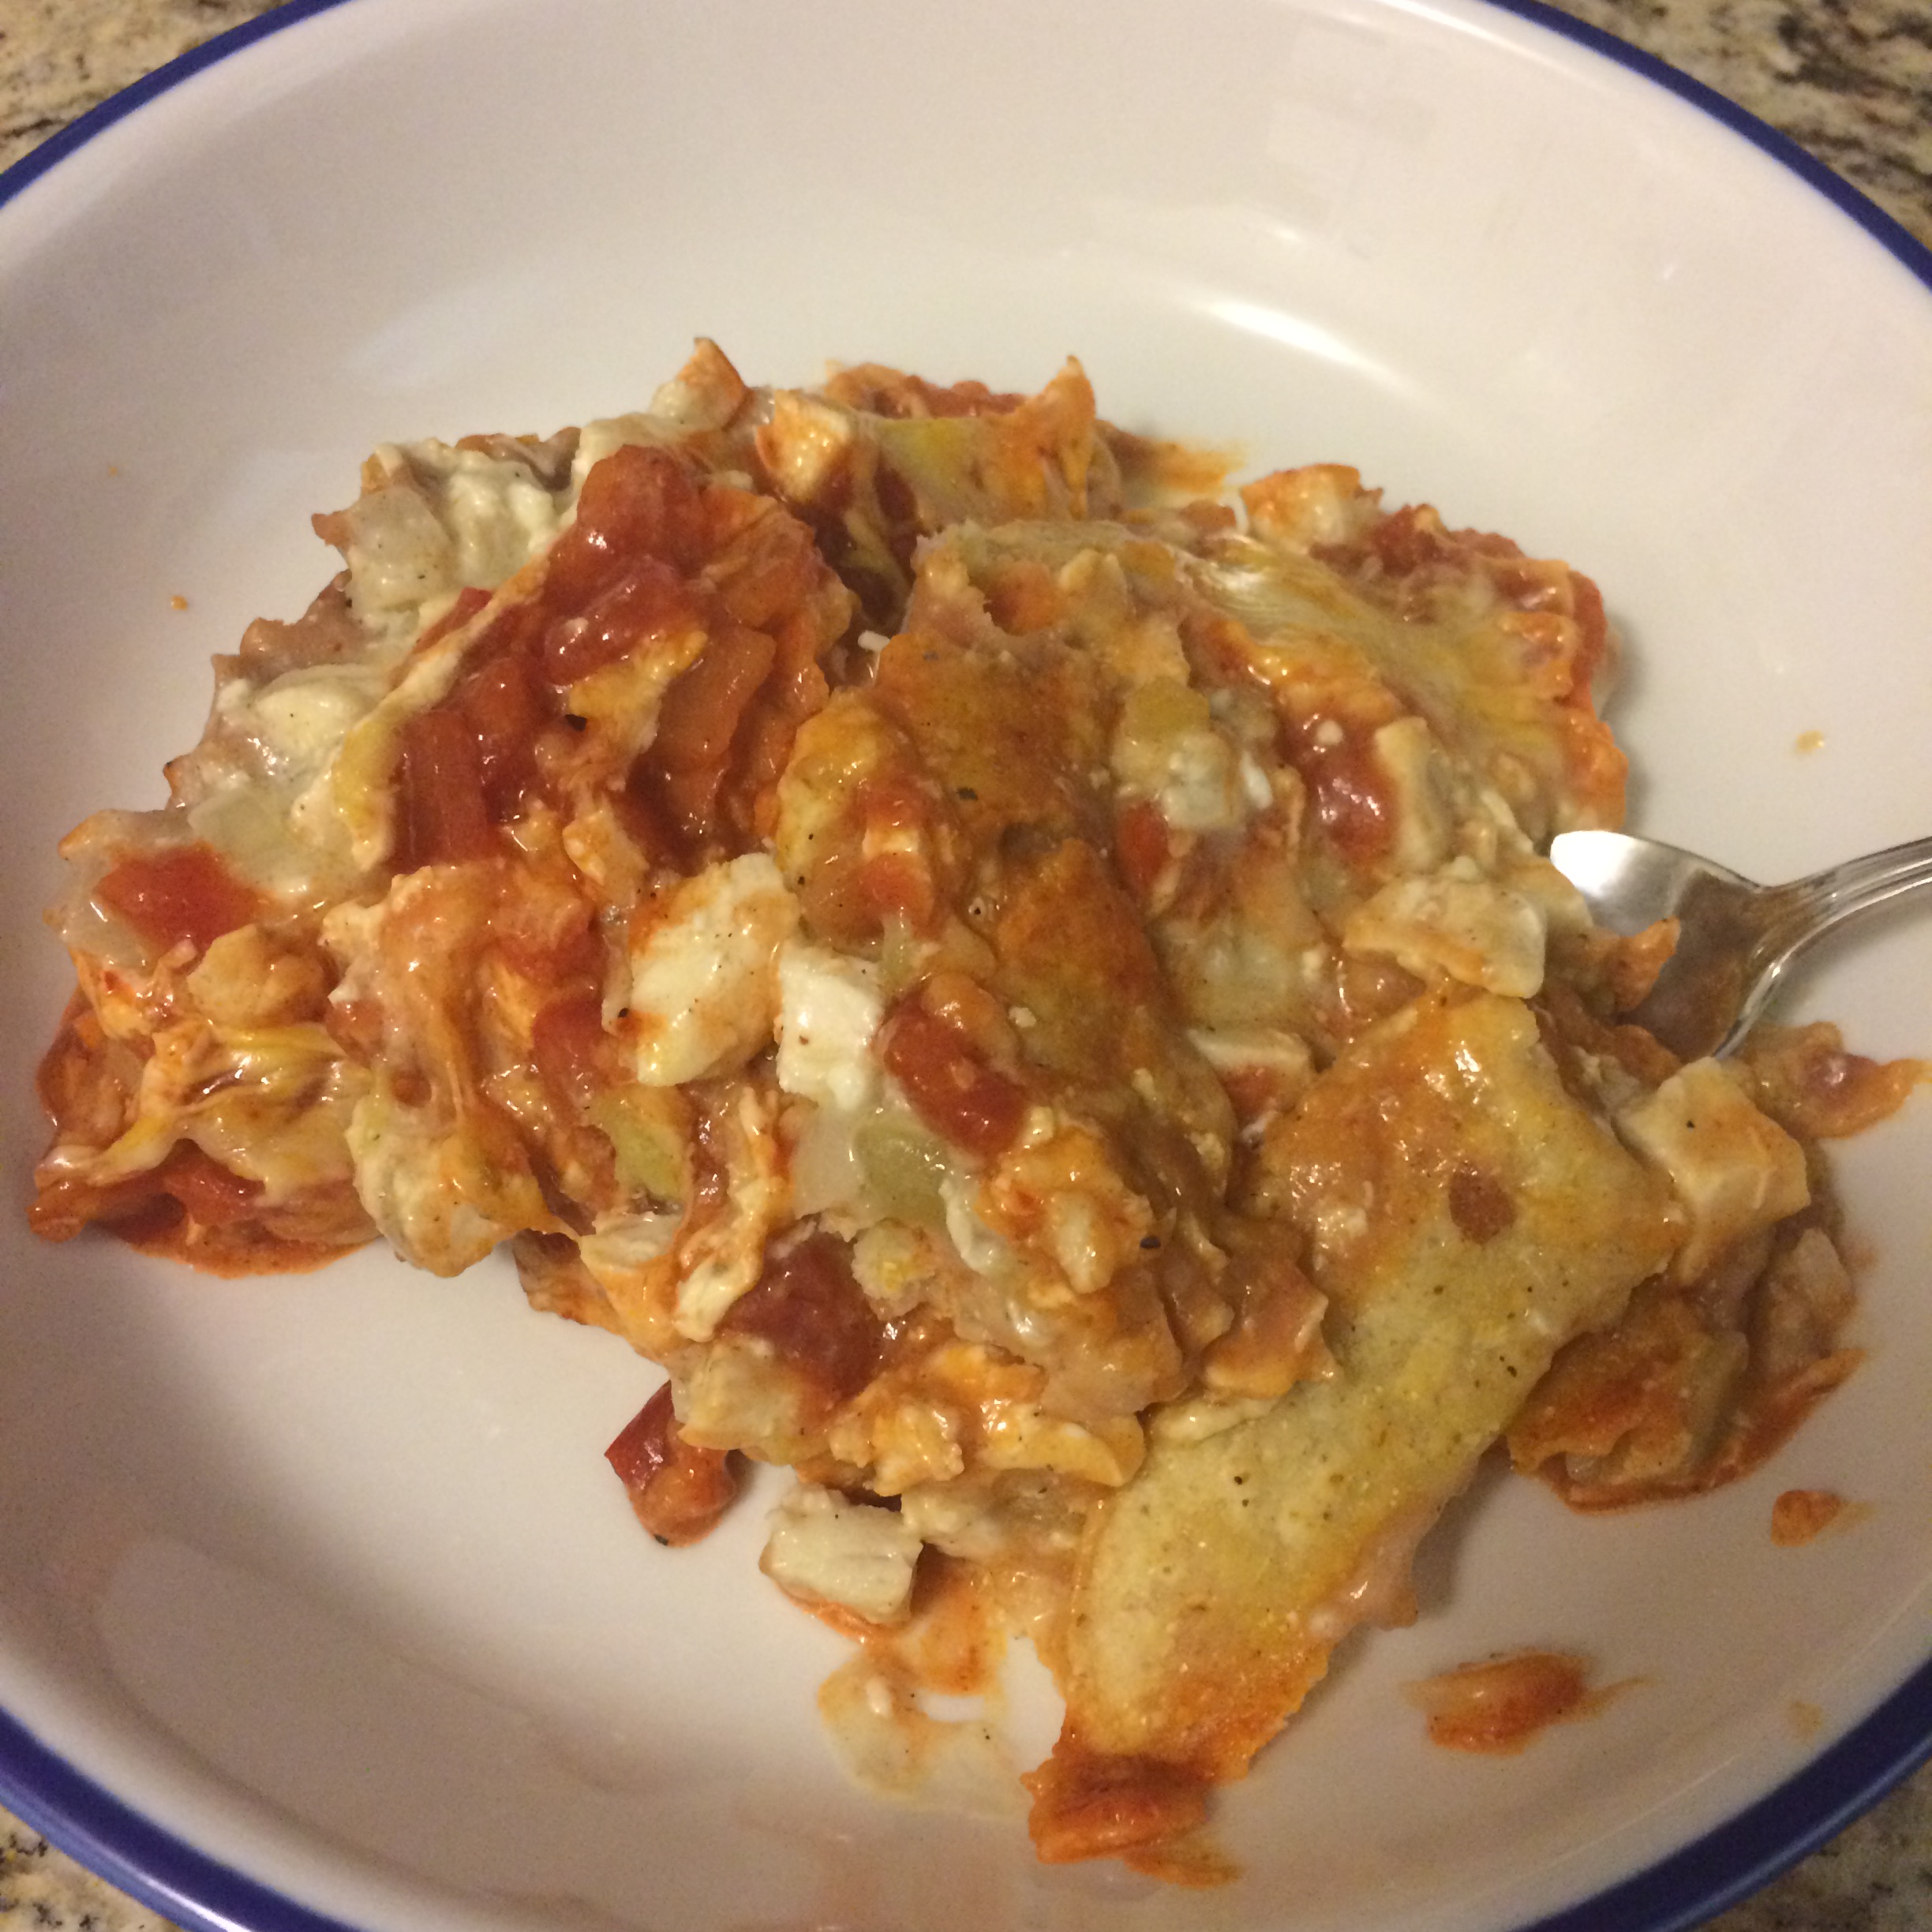
And with this, I made the requested chicken enchiladas!

NOTE: while this particular collection of ingredients includes gluten and corn elements, it’s super easy to make this both corn and gluten free with homemade or Pacific stock and Harris Teeter Naturals refried beans or Natural Value organic refried beans. So far there are no flour tortillas that are both gluten free and corn free, and many contain soy. This is a great time to try your hand at making your own GF/CF flour tortillas with one of the many flour-based or cauliflower tortilla recipes available online; it’s a simple and quick process! I get around the tortilla issue by baking a small dish of the filling and eating over rice; it’s a great way to use up leftover rice from a previous meal or even takeout.

Boil the chicken for 15 minutes if boneless or a good 30 minutes if bone-in. While it’s boiling, get out a casserole baking dish and lay out the soft taco boats and the crunch taco shells so that you get the most in that you can. I was going for 8 taco boats and 6 taco shells. Since the chicken is still boiling, smear a spoonful or so of refried beans in the bottom of each boat and shell; add/repeat until you’ve used the whole can.

Should be close to time to drain and cool and shred the chicken.

Saute 1 chopped onion and 1-2 cans of green chopped chiles, no oil necessary. Yes, you can use fresh chiles, but this is about using what’s in the pantry and not having to go to the store to make dinner.

Whisk 1/4 cup all purpose flour (gluten free all purpose flour works too) with 1/4 cup of your favorite cooking oil or melted butter in a bowl and add the blend to the sauce pan on top of the onions and chiles on medium until the mixture bubbles briskly. Add 1 cup turkey stock (or chicken or vegetable stock from a can or box) and 1/2 cup of milk (unsweetened, not vanilla almond milk or soy milk will work, but not rice milk). This will make a “white sauce” or loose turkey gravy. Add about a cup of cheese and stir until completely blended; I’m using the crumbly fresco cheese.

Mix the shredded chicken into the pot.

Spoon the mixture into each boat and shell until you’ve used it all. If you’ve got some leftover, pour it into a small baking dish to serve over rice or dip with chips.

img_1459Top each boat with one or both of the enchilada sauces. I prefer the green, but we only had a small can of red enchilada sauce.

Sprinkle up to 2 cups of shredded cheese on top.

Bake at 350° for 15-20 minutes to get the enchilada filling good and bubbly and all of the cheese topping lovely and melty.

Sometimes it really is that simple. Ugly, but incredibly yummy!

Posted in Cooking, gluten free, nut free, soy free

Faux-sagna: Lasagna with help from Cheese Ravioli

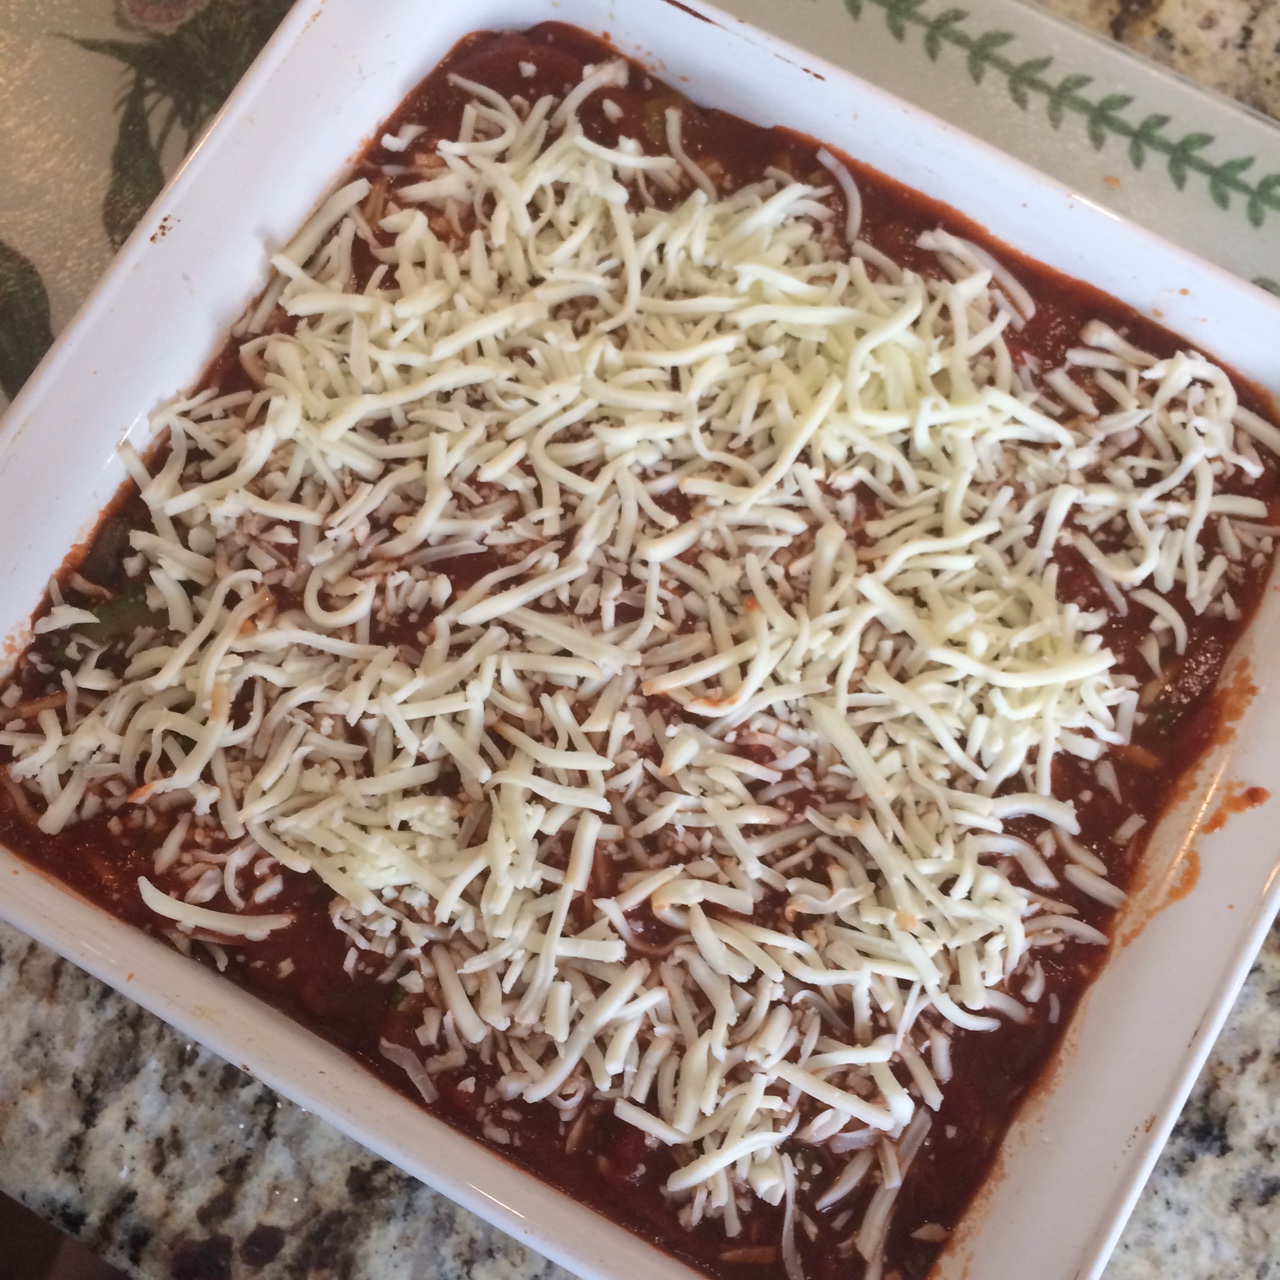
img_1455I’m not anti lasagna noodle – whether the traditional cooked kind or the no-cook kind. But when I can combine two steps in the mixing and layering into just one, it makes assembling a lasagna so much easier.

And when you add using the delicious Celentano frozen gluten free cheese raviolis, you’ll have a wonderful, luscious lasagna to enjoy.

Today’s faux-sagna is vegetarian, makes 4 servings, and will be my lunch for this week:

  • 1 bag of Celentano frozen gluten free cheese ravioli
  • 1 jar of organic marinara (I’m using Publix Greenwise Roasted Garlic marinara)
  • 3 cups of chopped vegetables that you like (I’m using onion, tri peppers, mushrooms, and zucchini)
  • 1T preferred cooking oil (I use Pompeian Grapeseed Oil)
  • 2-4 cups shredded mozzarella (I’m using Publix shredded part-skim, low moisture mozzarella)

Boil your ravioli according to package instructions; drain and let hang out in the colander – it won’t hurt a thing.

Onions, tri peppers, mushrooms, zucchini, and garlic.

In the same pot you boiled the ravioli, heat 1 T cooking oil on medium and drop in all of the veg at once. Lightly salt and pepper your veg and cook for 15-20 minutes until onions are translucent, peppers and mushrooms are darker in color, and zucchini slices are soft and fold easily. Remove from heat and prepare to layer.

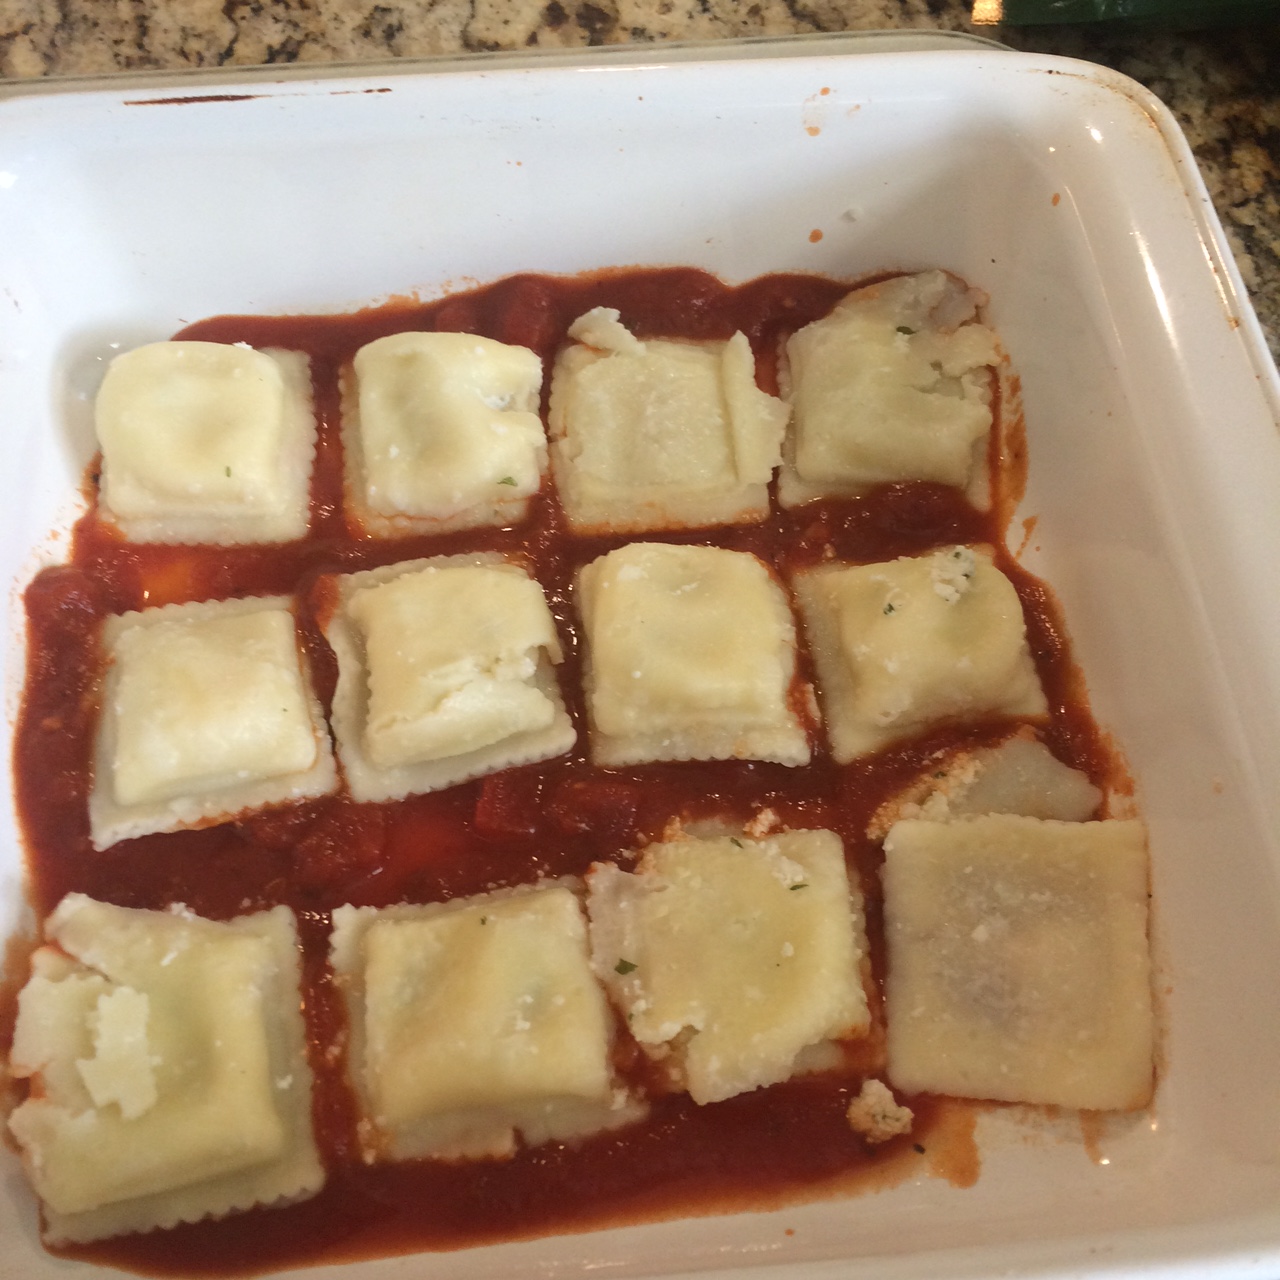
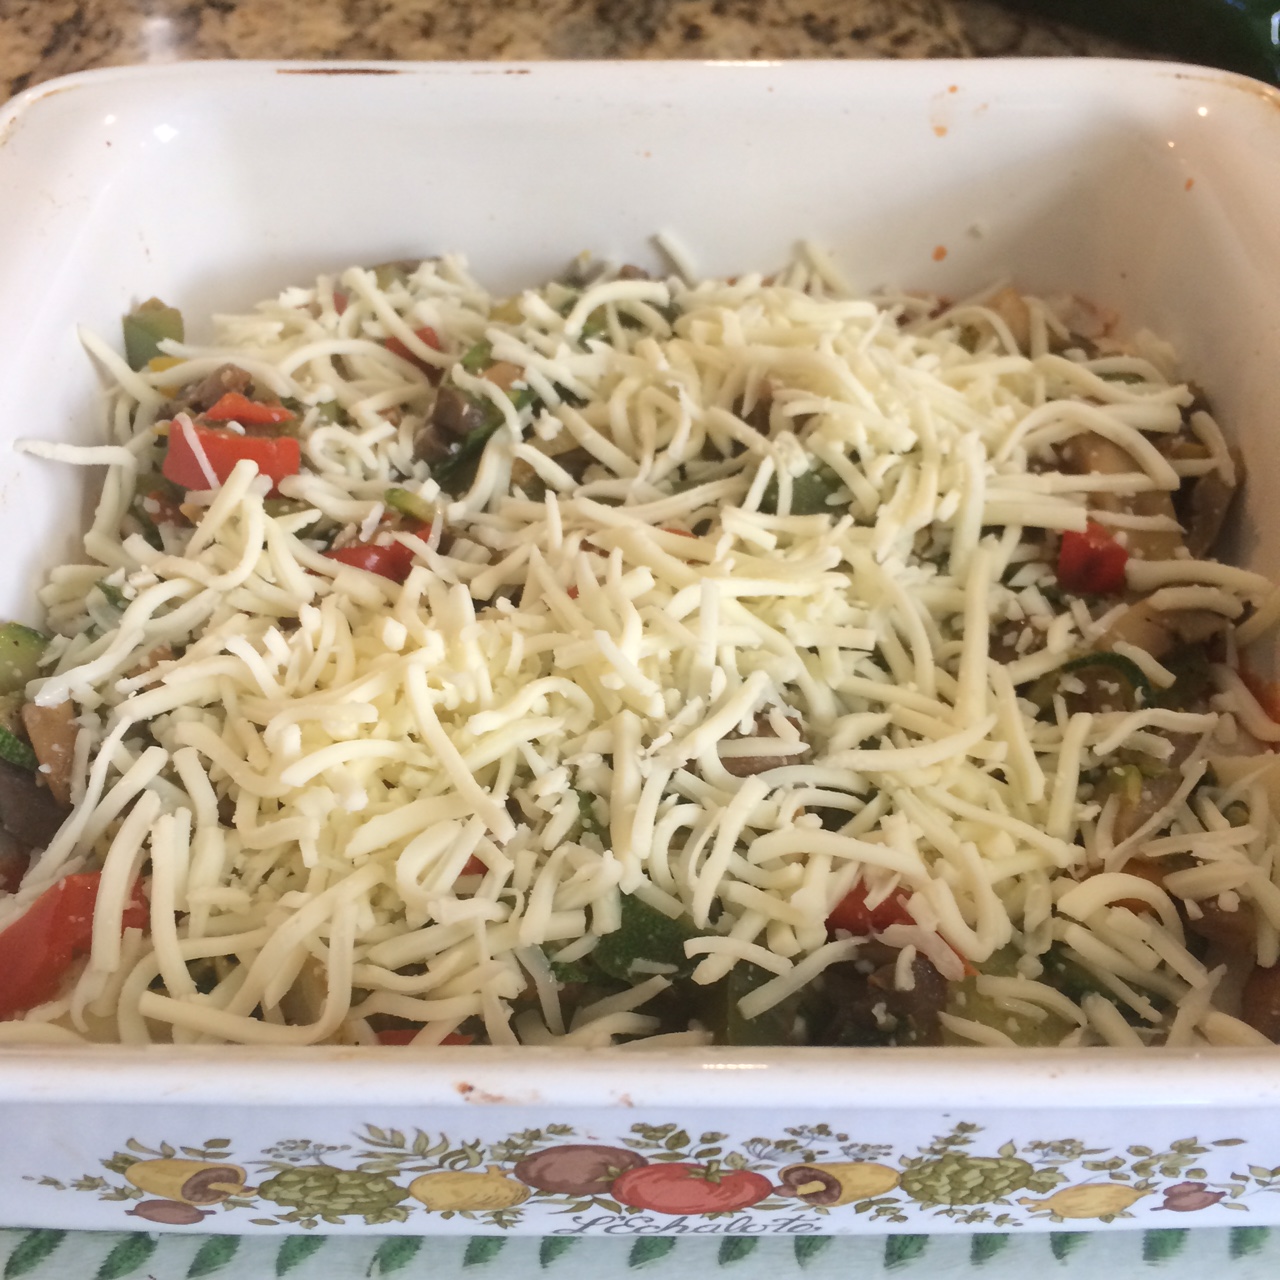
My layering protocol is (from bottom to top of an 8×8 or 9×9 baking dish):

  • Layer 1 of Raviolisauce
  • ravioli (12 pieces)
  • veg
  • cheese
  • sauce (use a spoon to tamp down the lumps and smooth out the surface for beginning the next layer)
  • ravioli (9 pieces)
  • veg
  • One full set of layerscheese
  • sauce
  • cheese

Before topping with that last layer of cheese, use a spoon to tamp down the lumps and smooth out the sauce, making sure the sauce goes all the way to the edges. That’s key for ensuring the pasta doesn’t dry out when you bake it.

TIP: make sure you get all of the sauce out of the jar by adding 1/4 cup of red wine or balsamic vinegar. Cap the jar and shake well. Pour the sauce and liquid right on top of the lasagna.

Remember, as long as you get it all in the pan and you’ve got a layer of ravioli stabilizing it at the bottom, your layering game can’t be wrong.

Full to the top and ready to bake!If I’m planning to eat the first serving the same day I make it, I’ll pop it into the oven to melt the cheese and blend the flavors at 350°F for 20 minutes. Otherwise, it goes in the fridge until I’m ready, when I’ll cook it at 350°F for 30 minutes – it takes a little longer when it comes straight from the fridge. After the initial cooking, I’ll heat individual servings on a plate in the microwave for 2 minutes, check, and then perhaps 1 minute more, depending on the microwave strength.

Why this isn’t corn free:

  • the Celentano gluten free pasta uses blends/ingredients that contain corn starch, the BIG BAD dextrose (aka corn syrup), and white vinegar
  • all pre-grated cheeses contain corn starch, which is used to keep the shreds separated
Posted in Cooking, corn free, gluten free, nut free, soy free

Cream of Mushroom Soup

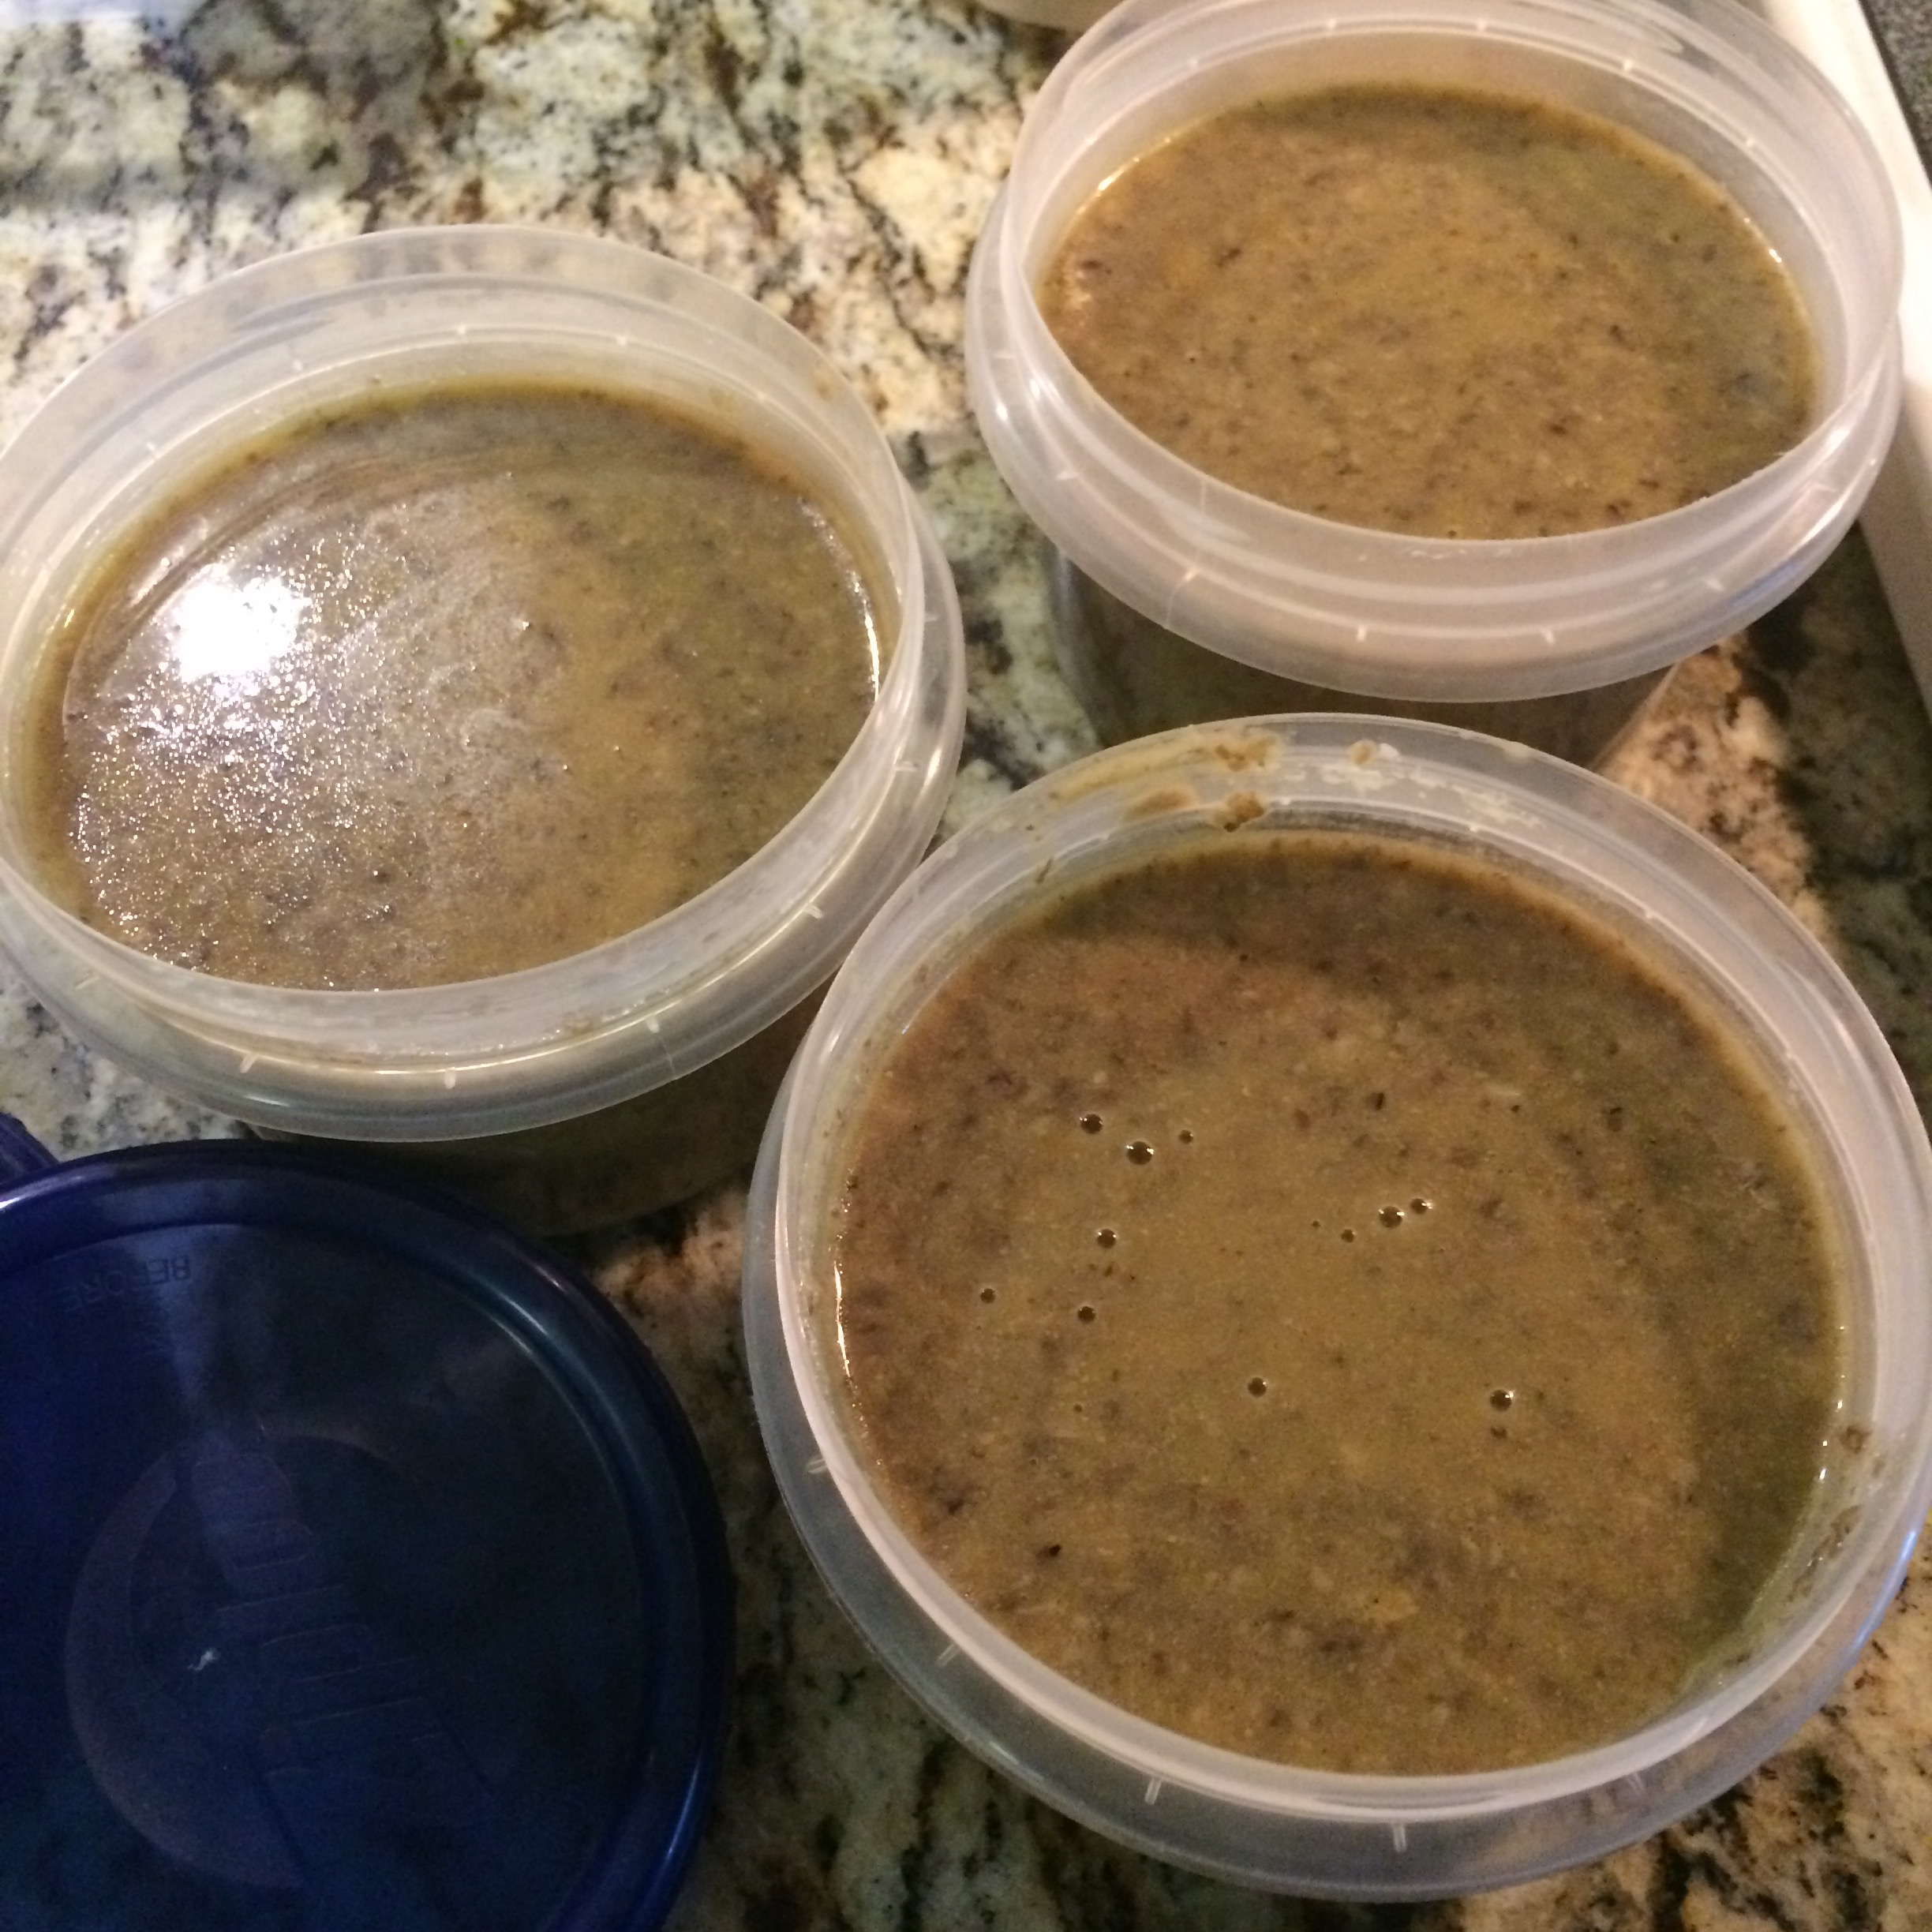
img_1452These days most people have relegated cream of mushroom soup, specifically the thickened condensed version, to casseroles, but I was reminded a few days ago of my love of cream of mushroom soup as a straight up soup, especially with an ounce of brie crumbled and melted into it!

Here’s my gluten free and corn free cream of mushroom soup, which I’ll put up in 1.5 cup servings for freezing.

Makes 4 1-cup servings or 3 1.5 cup servings. The 1.5 cup serving is comparable to 1 can of condensed cream of mushroom soup frequently used in green bean casserole or creamy chicken and rice with peas.

If you’re serving as soup, don’t forget to crumble an ounce (or two) of brie into the steaming hot bowl before serving.

Ingredients

  • 16 ounces baby bella mushrooms (whole or sliced, doesn’t matter)
  • 4-8 ounces of any other mushrooms you like (I add a wild mushroom blend available from Publix)
  • 4 cloves garlic, minced
  • 1/4 cup gluten free, corn free all purpose flour blend (Bob’s Red Mill Gluten Free All Purpose Flour)
  • 1/4 cup of your favorite cooking oil (I use grapeseed oil)
  • 1 cup whole milk or heavy cream (soy and almond milk will produce similar result; rice milk will not)
  • 4 cups mushroom or vegetable broth (I use Pacific Organic Vegetable Broth when I don’t have any or enough of my fresh-made veggie stock)
  • 1/4 t kosher or coarse sea salt
  • 1/2 t black pepper
  • Optional: 1-2 ounces of brie per serving, to be crumbled into the hot soup to melt

Add 1 T of your favorite cooking oil and 4 cloves of garlic to your stock pot over medium heat. You’ll observe the medium setting or you’ll burn your mushrooms and have a bitter soup.

img_1441Finely chop the mushrooms in your food processor (Cuisinart). If you don’t have a food processor, borrow one. You’ll thank me after your first hand-chopped or too-big-pieces batch! I find it easiest and fastest to do this in three batches, basically one batch per 8 oz container of mushrooms. Dump straight into the stock pot as you chop each batch.

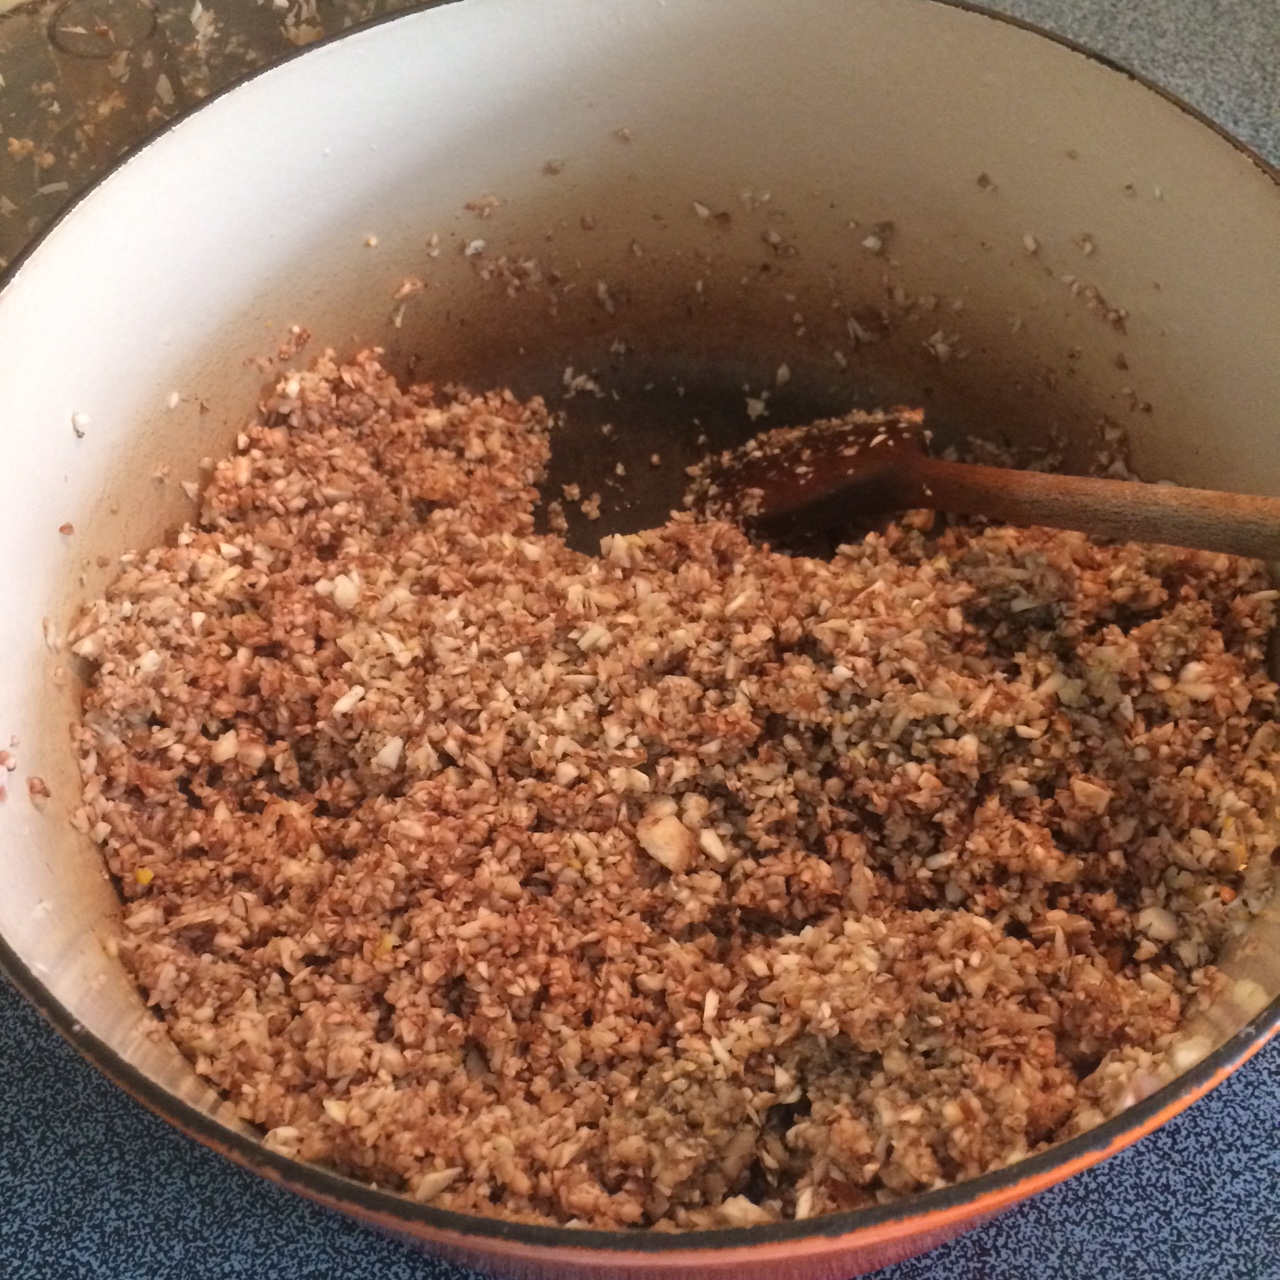
img_1446Cook the mushrooms and garlic on medium for 15-20 minutes. You’ll see a lot of liquid bubble up out of the mushrooms, and your goal is to get that gone. You’ll both see the dry pan and begin to smell a slightly beefy aroma from the pot. That’s when you’re ready for the next step.

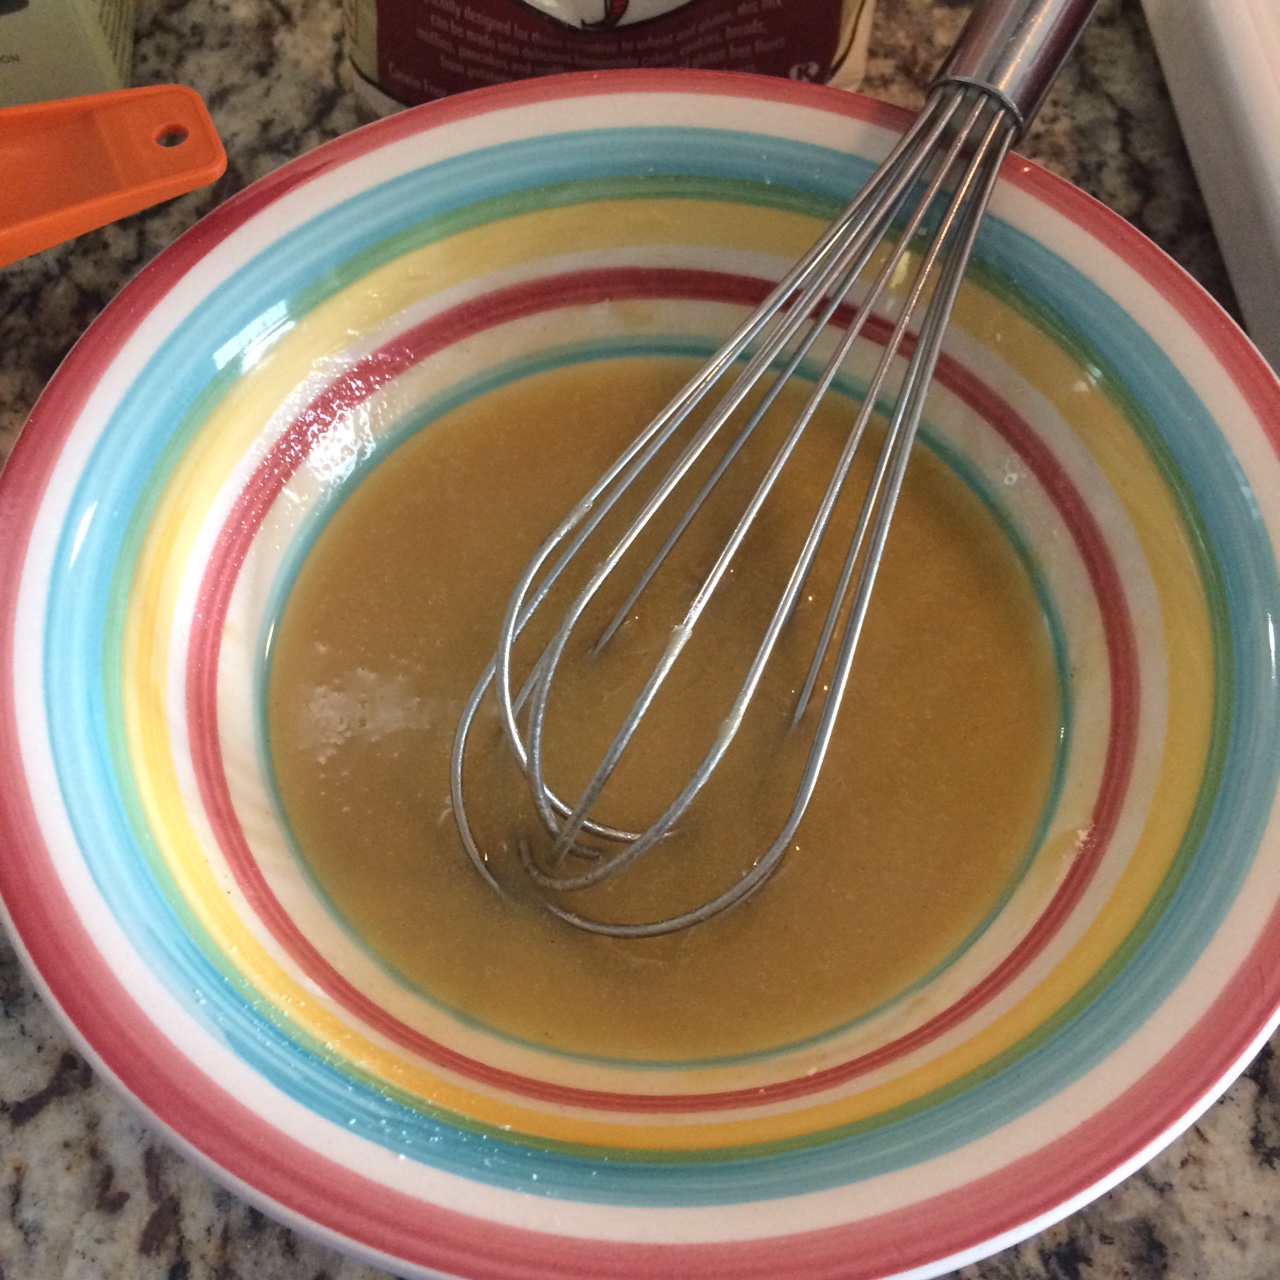
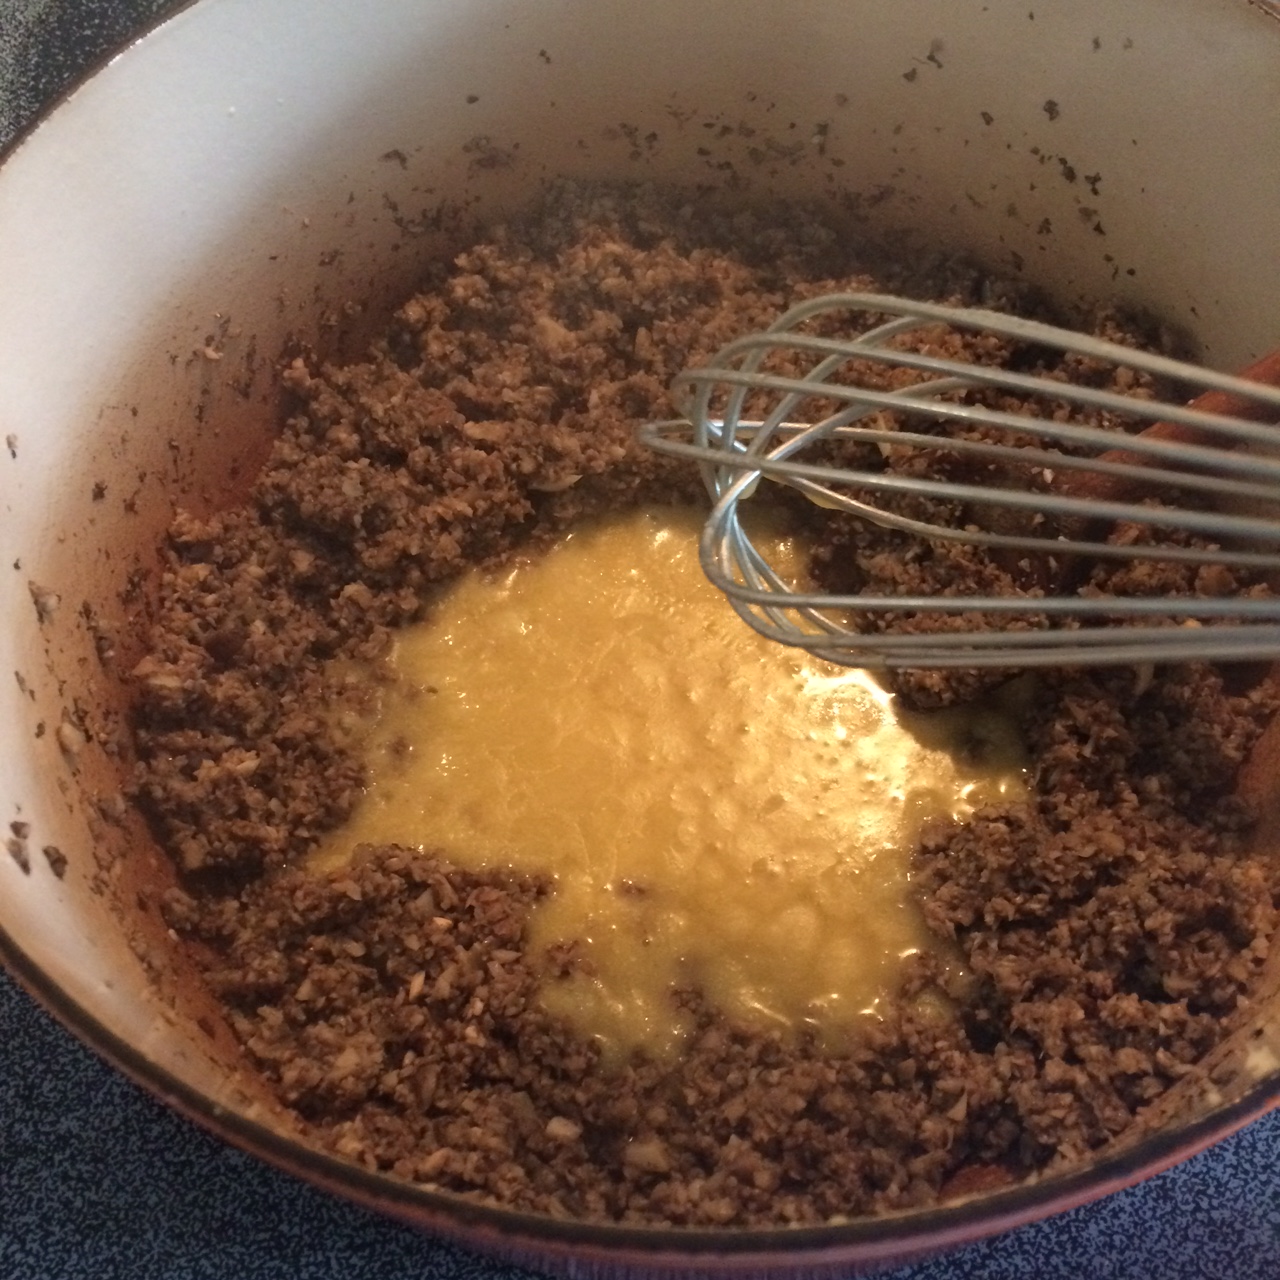
img_1444While you’re waiting for the mushroom water to cook all out, whisk together the all purpose flour and the oil; this is roux (pronounced “roo” like kangaroo), used to thicken liquids into thickened broth, cream soups or gravies. NOTE: if you find the first batch not thick enough for you, next time increase both ingredients to 1/3 cup; the more roux you use, the thicker your soup will be.

img_1447Once you’re sure all of the mushroom water is cooked out, make a hole in the mushrooms and pour in the roux. Let it bubble up for about 30 seconds and then stir it around into the mushrooms. Add the cup of milk/cream and keep stirring. It’ll look a little oatmeally at this point.

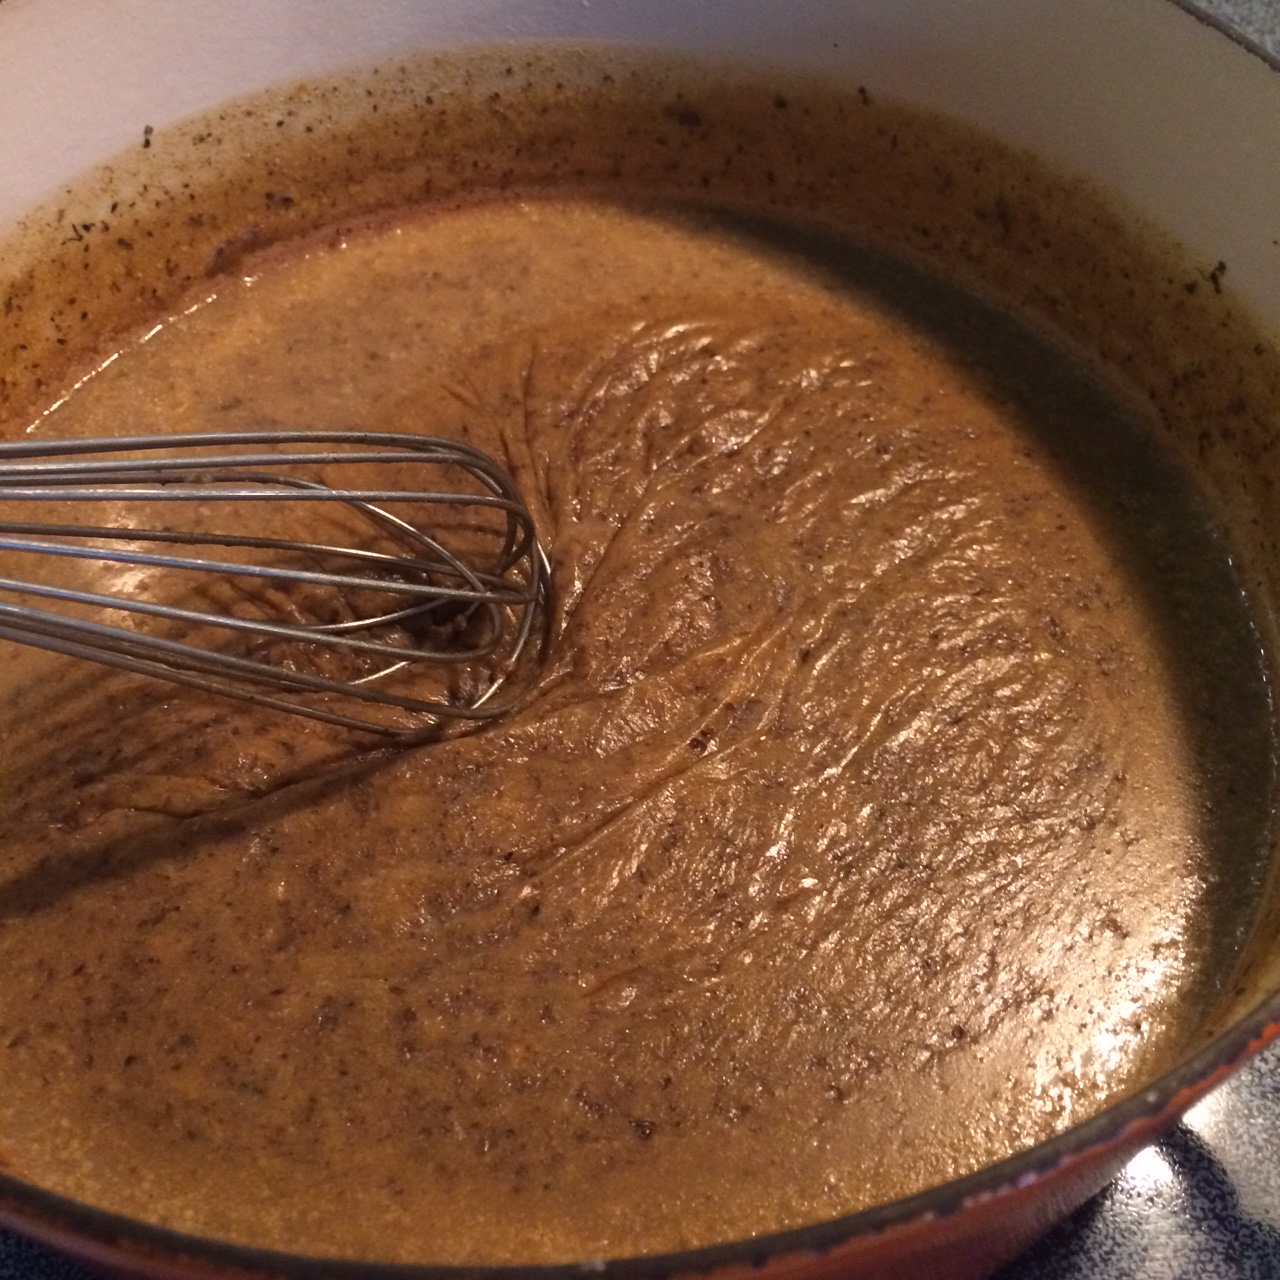
img_1449Add your vegetable or mushroom stock by 1 cup portions, stirring to combine before adding the next portion, until you’ve added 4 cups. And since that 32 oz box of stock is 4 cups, you can certainly guess your way through this step and just pour straight from the box.

img_1451Bring everything to a boil and let boil and bubble for about 3 minutes, stirring. Lower heat to the lowest setting you can and simmer for 30 minutes.

NOTE: If you’re using gluten free flour, you’ll see a “scum” or skin form on top of the soup; this is what happens when you try to get milk fats to combine with flour that has no gluten. Keep the skin; love the skin; use a whisk to re-blend the skin into the soup. This is part of how a gluten free flour thickens liquids when it has no gluten.

Turn heat off, leave the pot on the burner, and let cool before prepping individual servings for freezing or storing in a large container for refrigerator storage.

Posted in Being Healthy, Cooking

Soy and Teriyaki Sauce Alternative – soy free, corn free, gluten free

I’ve got a growing group of friends who have straight up food allergies to corn, gluten, soy – and, Lord help me, all three! And that makes safe store-bought sauces that most think of as a single ingredient not nearly impossible but actually impossible.

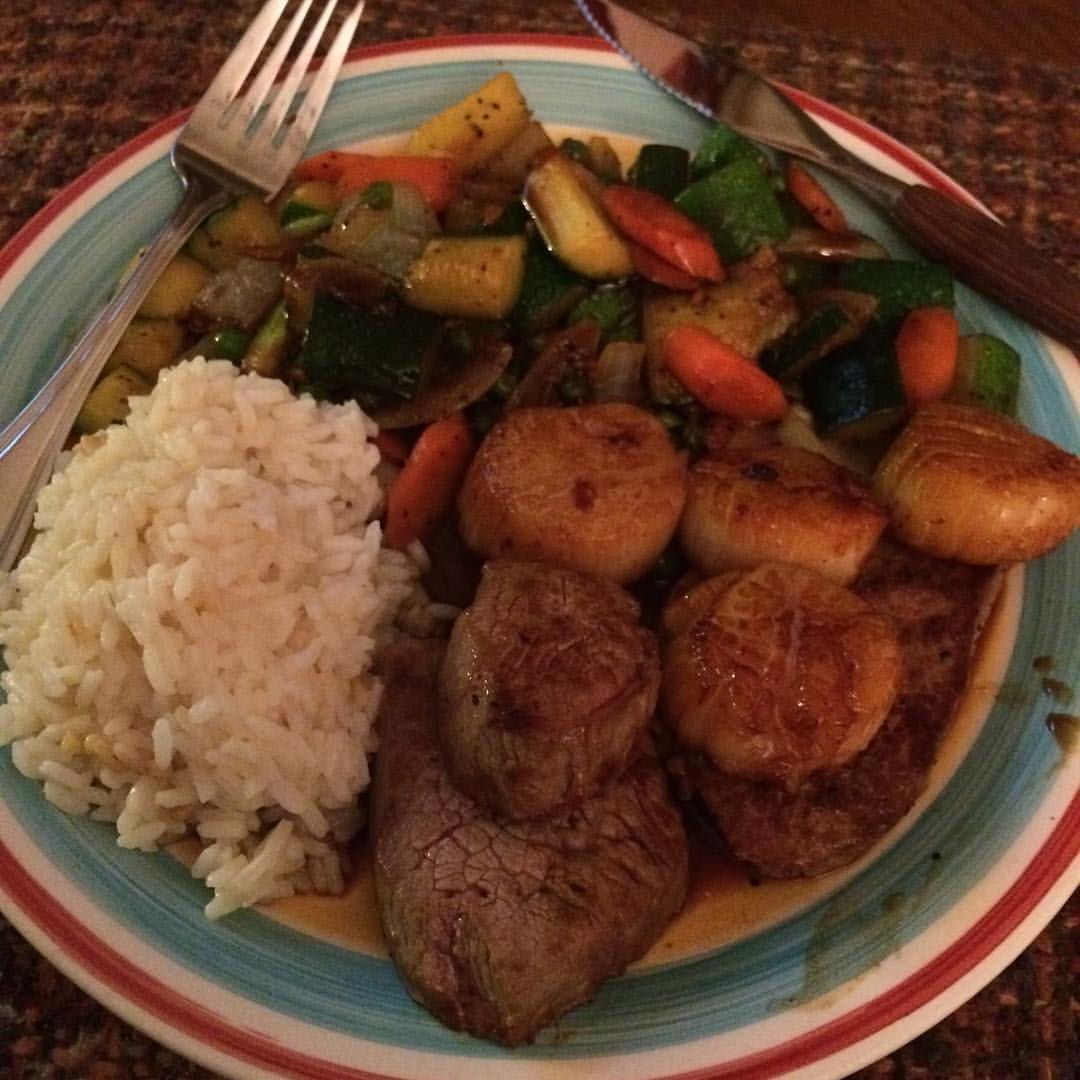
Hibachi-at-home: steak, scallops, veggies (zucchini, carrot, onion, peas), rice.
Hibachi-at-home: steak, scallops, veggies (zucchini, carrot, onion, peas), rice – using this homemade soy sauce turned into teriyaki sauce.

Here’s my alternative to soy sauce when cooking for them – and now myself since I can control the sodium level so much more!

  • 1/4 cup strong beef or mushroom broth (use homemade or Pacific brand)
  • 1/4 cup organic apple cider vinegar (make your own with this recipe)
  • 1.5 cups water
  • 2 T molasses – be sure to get organic and check the label for corn syrup or corn-derived additives – I get mine raw from a local farm
  • 2 cloves finely minced garlic – I recommend using a garlic press
  • 1/2-inch of fresh, finely minced ginger – I recommend using a cheese grater
  • 1/4 t finely ground pepper
  • kosher or sea salt – add in 1/4 t amounts until you achieve the soy sauce saltiness you like

Combine all ingredients in a sauce pan and bring to a boil. Simmer for 20 minutes. Cool and store in the refrigerator for up to 6 months.

Did you know that Teriyaki Sauce is nothing more than a sweeter soy sauce? Add 1/2 to 3/4 cups of this soy-free soy sauce to a sauce pan with 1/2 cup corn-free brown sugar, combine well and simmer for 20 minutes.

Posted in Being Healthy, Cooking, corn free, gluten free, nut free, soy free

Comforting Beef Stroganoff Casserole

Recently, I found myself craving something beefy and comforting, so I put out a call for ideas on Facebook. Boy, did my girlies come through for me. Beef Stroganoff. It has a rich history as a classic Russian dish. And wouldn’t you know it, it’s got its own website! But essentially, this dish is beef cooked in a creamy mushroom sauce.

Having spent a delicious month in St. Petersburg, Russia, in 1993, I know that, at least at that time, most Russians didn’t have regular access to good cuts of beef, and I learned that both of my Russian families made their beef stroganoff about the same way: cooking down wild, handpicked mushrooms and onions, adding some beef in to brown, deglazing with some water (making a bit of broth), and cooking this for several hours on low, then adding in some sour cream at the end to thicken up the sauce.

Sounds like the perfect crock pot recipe to me, but I wanted something a little more compact since I’d be at work all day and wanted my family to be able to put dinner together themselves. So I settled on a casserole that achieves the same purpose and delivers 4 healthy servings an no leftovers to junk up the fridge.

Ingredients (in order of preparation)

  • 1/2 bag of egg noodles, cooked and drained (for gluten free and corn free, use Lehman’s Gluten Free Homestyle Egg Noodles)
  • 2 large green peppers, roughly chopped
  • 1 large onion, roughly chopped
  • 8 oz sliced portabella mushrooms, chopped (alternatives: white button or baby bella)
  • 1 lb beef, chicken, or pork (cubed beef is traditional; ground is a great, less expensive alternative)
  • 1 can cream of mushroom soup (for gluten free and corn free, use Pacific GF cream of mushroom soup or my homemade recipe)
  • 1 cup sour cream (or milk if you’re out of sour cream)
  • 1/4 t kosher or coarse sea salt
  • 1/2 t ground pepper

You can see I’ve gone with a little help from the pantry rather than a totally-from-scratch recipe.

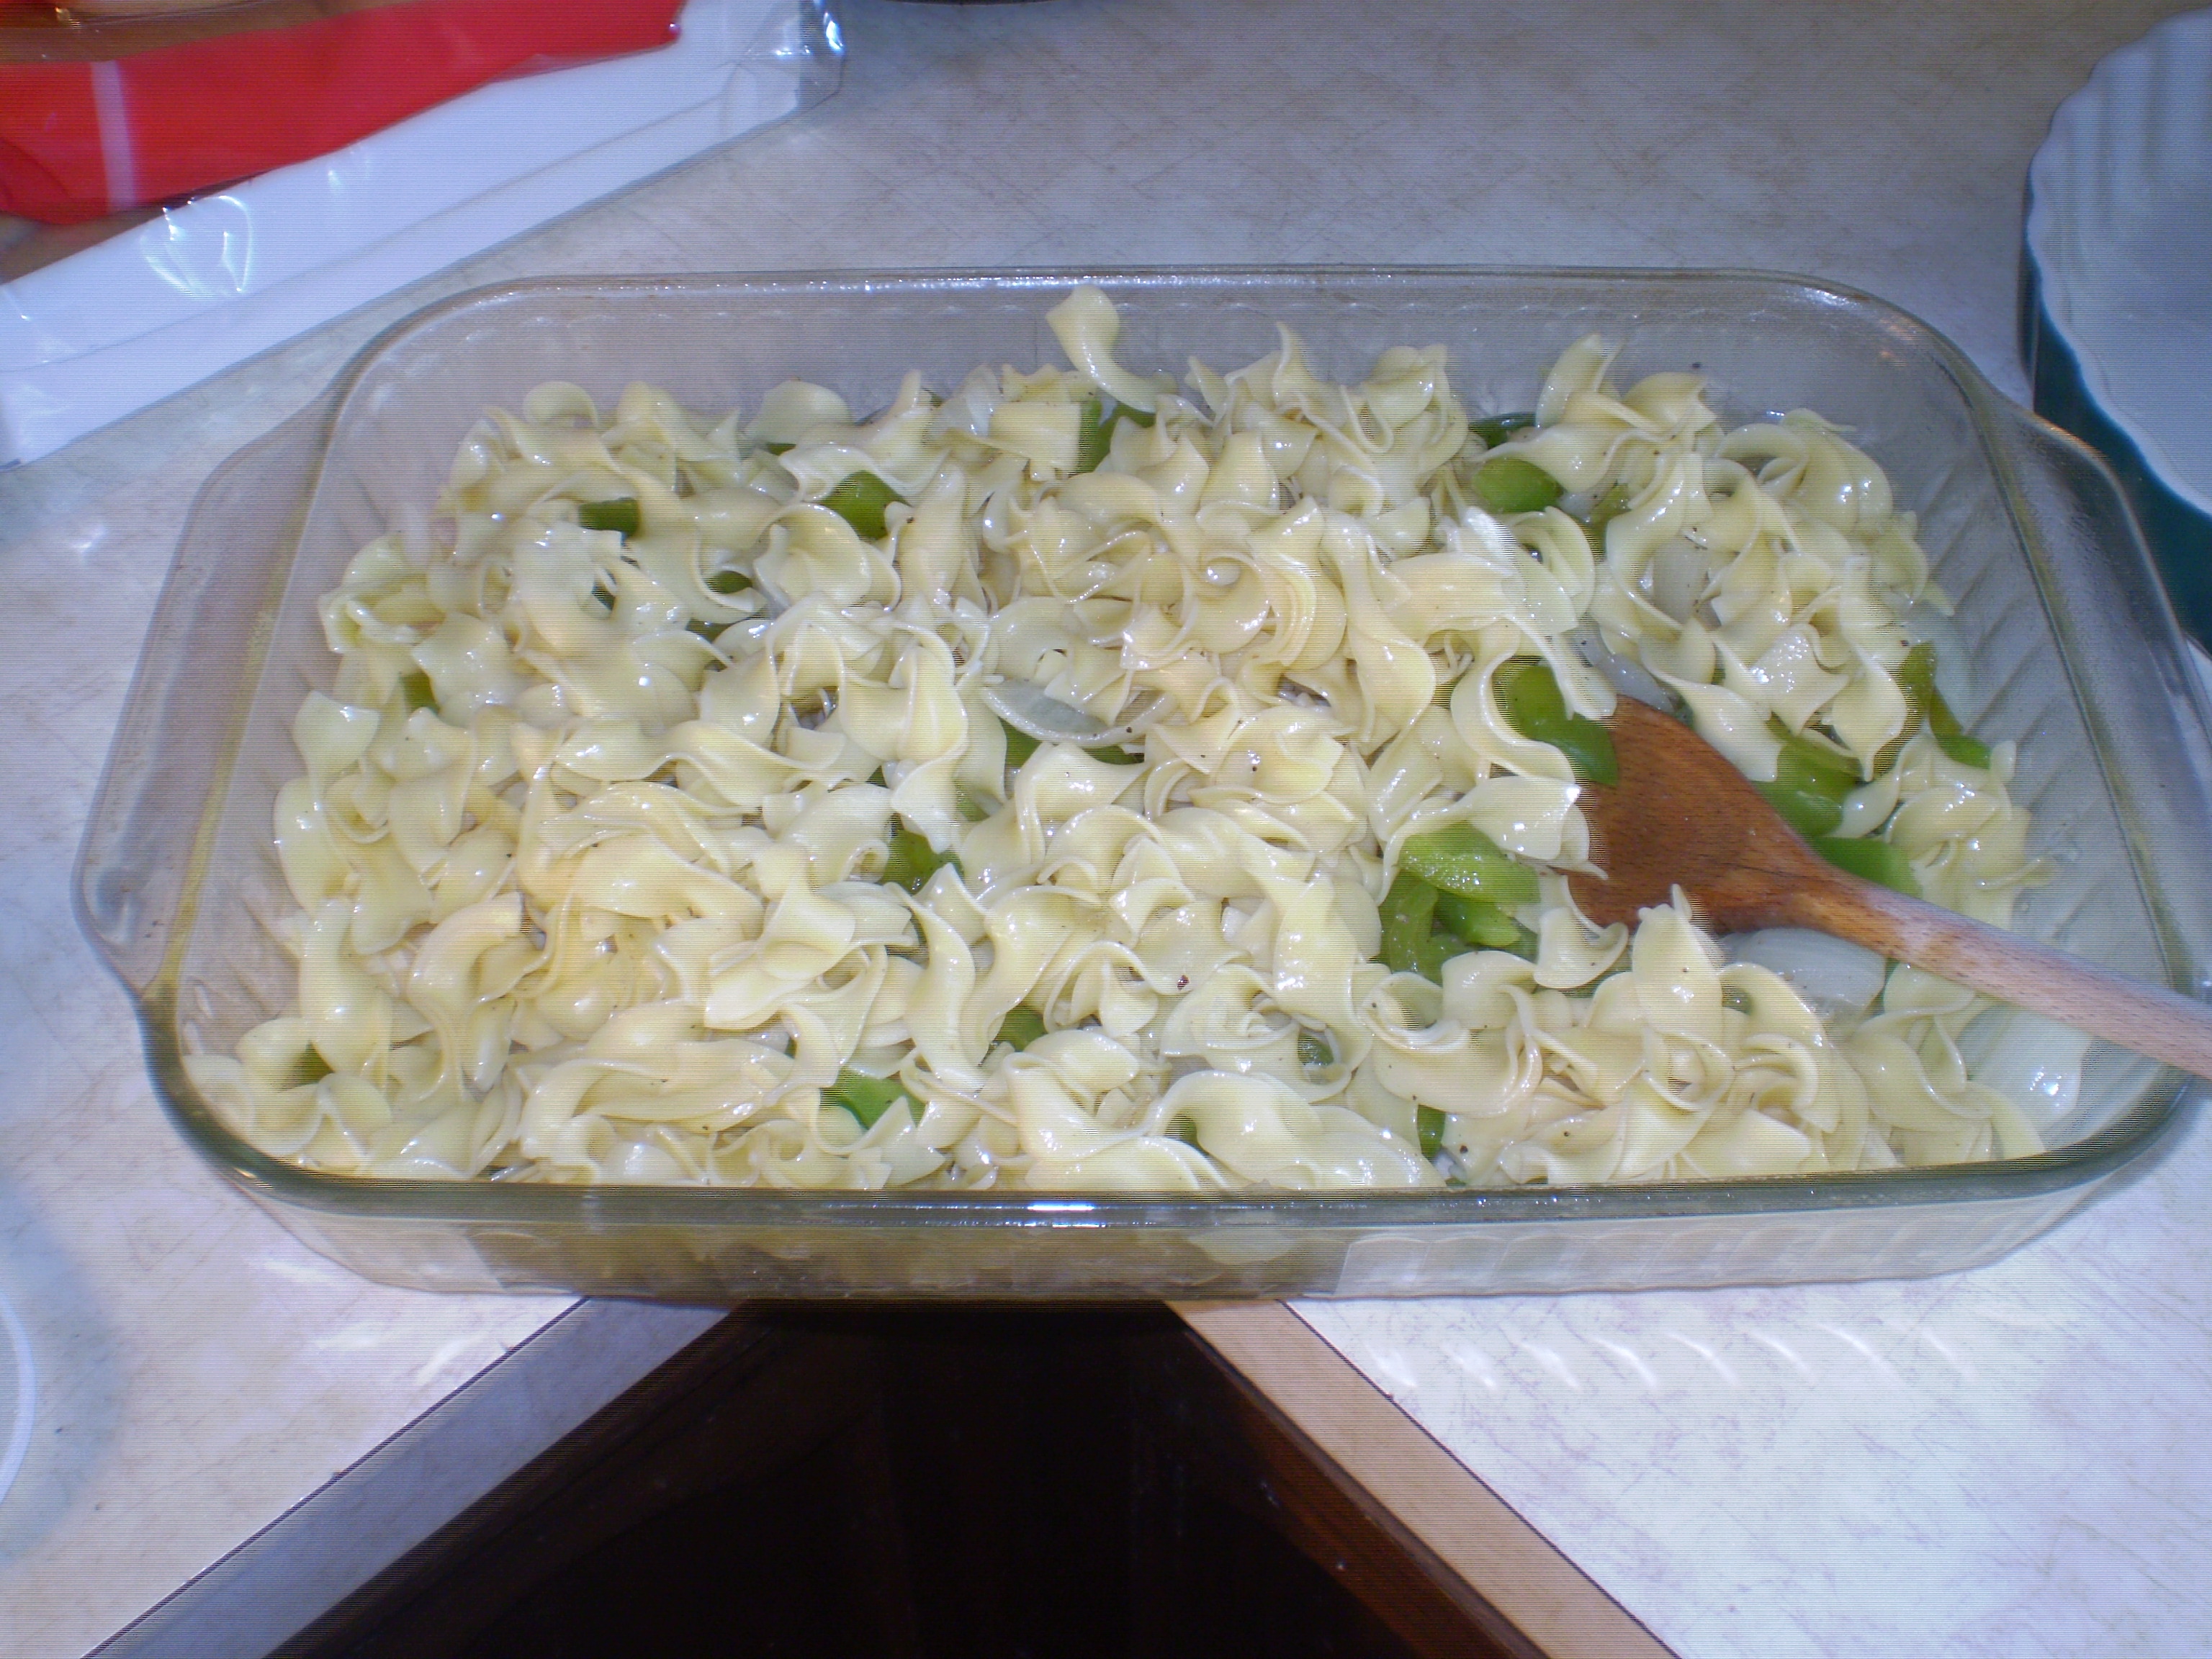
So I start with cooking the noodles. When they are drained, pour them into a casserole dish, lightly sprayed with cooking spray if you’re worried about sticking, which is not usually a problem.

Next I move on to the veggies…on medium heat and with 1 t of your favorite cooking oil, sweat the water out of the mushrooms and then add the peppers and onions for a quick saute; I’ve stopped cooking veggies in oil. I do these separate because I want to make sure they keep their crunch. If I put them in with the meat and sauce, they would cook down and have no texture left to liven up the casserole when it’s heated. Before they start getting brown, dump them in with the noodles and give it all a quick stir.

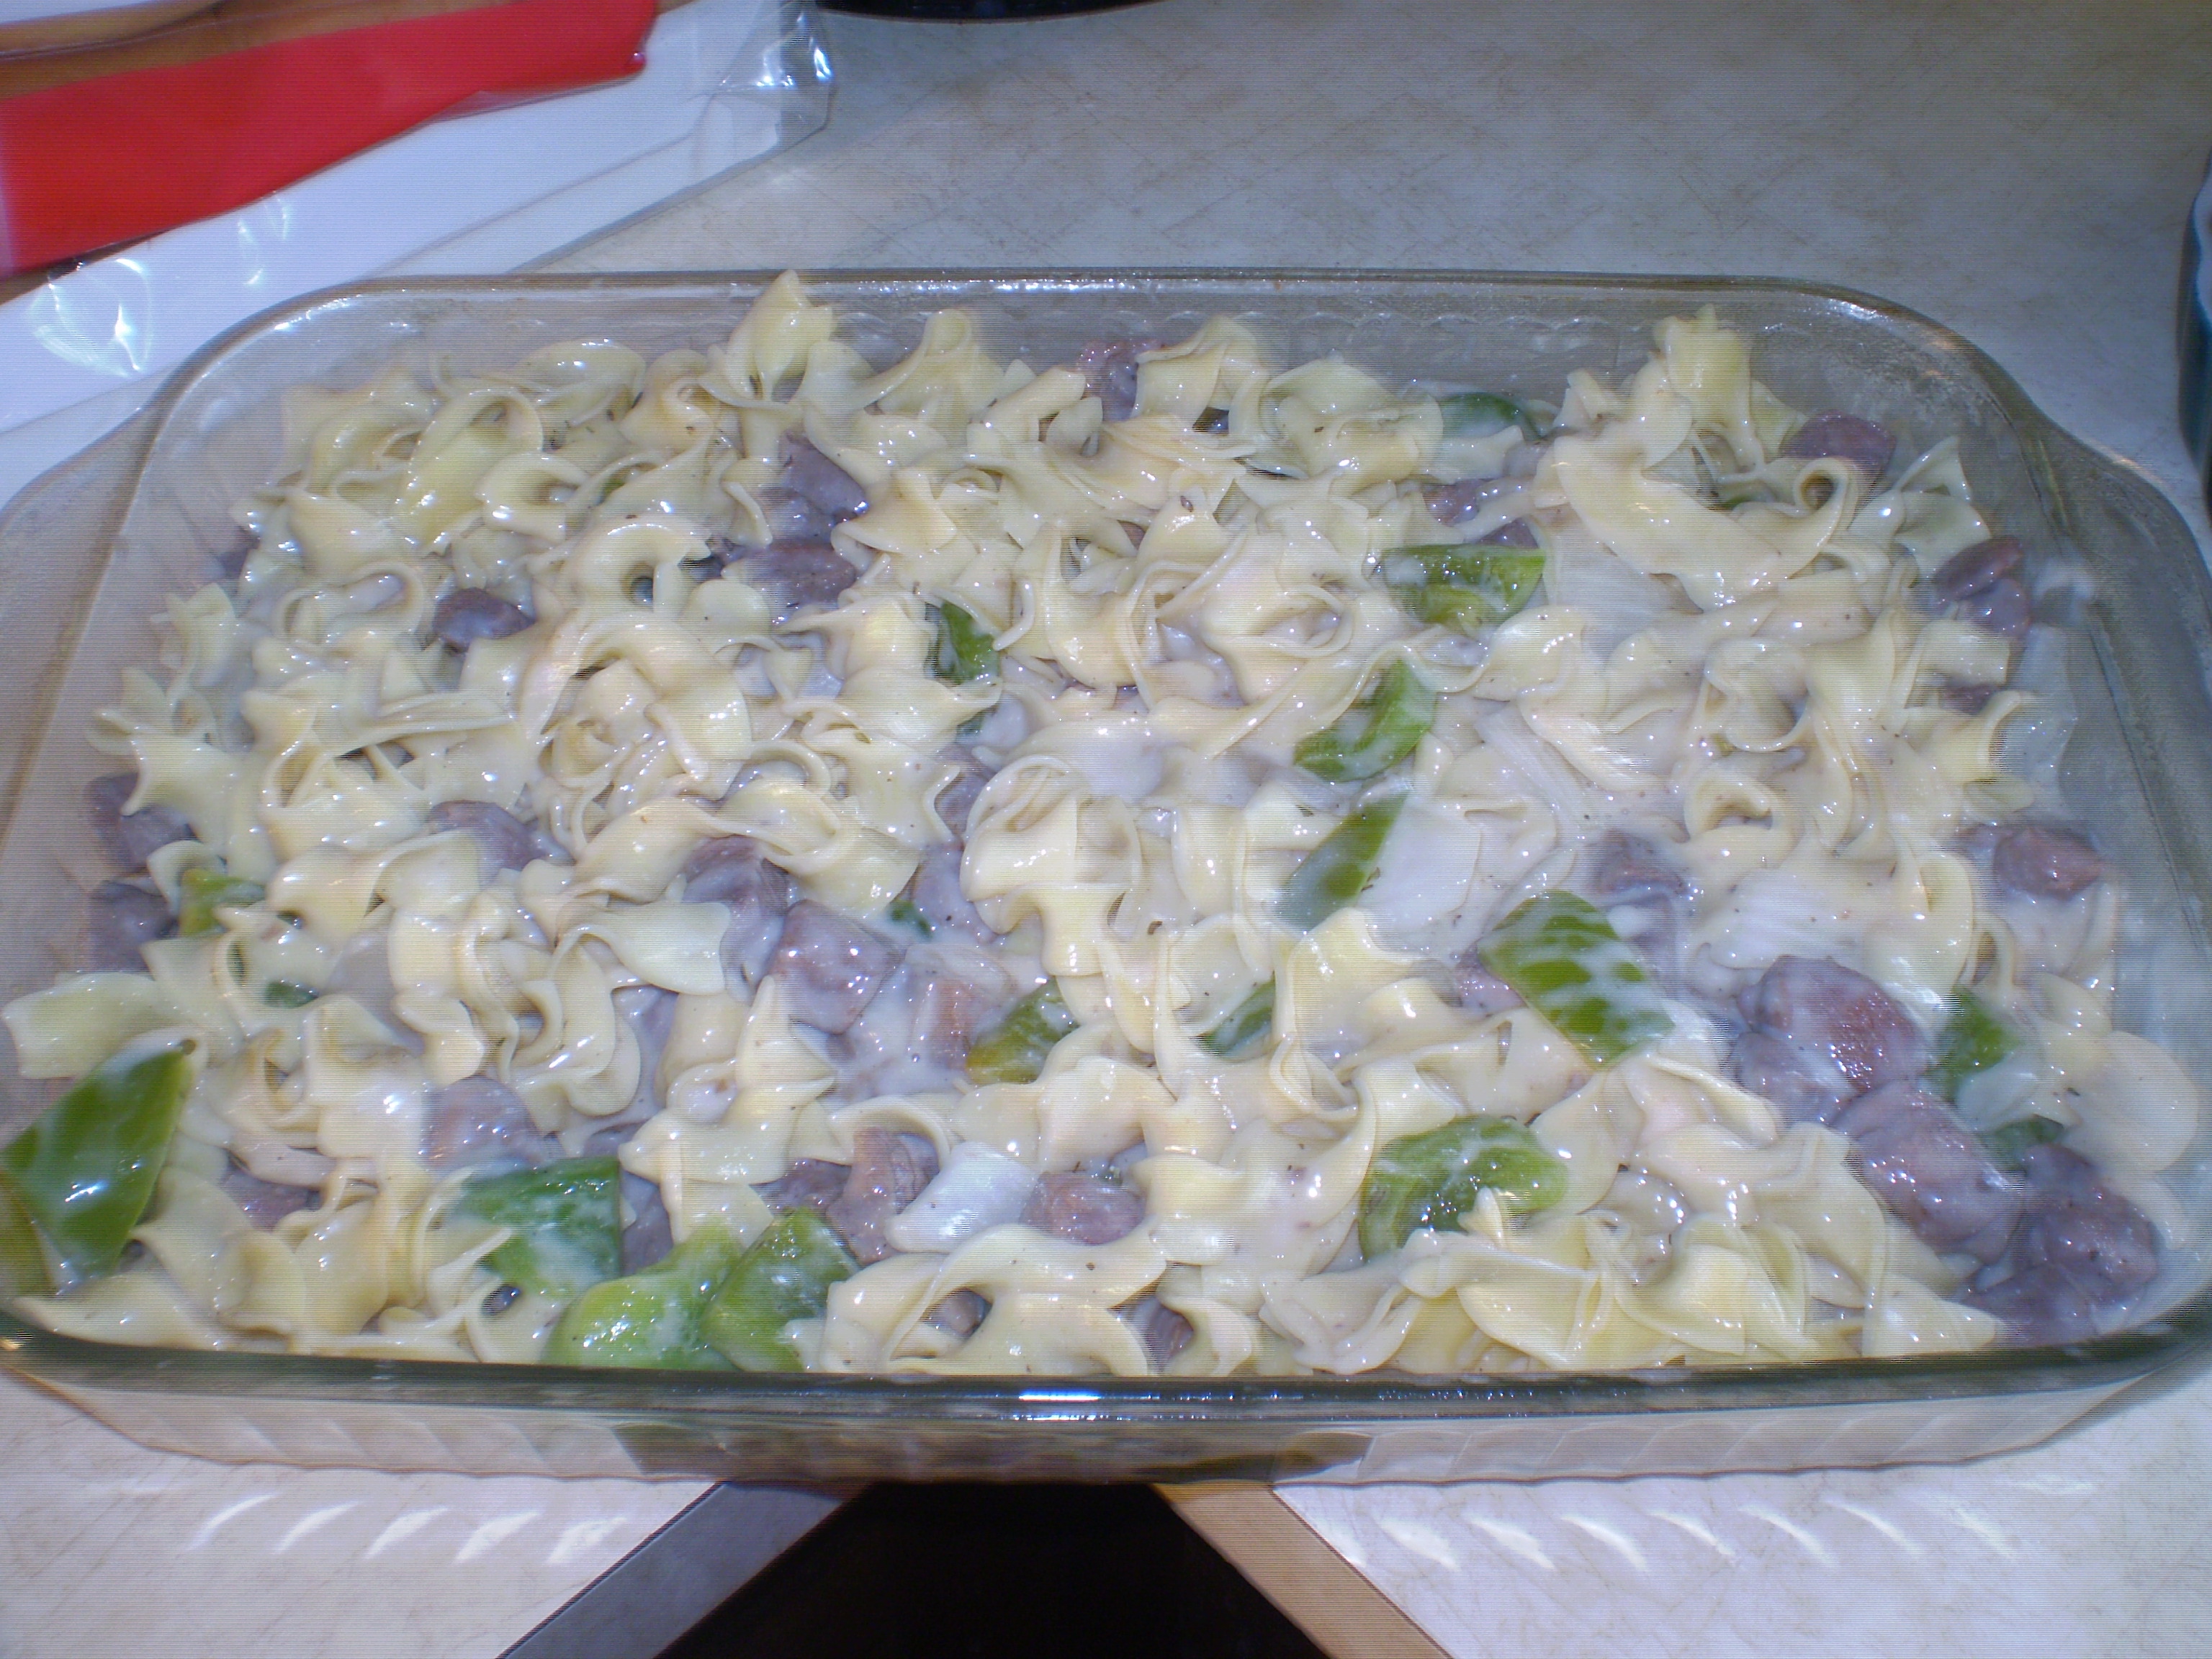
The last part is just as quick. We had some venison stew meat already cut up, so I tossed that into a pan with a little olive oil. When it gets just barely cooked through, dump in the cream of mushroom soup and sour cream, stir, and simmer for maybe 10 minutes, mostly to make sure the sauce comes together. Then dump this in with the noodles, peppers and onions, stir, and viola! Beef Stroganoff Casserole.

Now, certainly, you can pop this in the oven to finish and serve it up in about half an hour.

But I needed this as a make-ahead. And here are the instructions I’ll leave for the family to follow tomorrow:

To have dinner ready to eat by 6:30 pm, start at 5:45 pm

  • Preheat oven to 350°
  • Take the casserole out of the fridge and stir slowly and carefully
  • Cover the casserole with aluminum foil
  • Put the casserole in the oven for 30 minutes
  • Take the foil cover off and put in for another 15 minutes

As I’ve got Harris Teeter brown and serve rolls to go with mine, I’ll add the rolls during the final cook since they take 12-15 minutes. My folks will also be cooking up some sauteed squash and onion to go with this casserole.

For 8 nutritional servings or for 6 fuller servings, double the noodle, beef, and soup quantities; I also fully double the veggies, but that can be too much for many. Do not double the sour cream; there’s no need.

Posted in Children, God Loves Me!

Children’s Sermon: Isaiah 11:1-10 – Jesse’s Root and Jesus’s Birth – Waiting

Scripture: Isaiah 11:1-10 with Romans 15:13

Props: cup/pot of soil and a Christmas tree seed (similar seeds for demo purposes only: pumpkin, cardamon pod, pepita/pine nut); slice of a Christmas tree trunk for counting the rings; photos of Charlie Brown Christmas tree, 6-8′ home tree (yours or online), and ask how tall the church Chrismon tree is


charlie-brown-pathetic-christmas-tree-3About 10 years ago when I moved back to Charleston, I didn’t know it but a squirrel or bird planted a Christmas tree in my front yard. The first year, it look pretty much like this [ask if anyone recognizes the tree; if not tell them it’s the Charlie Brown Christmas tree]. Yep, that’s what a 1-year-old Christmas tree looks like.

christmastreeNow, 10 years later, my front yard tree is about 5 feet tall. Can you believe that? It took TEN YEARS for my tree to grow only 5 feet tall. I mean, I’m still taller than my tree.

us_plants_homeThe tree you’ve got in your house – or will have – is usually about 6-8 feet tall, and that takes hmmmm 8 to 12 years to grow that tall.

Now take a look over at the Chrismon tree here in the church. I have it on good authority that’s a 12-foot tree. How long do you think it took for that tree to grow that big and tall? [take guesses]
chrismontreeringsWell, thanks to Mr. Jonathan who got us a slice of our tree, we can find out exactly how many years it took. [count the rings out loud] That’s right, FIFTEEN years. Are any of you fifteen years old? [no] Guess what that means? Our tree is older than you are!

In today’s lesson, the prophet Isaiah learns from God a really great description of who Jesus will be and what he will do for us. Now Isaiah lived 700 years before Jesus was even born. He says that Jesus will come from the root of Jesse and He will be wise and strong and so much more. And God’s people waited patiently and were faithful for 700 years before Jesus was finally born.

If you get a chance, ask your mom or dad to let you read the church’s newsletter. Both Pastor Mike and Ms. Crystal write about the word “advent,” which means waiting. And it takes two main qualities to wait: patience and faith. Sometimes we have to wait a while before a promise comes true, and when it takes an especially long time, it also takes faith to not give up hope that the promise-maker is really going to do what he or she promised.

Can you imagine waiting 700 years and still believing that God would make good on His promise? That’s some amazing patience and faith to wait and believe that whole time – 700 years – for God to keep His promise. We only have to wait 4 weeks every year – that’s how long the season of Advent lasts – where we prepare our hearts and lives for our first glimpse of the tiny seedling – the baby Jesus – who grew up to fulfill ALL of God’s promises as our Savior Jesus Christ.

Will you pray with me?

Dear God, Thank you for trees and especially Christmas and Chrismon trees to remind us just how long it takes to grow into what God has planned for me. Help me to be patient and faithful when I want things to happen faster than they are. Amen.

Delivered on Sunday, December 4, 2016 at Palmetto Presbyterian Church.


Posted in Cooking

Thanksgiving Leftover Turkey Pot Pie

img_1290My little family of four, we’ve never quite gotten over the old days when our families of 16 or so gathered and needed more than one turkey. So each year, even as we’ve grown smaller, we still cook two turkeys, which leaves us with a LOT of leftover turkey. We don’t seem to have a problem making smaller amounts of our sides.

This year – yesterday, to be precise – I volunteered to turn the remaining roasted turkey breast (the only whole one left) into Turkey Pot Pie. After all, we had nearly everything we’d need on hand; I only had to buy more carrots and another leek.

Notes: the two things most people do that mess up a good pot pie are

  1. prepare too much filling
  2. forget to or ignore instructions to cover the edge of the crust with foil for cooking to prevent it from burning

So let’s get to it:

Step 1: Make the pie dough

Today, I’m taking a shortcut and using store-bought pie crust, just Publix brand. But when I make pie dough for savory pies, I use the Savory Pie Crust recipe from Food to Live By. Typically I have some in the freezer made with rice flour to be gluten and corn free, but I’ve been slack.

Step 2: Prep the filling

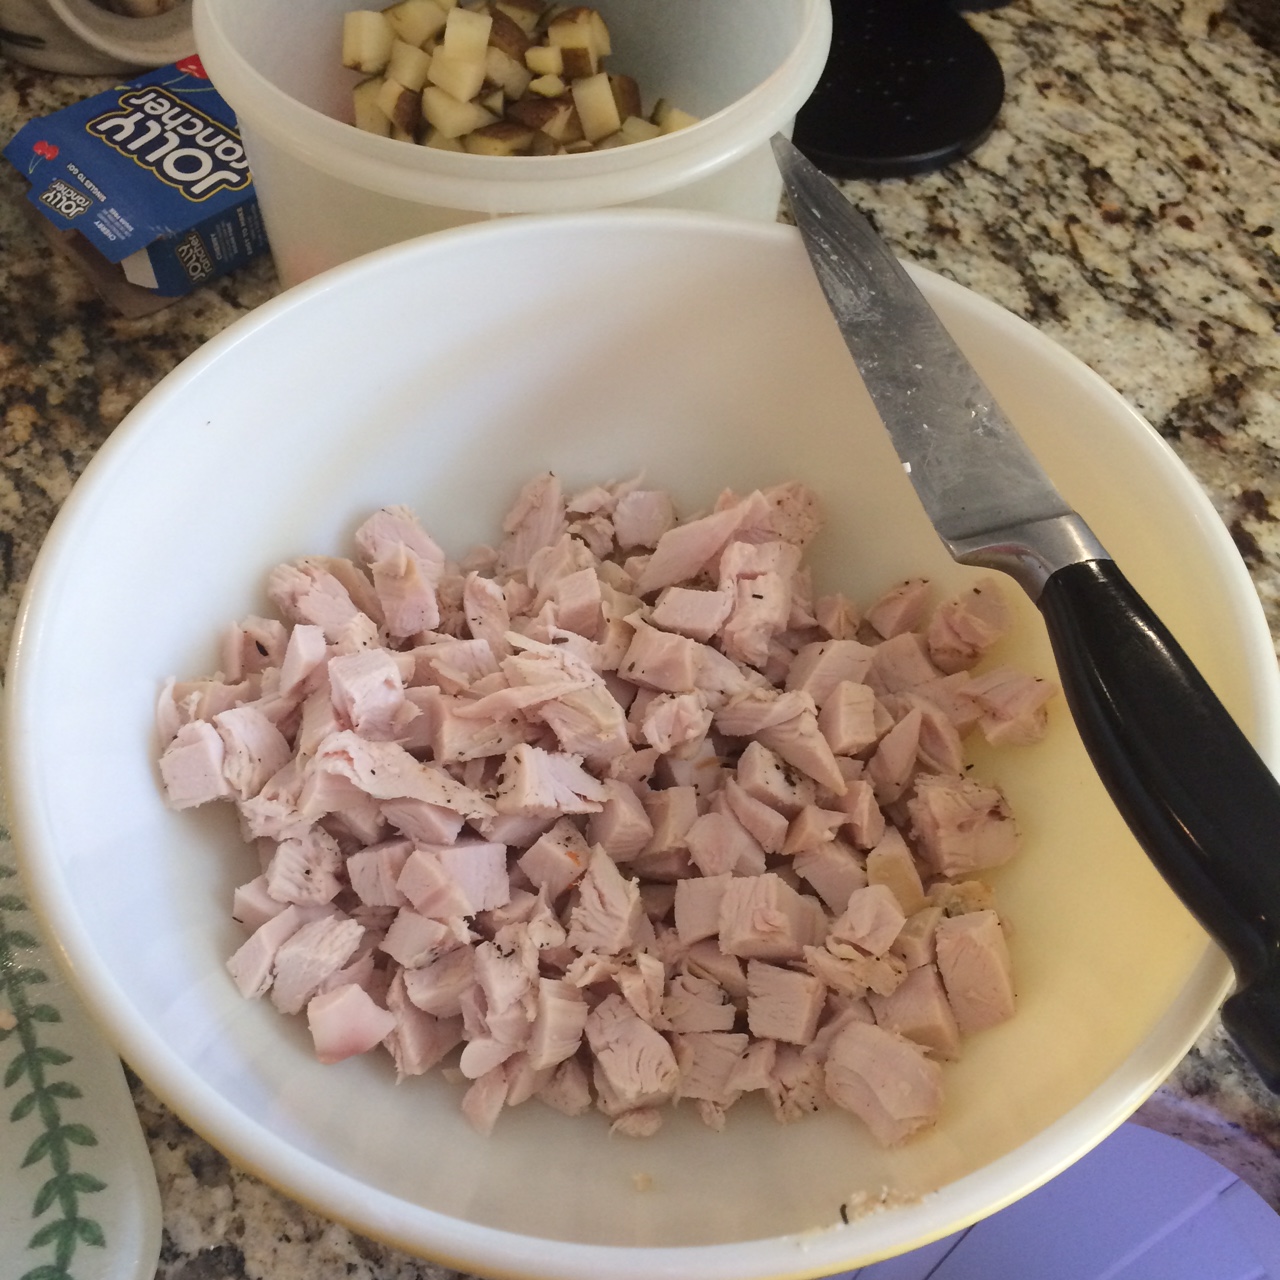
  • img_12761 whole turkey breast from a 15lb turkey, diced
  • 1 large potato, diced medium
  • 4 medium carrots, peeled and chopped
  • 1 medium onion, peeled and diced medium
  • 1 leek, white only, halved and chopped
  • 1 cup of peas, fresh preferably but canned or frozen will do
  • 1-3 cloves of garlic
  • 2T grapeseed oil (or olive or coconut oil, whatever oil you typically use for cooking)
  • salt and pepper
  • savory herbs you like (traditional are thyme and rosemary)

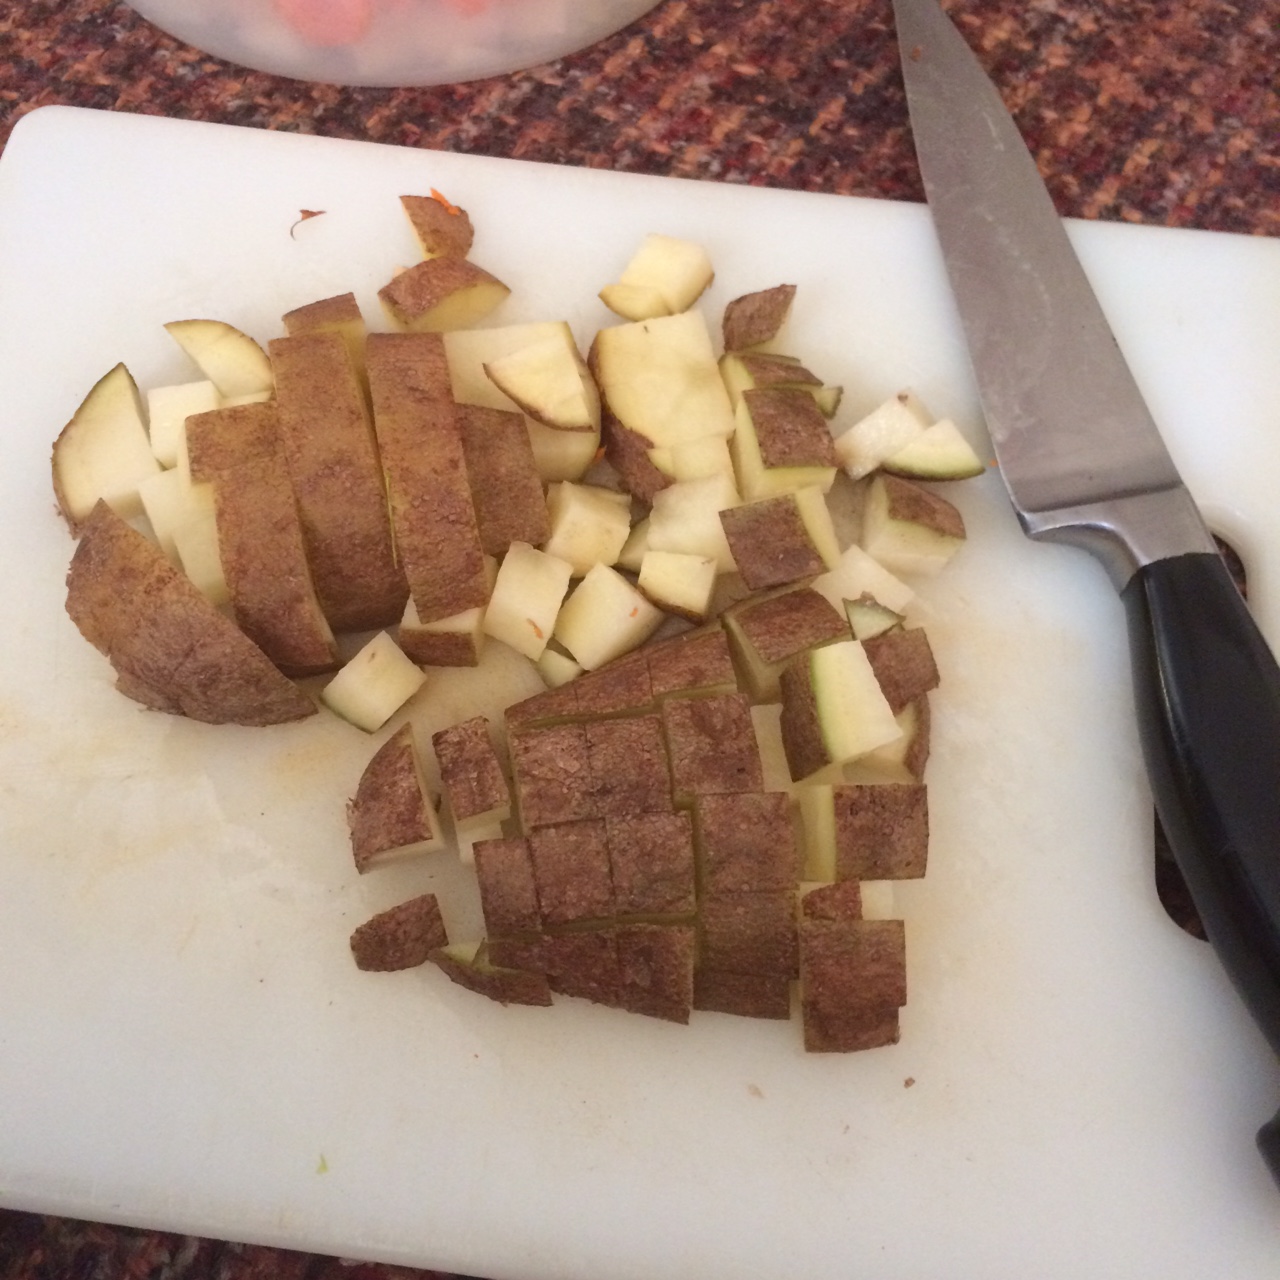
img_1277Put the diced potato on to boil; simmer for 5 minutes. You don’t need it cooked soft since it will finish cooking in the pie. Drain and put in large mixing bowl with diced turkey.

Heat your oil on medium in a large skillet. Drop in the carrots first; season with salt and pepper and stir gently for 5-6 minutes.

Add the onions and leeks and garlic; season with salt and pepper and any savory herbs and stir gently for 4-5 minutes. Since I brined and cooked my turkey in sage, rosemary, thyme, and sage, I added only some thyme; it’s my favorite!

img_1278Add mixture to large mixing bowl with the diced turkey and cooked potatoes. Mix gently.

Step 3: Whip up your sauce

  • 2T butter
  • 2T flour (wheat or rice)
  • 1/2 cup milk or cream (unsweetened, unflavored almond milk or soy milk works, but rice milk does not)
  • 1.5 cups turkey or chicken stock (homemade or Pacific)
  • salt and pepper

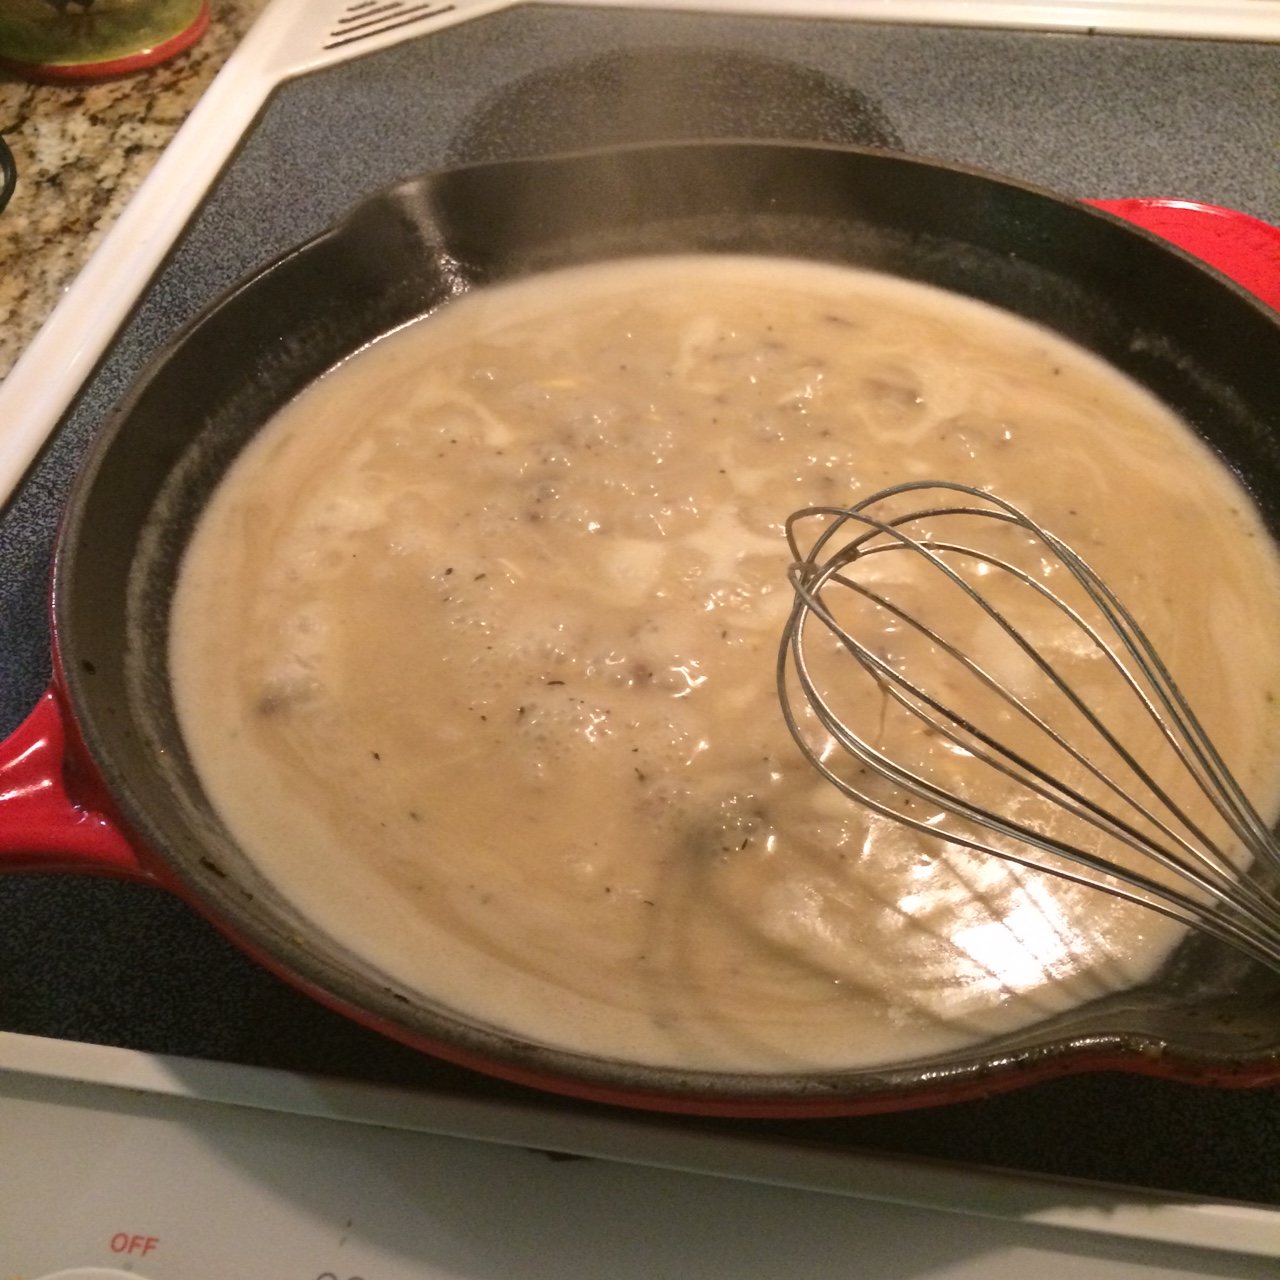
img_1284Pot pie sauce or gravy is nothing more than a basic white sauce, the same as chicken gravy you’d make after frying chicken. I actually have some giblet gravy left over from Thanksgiving that I will use for my sauce this time, but here’s how to make it when you don’t have leftovers.

In the same pan you cooked the vegetables (don’t clean it!), add the butter, still on medium heat. If the skillet is large, keep the butter in one spot rather than moving it around the skillet. When the butter is completely melted, add the flour and whisk quickly for about 1 minute. This is a roux.

img_1285Add the milk and half of the turkey/chicken stock, whisking calmly to blend the roux into the liquid smoothly.

Now is a good time to salt and pepper your sauce, stir, and taste for balance, while you’re waiting for the sauce to come to a boil. That’s when you’ll also feel the sauce get thick quickly as you stir and blend; add the remaining stock and continue stirring. This makes about 2 cups of sauce.

Pour into the large mixing bowl on top of the turkey, potatoes, and veggies. Mix gently.

A semi-homemade alternative is to use 1 can of cream of chicken soup and add 1 cup of milk or stock to thin it out.

Step 4: Assemble your pie

img_1286Roll out your store-bought or homemade dough and place in the pie dish. There’s no need to grease or butter the dish; the dough has enough butter/fat in it already to prevent sticking.

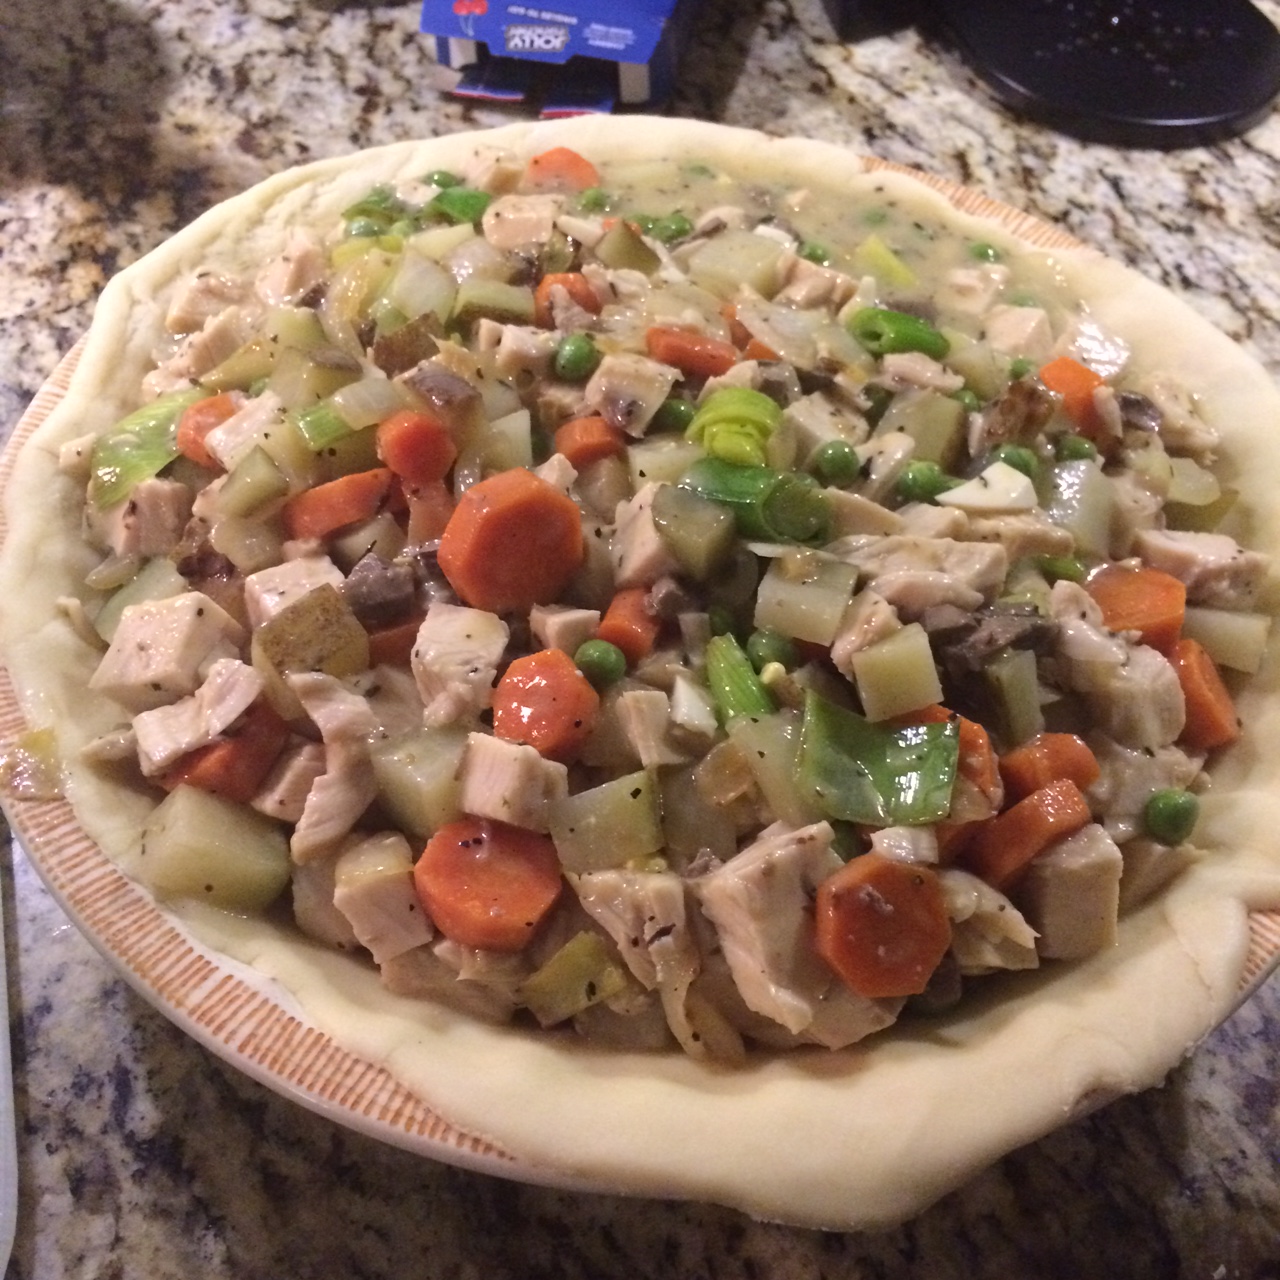
Dump your turkey-vegetable-sauce filling in the dish and smooth/squish it all in. Don’t worry if it makes a bit of a mountain in the middle; that’s ALL GOOD!

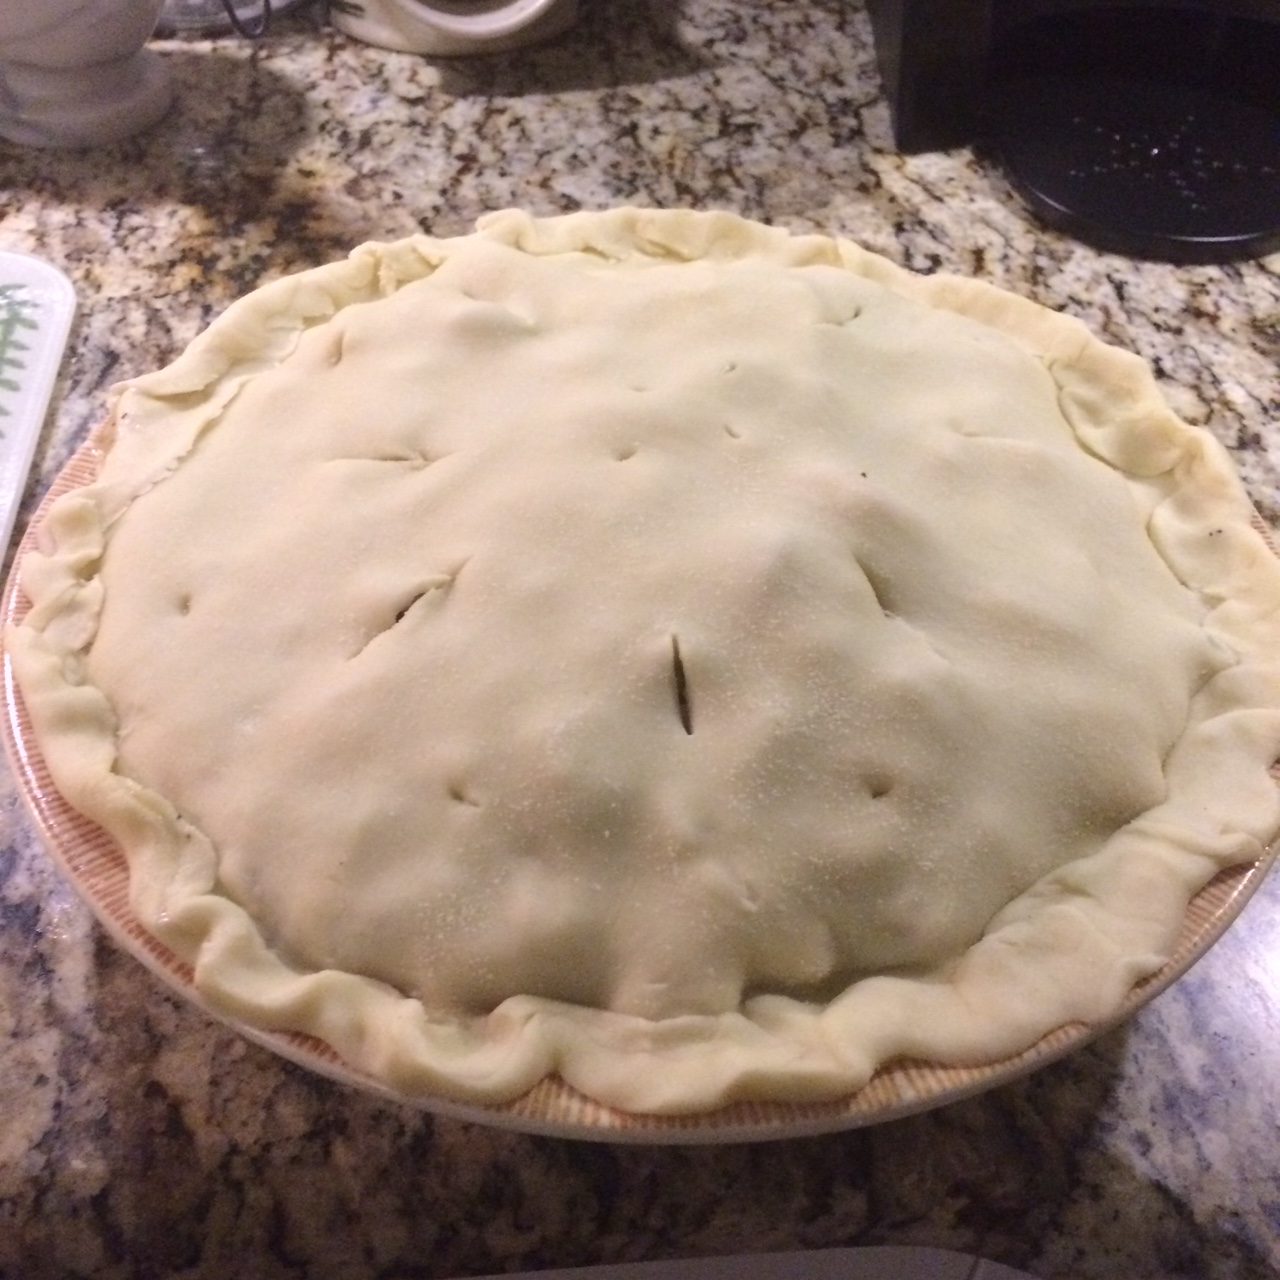
Roll out the top crust and place it on top. Pinch the edges together, folding them over towards the middle if any dough overlaps the edge of the dish. Cut some 1/2-inch slits in the top crust, maybe 8-10 slits; there’s no magic to the number or design of these, just spread them out reasonably.

img_1287Some folks like to egg-wash their crust for a glossy top; it doesn’t affect the flavor, so I don’t bother. If you like this look, scramble 1 egg and use a pastry brush to “paint” the top crust with the egg wash.

Tear a couple of 2-inch strips of aluminum foil for wrapping the pie edges during the last 5-10 minutes of cooking; this will prevent the edges from burning before the rest of the crust is cooked through and crispy.

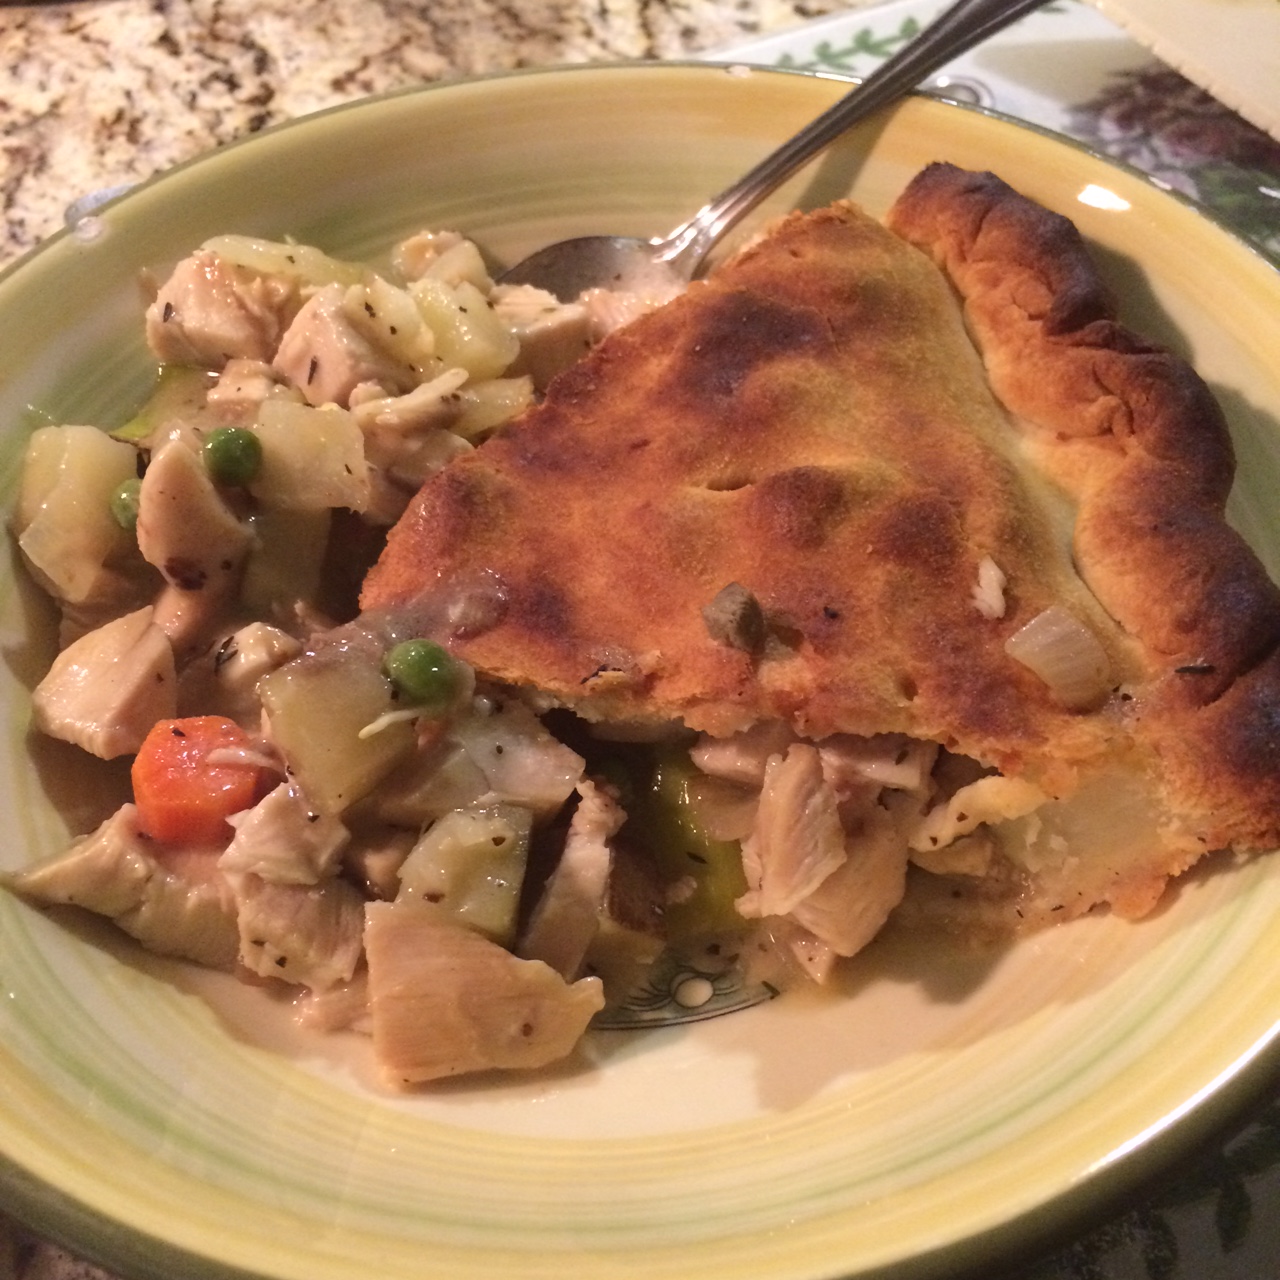
Bake at 475°F for 20 minutes for a standard 9-inch pie dish. If you’d like the pie edges a little less dark, add foil round the pie edges at the 15-minute mark. Since all of the inside ingredients are already cooked, you just need for the crust to cook all the way through.

img_1289