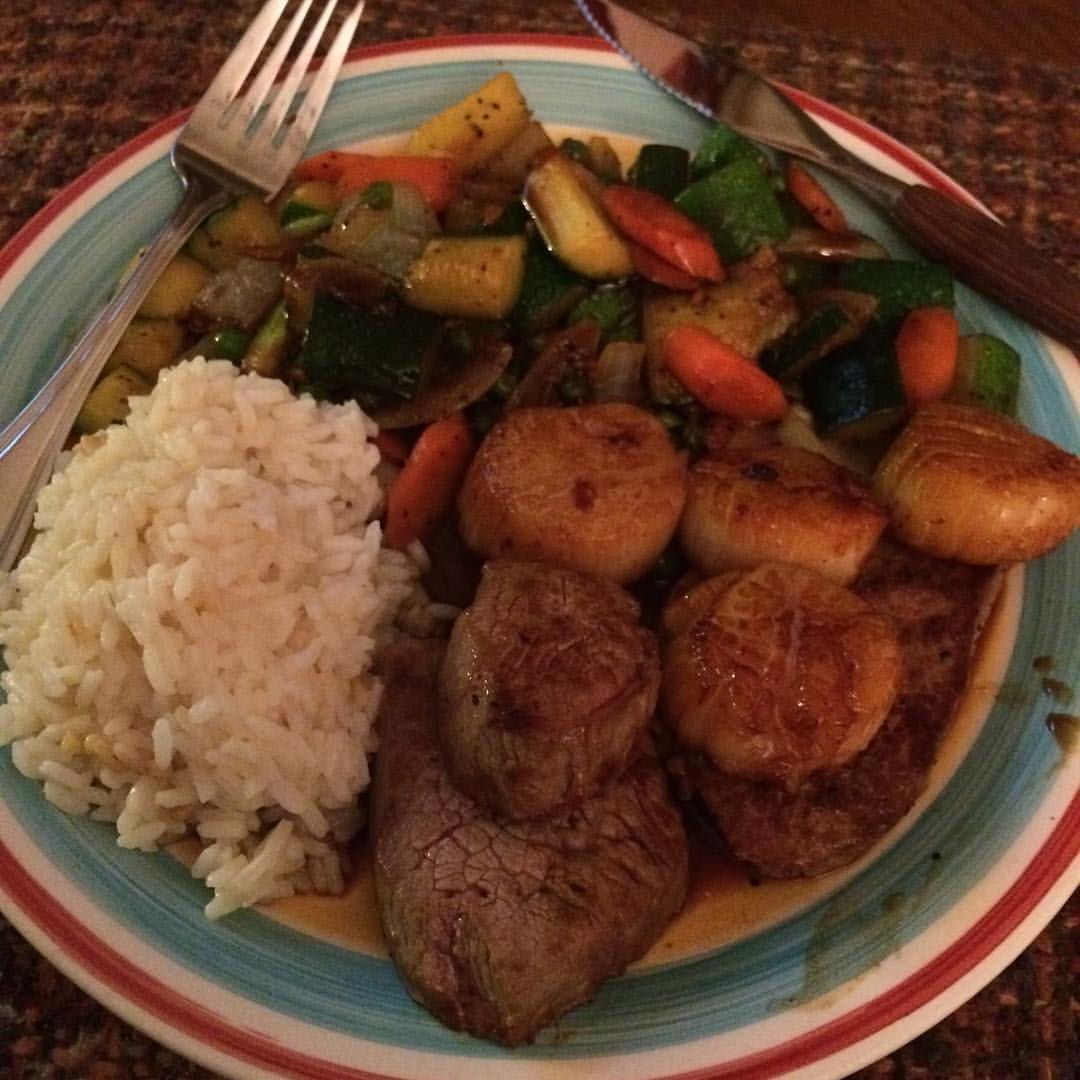
Recently, I found myself craving something beefy and comforting, so I put out a call for ideas on Facebook. Boy, did my girlies come through for me. Beef Stroganoff. It has a rich history as a classic Russian dish. And wouldn’t you know it, it’s got its own website! But essentially, this dish is beef cooked in a creamy mushroom sauce.
Having spent a delicious month in St. Petersburg, Russia, in 1993, I know that, at least at that time, most Russians didn’t have regular access to good cuts of beef, and I learned that both of my Russian families made their beef stroganoff about the same way: cooking down wild, handpicked mushrooms and onions, adding some beef in to brown, deglazing with some water (making a bit of broth), and cooking this for several hours on low, then adding in some sour cream at the end to thicken up the sauce.
Sounds like the perfect crock pot recipe to me, but I wanted something a little more compact since I’d be at work all day and wanted my family to be able to put dinner together themselves. So I settled on a casserole that achieves the same purpose and delivers 4 healthy servings an no leftovers to junk up the fridge.
Ingredients (in order of preparation)
- 1/2 bag of egg noodles, cooked and drained (for gluten free and corn free, use Lehman’s Gluten Free Homestyle Egg Noodles)
- 2 large green peppers, roughly chopped
- 1 large onion, roughly chopped
- 8 oz sliced portabella mushrooms, chopped (alternatives: white button or baby bella)
- 1 lb beef, chicken, or pork (cubed beef is traditional; ground is a great, less expensive alternative)
- 1 can cream of mushroom soup (for gluten free and corn free, use Pacific GF cream of mushroom soup or my homemade recipe)
- 1 cup sour cream (or milk if you’re out of sour cream)
- 1/4 t kosher or coarse sea salt
- 1/2 t ground pepper
You can see I’ve gone with a little help from the pantry rather than a totally-from-scratch recipe.
So I start with cooking the noodles. When they are drained, pour them into a casserole dish, lightly sprayed with cooking spray if you’re worried about sticking, which is not usually a problem.
 Next I move on to the veggies…on medium heat and with 1 t of your favorite cooking oil, sweat the water out of the mushrooms and then add the peppers and onions for a quick saute; I’ve stopped cooking veggies in oil. I do these separate because I want to make sure they keep their crunch. If I put them in with the meat and sauce, they would cook down and have no texture left to liven up the casserole when it’s heated. Before they start getting brown, dump them in with the noodles and give it all a quick stir.
 The last part is just as quick. We had some venison stew meat already cut up, so I tossed that into a pan with a little olive oil. When it gets just barely cooked through, dump in the cream of mushroom soup and sour cream, stir, and simmer for maybe 10 minutes, mostly to make sure the sauce comes together. Then dump this in with the noodles, peppers and onions, stir, and viola! Beef Stroganoff Casserole.
Now, certainly, you can pop this in the oven to finish and serve it up in about half an hour.
But I needed this as a make-ahead. And here are the instructions I’ll leave for the family to follow tomorrow:
To have dinner ready to eat by 6:30 pm, start at 5:45 pm
- Preheat oven to 350°
- Take the casserole out of the fridge and stir slowly and carefully
- Cover the casserole with aluminum foil
- Put the casserole in the oven for 30 minutes
- Take the foil cover off and put in for another 15 minutes
As I’ve got Harris Teeter brown and serve rolls to go with mine, I’ll add the rolls during the final cook since they take 12-15 minutes. My folks will also be cooking up some sauteed squash and onion to go with this casserole.
For 8 nutritional servings or for 6 fuller servings, double the noodle, beef, and soup quantities; I also fully double the veggies, but that can be too much for many. Do not double the sour cream; there’s no need.

 When rice is finished, mix in browned sausage, warmed peppers and onions, and olives. I leave my olives whole because all of my peeps like them; feel free to slice or chop yours up if you need to hide them ;-).
 For a family of 2-4, this meal can be made using 1 cutting board, 1 chef’s or chopping knife, 1 mixing bowl, and 1 large baking sheet. You can make clean up even easier by lining your baking sheet with foil.
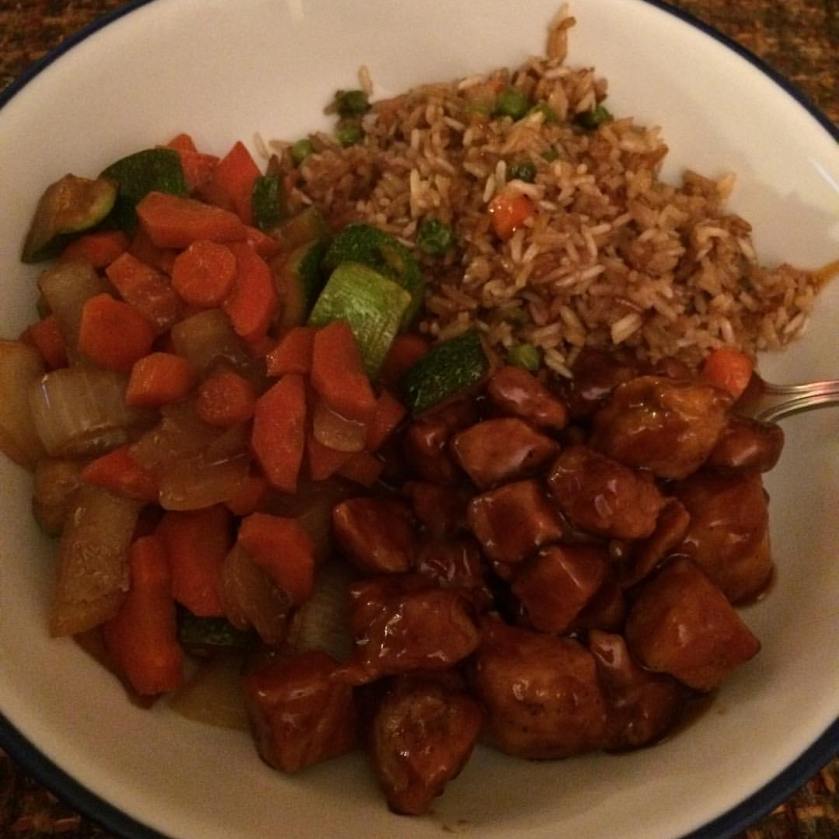
 I LOVE the show and the flavor of a great Japanese hibachi meal, but I don’t have one of those amazing, huge hotplates for making everything at the same time. So I turned to what I know of cooking rice casseroles and oven steaming veggies to see how I could make this dinner easier and faster. Here’s how it goes:
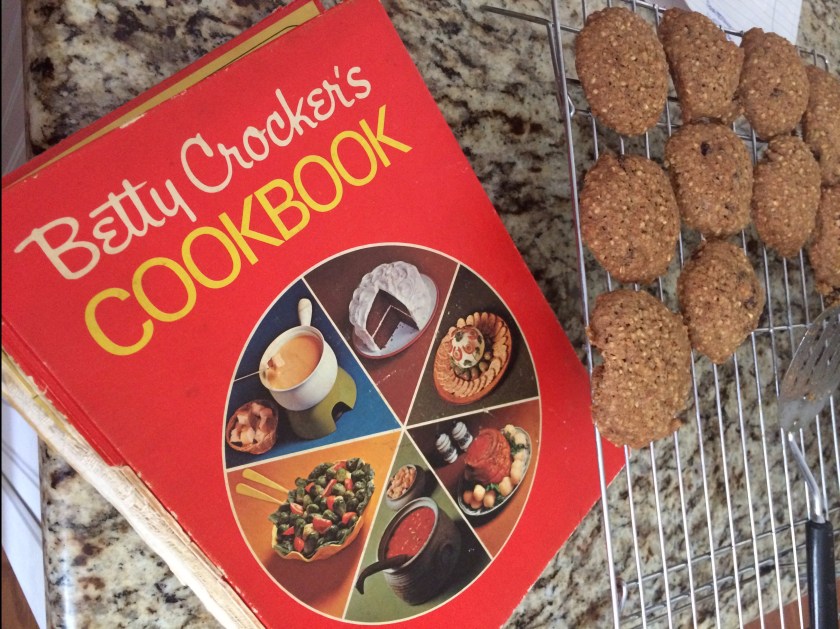
 For such a classic cookie, I always start with my Mom’s use-worn Betty Crocker cookbook, where butter is always listed as “shortening.” But I made a few adjustments to let me use up as much of these random ingredients as possible.
 Drop by teaspoon-fuls onto a silpat or a greased cookie sheet; for this step, I use one of my few
  When I use all three of my baking sheets at once, I can get nearly all of the dough in at the same time. I had about 1 dozen left for the second round. That’s another great strategy for making cookie baking easier and faster. Works when you’re doing cut out and decorate cookies too!
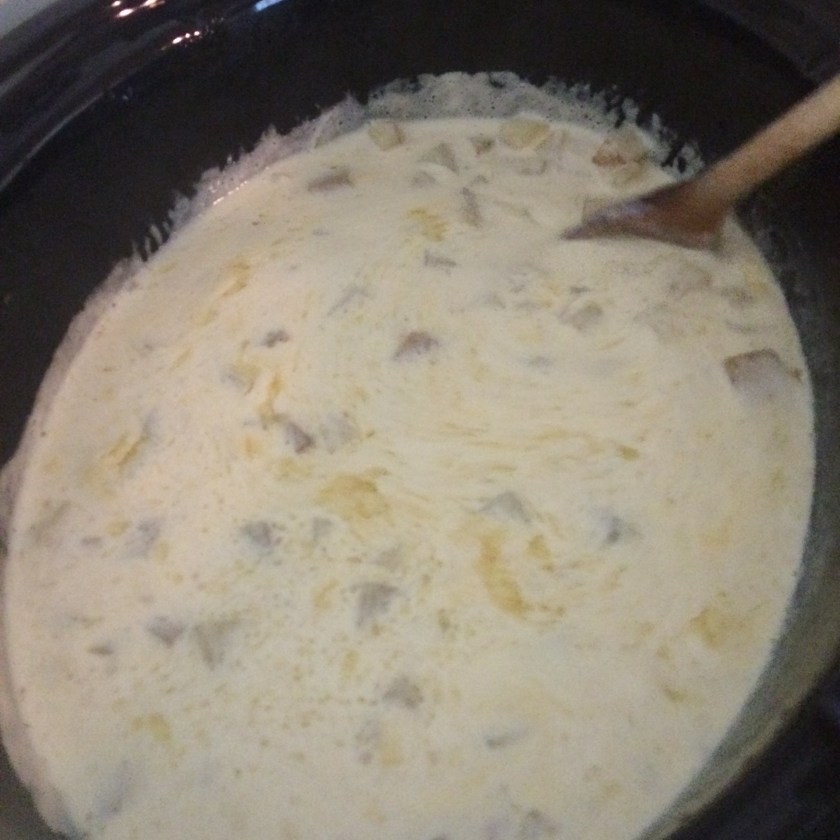
 Sure. It’s just regular Potato Soup with cheddar cheese added, but I just learned that my younger cousins never learned our Nannie’s Potato Soup recipe. I did because it’s my mom’s “sick soup.”
 This is one of my favorite soups to do in the crock pot, mainly because my chicken and veggie stock are made ahead and frozen, and I can’t ever remember to thaw them out. Using the crock pot, I can put all but the heavy cream and cheese in at once and set it on Low for 6-8 hours. It takes a little more than an hour for the frozen stock to thaw and cover the potatoes and onions and cook.
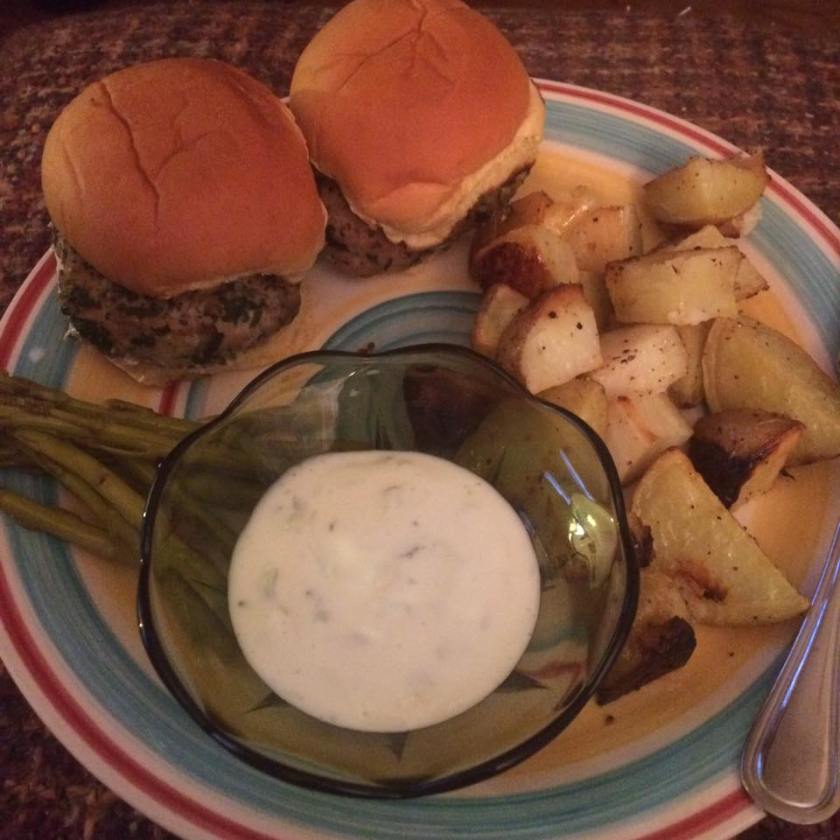
 My mom likes your run-of-the-mill shaved meat gyro, and we often get our annual Greek Festival lamb dinner for Mother’s Day each year, but for the most part, my family of four doesn’t really do Greek flavors. So when they asked to have the “Greek Turkey Burgers” I’d labeled for the freezer – for me to have as one-offs – I said sure; it was tame enough even for them.