My little family of four, we’ve never quite gotten over the old days when our families of 16 or so gathered and needed more than one turkey. So each year, even as we’ve grown smaller, we still cook two turkeys, which leaves us with a LOT of leftover turkey. We don’t seem to have a problem making smaller amounts of our sides.
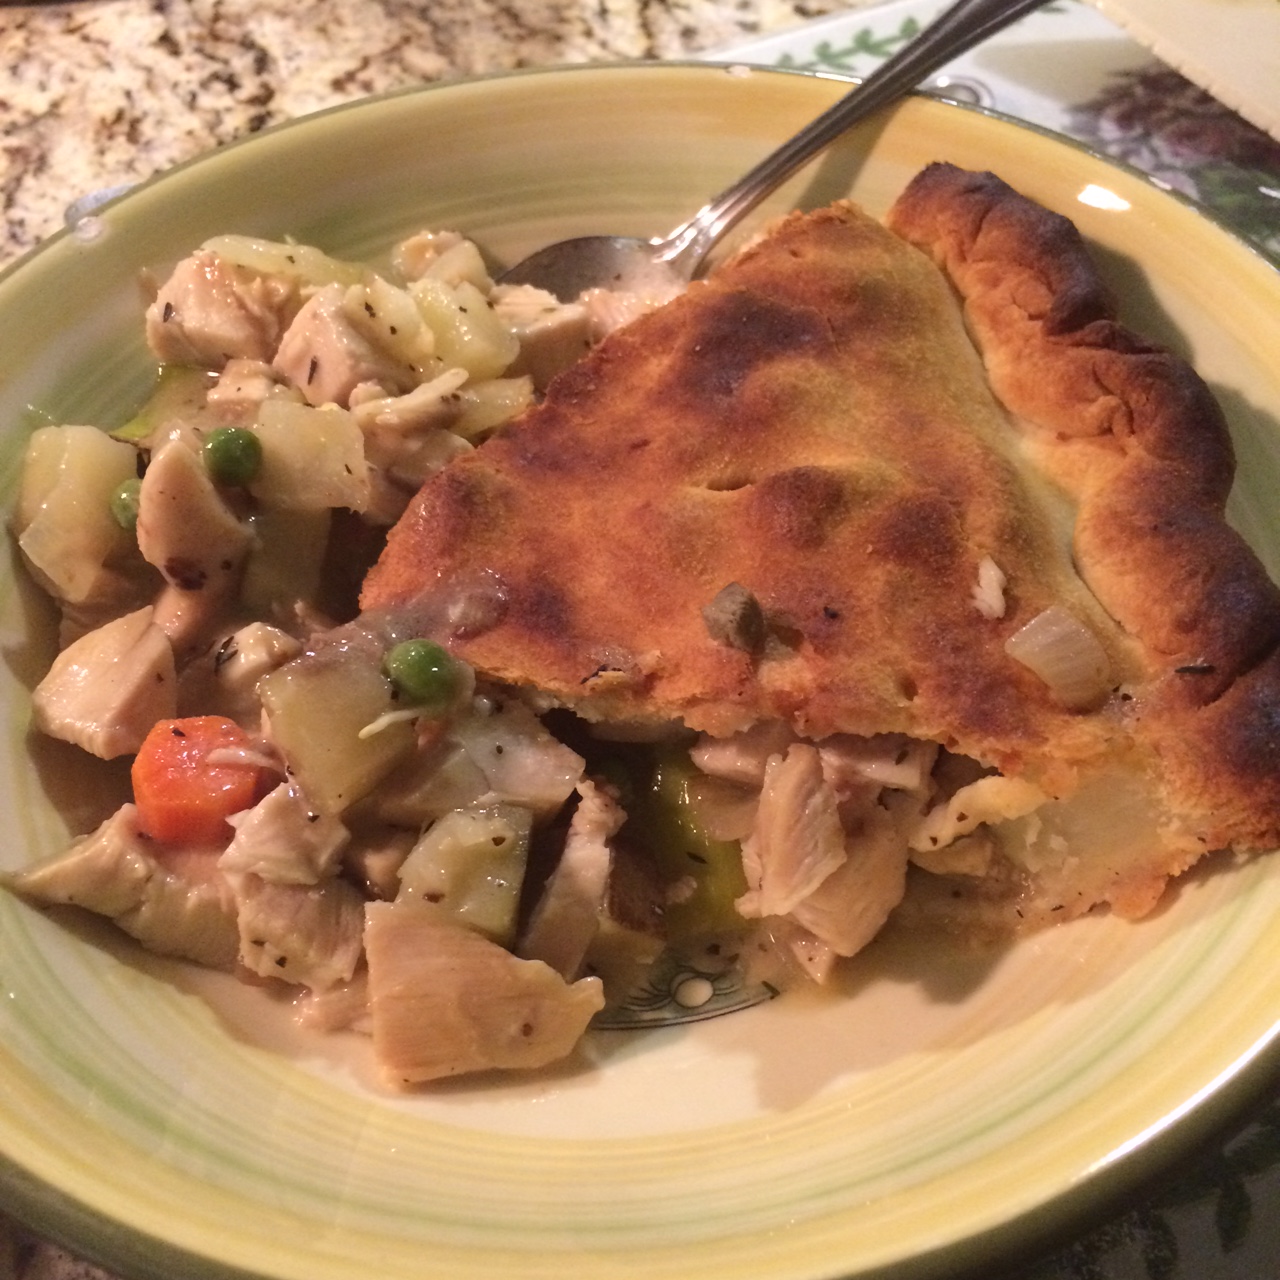
This year – yesterday, to be precise – I volunteered to turn the remaining roasted turkey breast (the only whole one left) into Turkey Pot Pie. After all, we had nearly everything we’d need on hand; I only had to buy more carrots and another leek.
Notes: the two things most people do that mess up a good pot pie are
- prepare too much filling
- forget to or ignore instructions to cover the edge of the crust with foil for cooking to prevent it from burning
So let’s get to it:
Step 1: Make the pie dough
Today, I’m taking a shortcut and using store-bought pie crust, just Publix brand. But when I make pie dough for savory pies, I use the Savory Pie Crust recipe from Food to Live By. Typically I have some in the freezer made with rice flour to be gluten and corn free, but I’ve been slack.
Step 2: Prep the filling
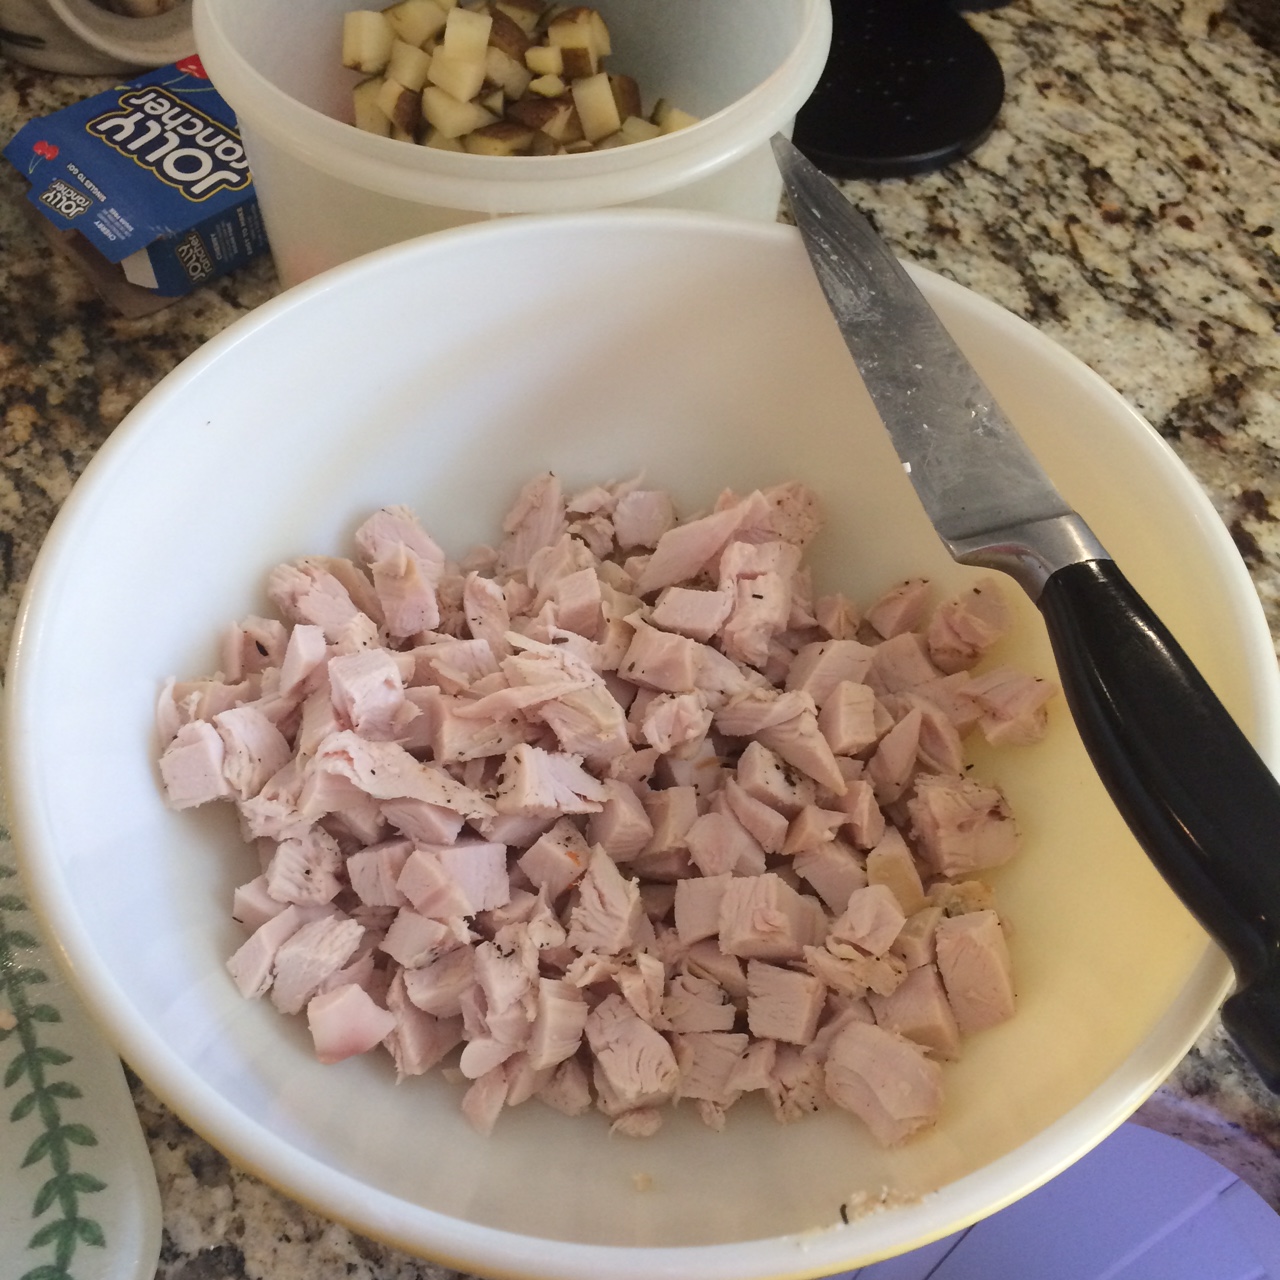
 1 whole turkey breast from a 15lb turkey, diced
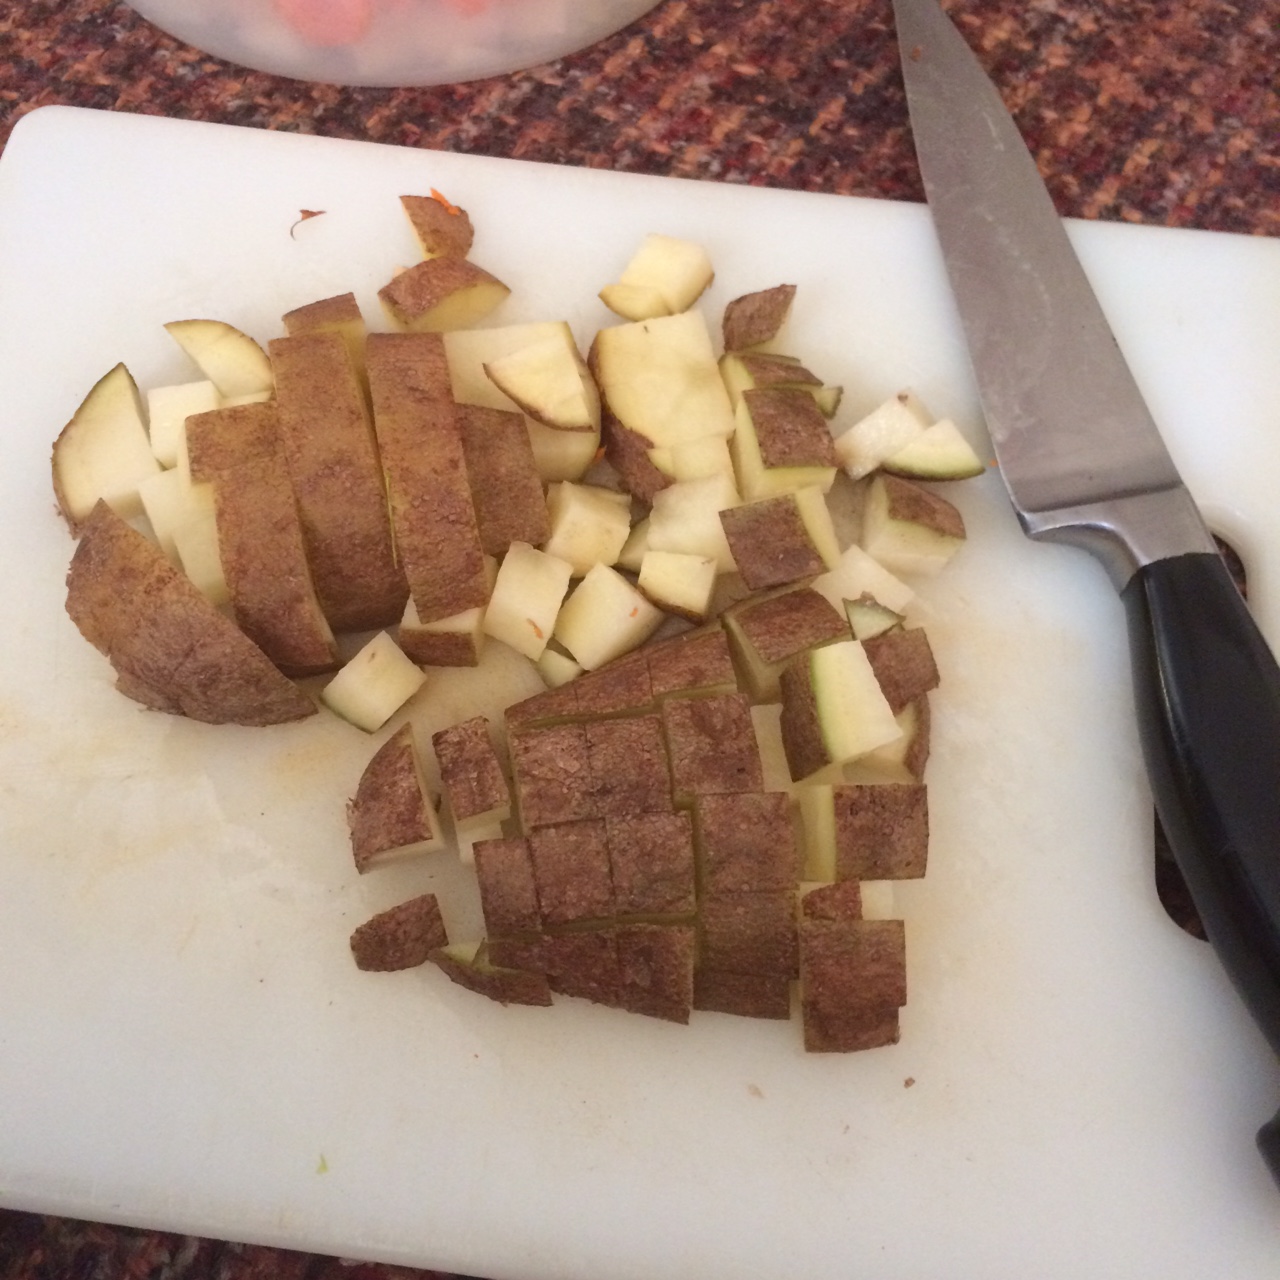
- 1 large potato, diced medium
- 4 medium carrots, peeled and chopped
- 1 medium onion, peeled and diced medium
- 1 leek, white only, halved and chopped
- 1 cup of peas, fresh preferably but canned or frozen will do
- 1-3 cloves of garlic
- 2T grapeseed oil (or olive or coconut oil, whatever oil you typically use for cooking)
- salt and pepper
- savory herbs you like (traditional are thyme and rosemary)
 Put the diced potato on to boil; simmer for 5 minutes. You don’t need it cooked soft since it will finish cooking in the pie. Drain and put in large mixing bowl with diced turkey.
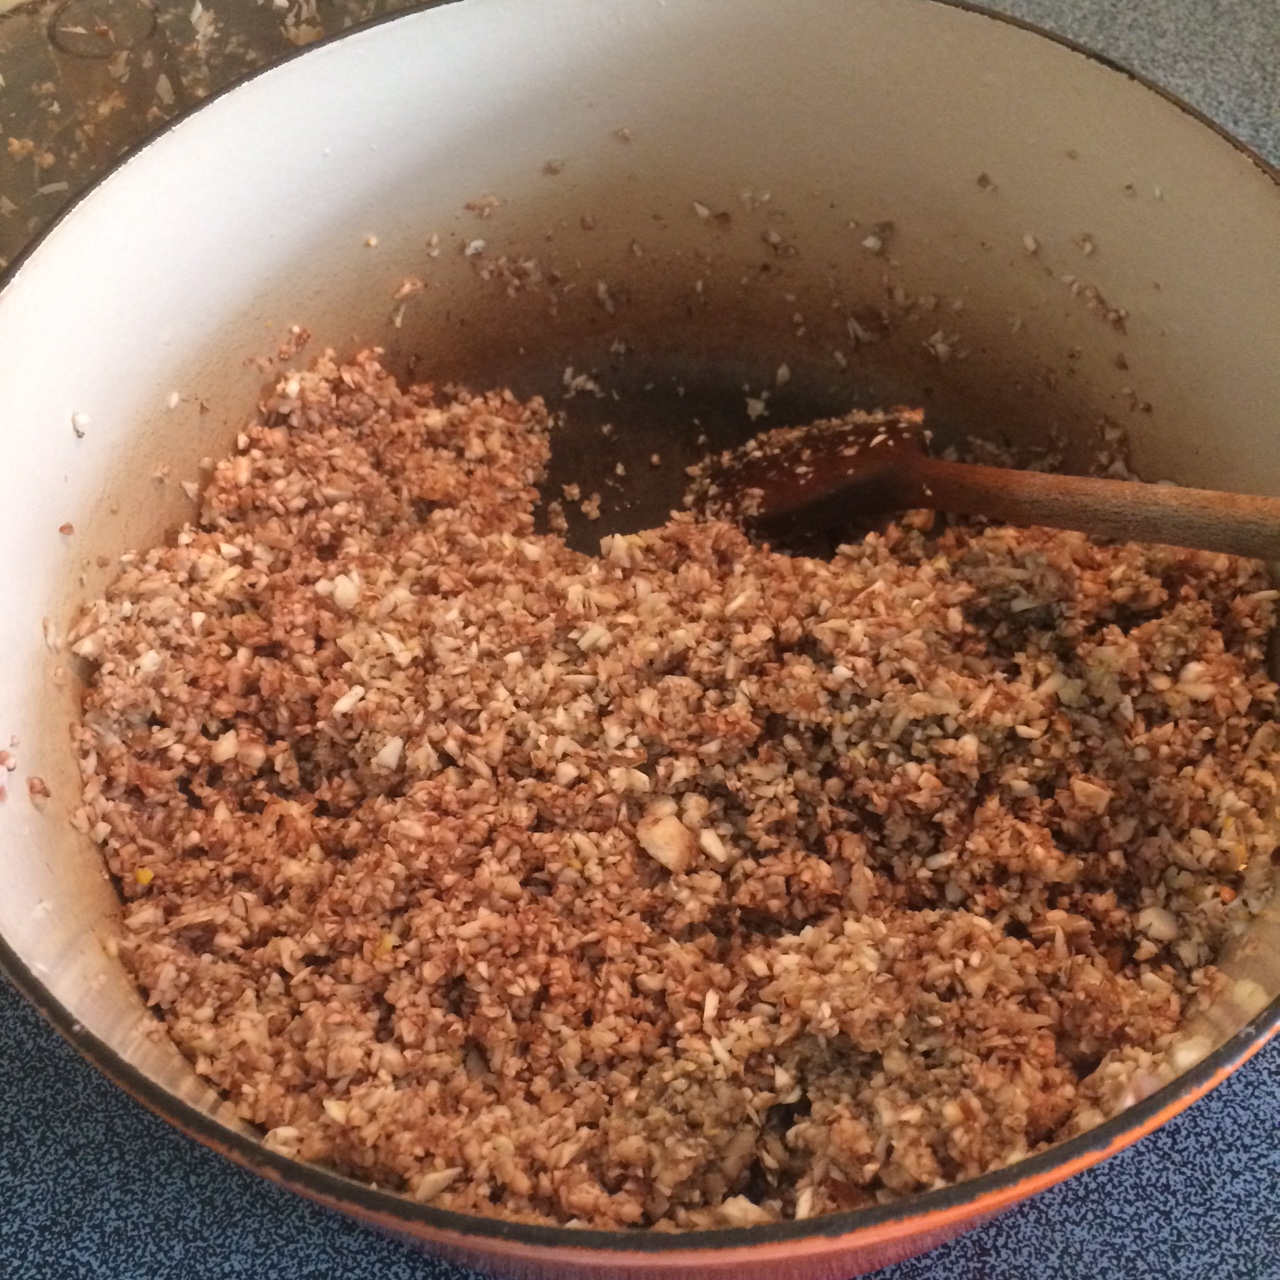
Heat your oil on medium in a large skillet. Drop in the carrots first; season with salt and pepper and stir gently for 5-6 minutes.
Add the onions and leeks and garlic; season with salt and pepper and any savory herbs and stir gently for 4-5 minutes. Since I brined and cooked my turkey in sage, rosemary, thyme, and sage, I added only some thyme; it’s my favorite!
 Add mixture to large mixing bowl with the diced turkey and cooked potatoes. Mix gently.
Step 3: Whip up your sauce
- 2T butter
- 2T flour (wheat or rice)
- 1/2 cup milk or cream (unsweetened, unflavored almond milk or soy milk works, but rice milk does not)
- 1.5 cups turkey or chicken stock (homemade or Pacific)
- salt and pepper
 Pot pie sauce or gravy is nothing more than a basic white sauce, the same as chicken gravy you’d make after frying chicken. I actually have some giblet gravy left over from Thanksgiving that I will use for my sauce this time, but here’s how to make it when you don’t have leftovers.
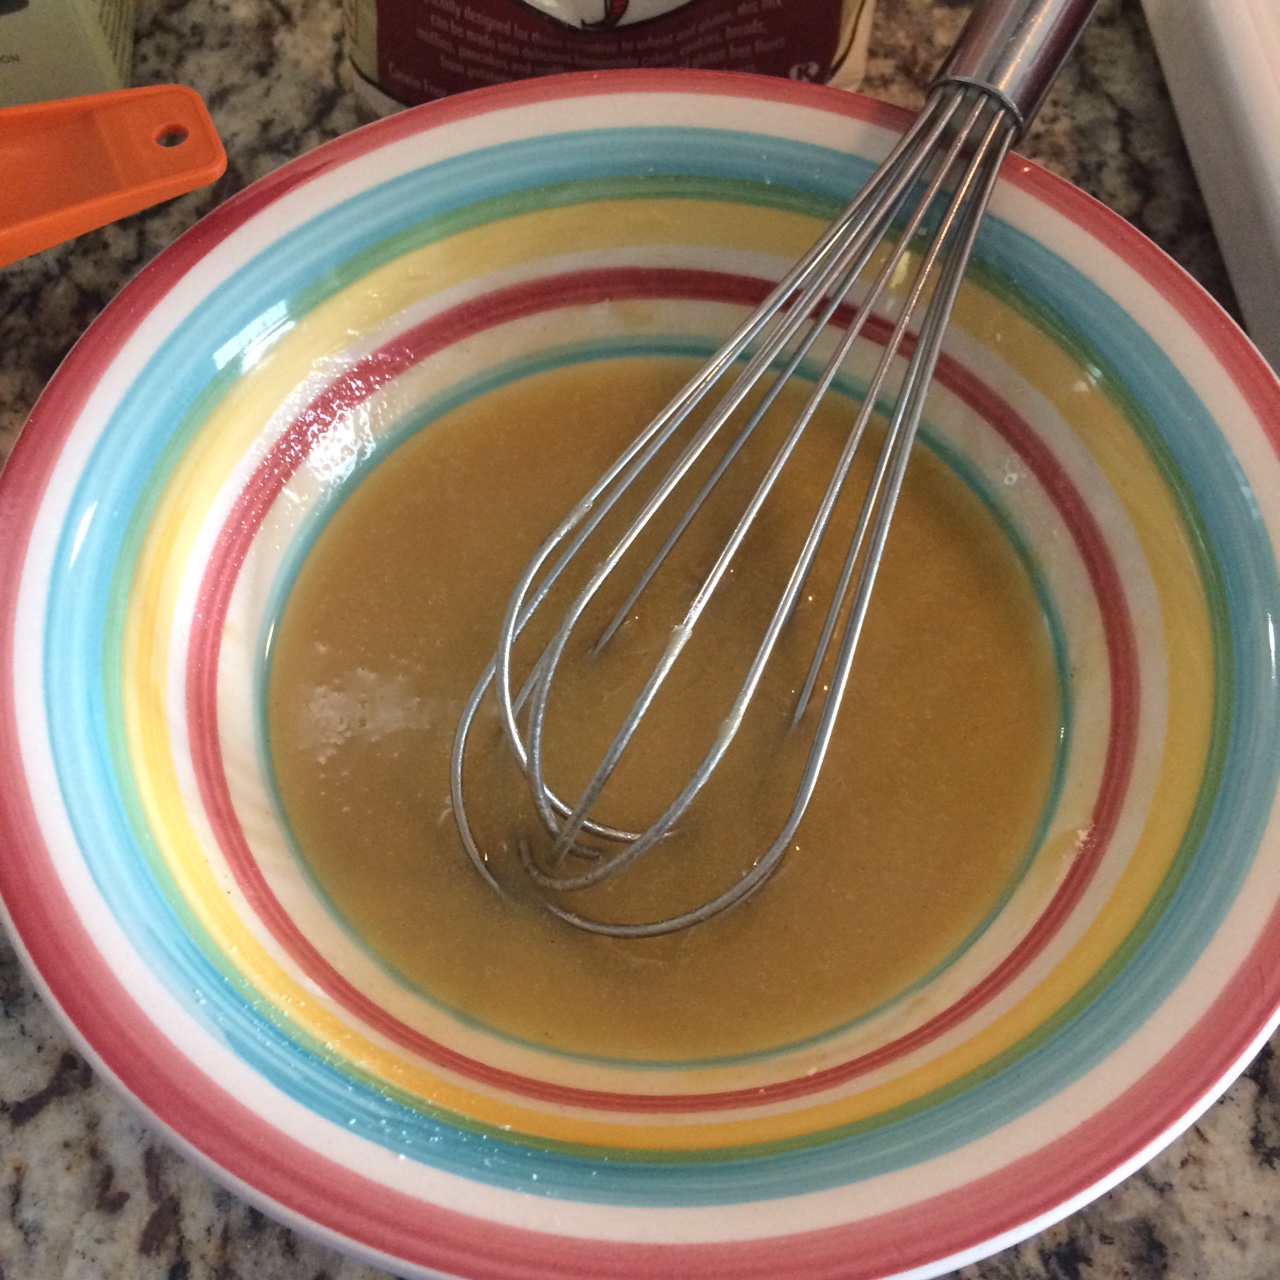
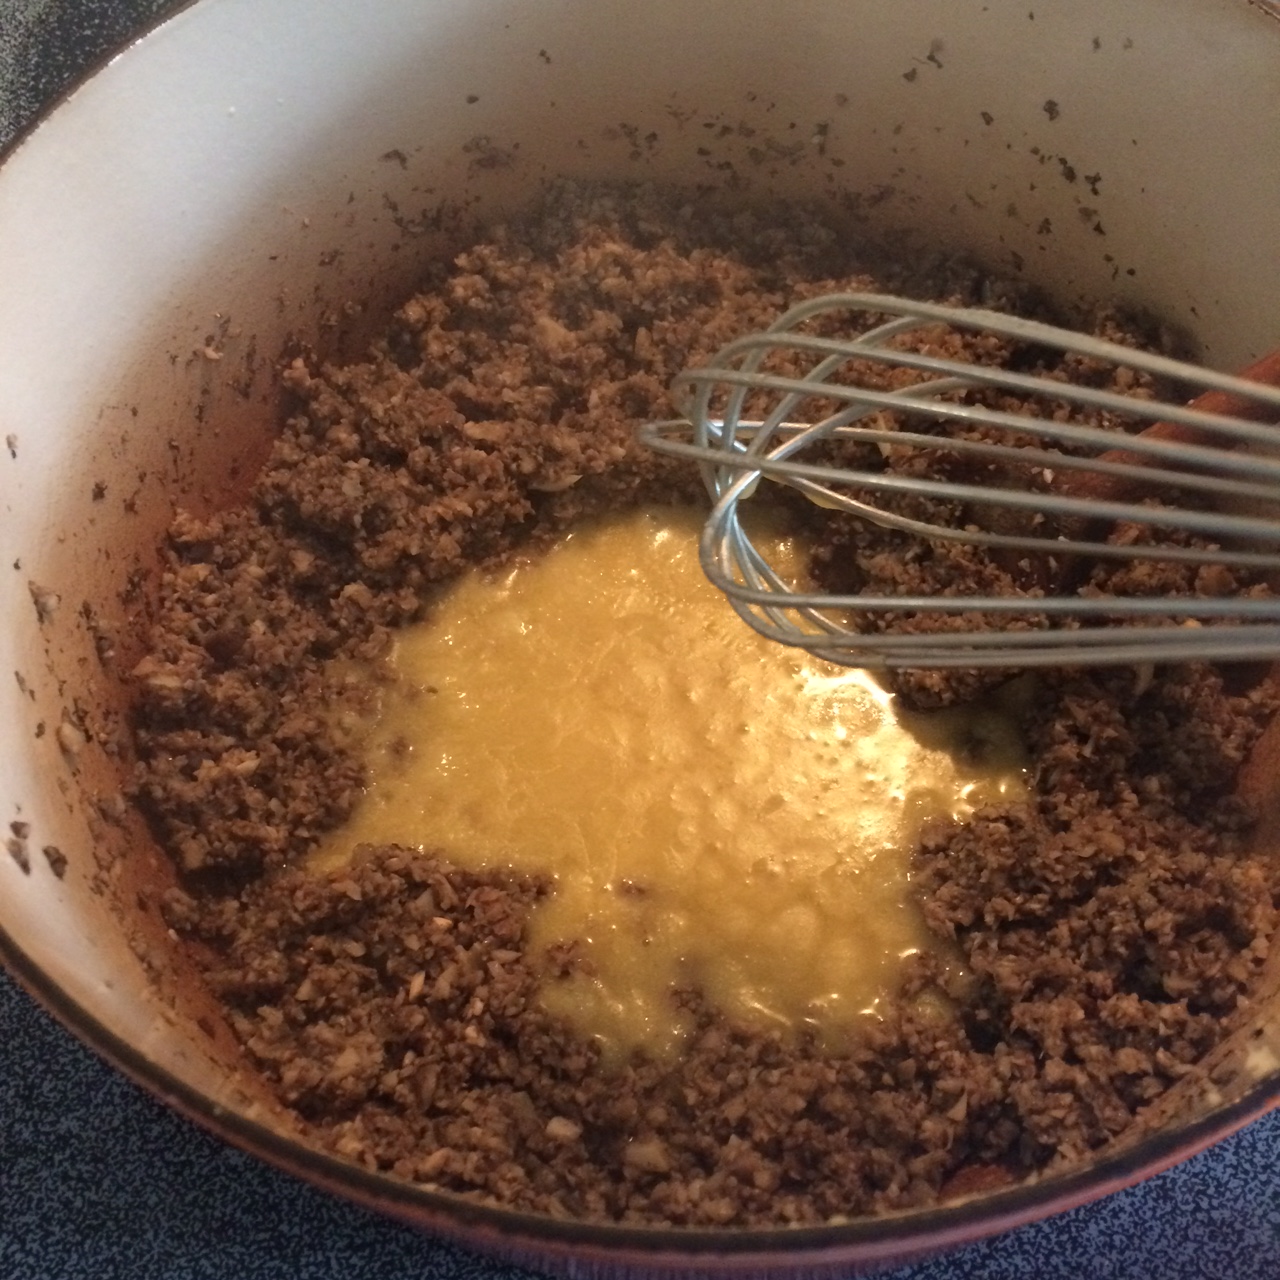
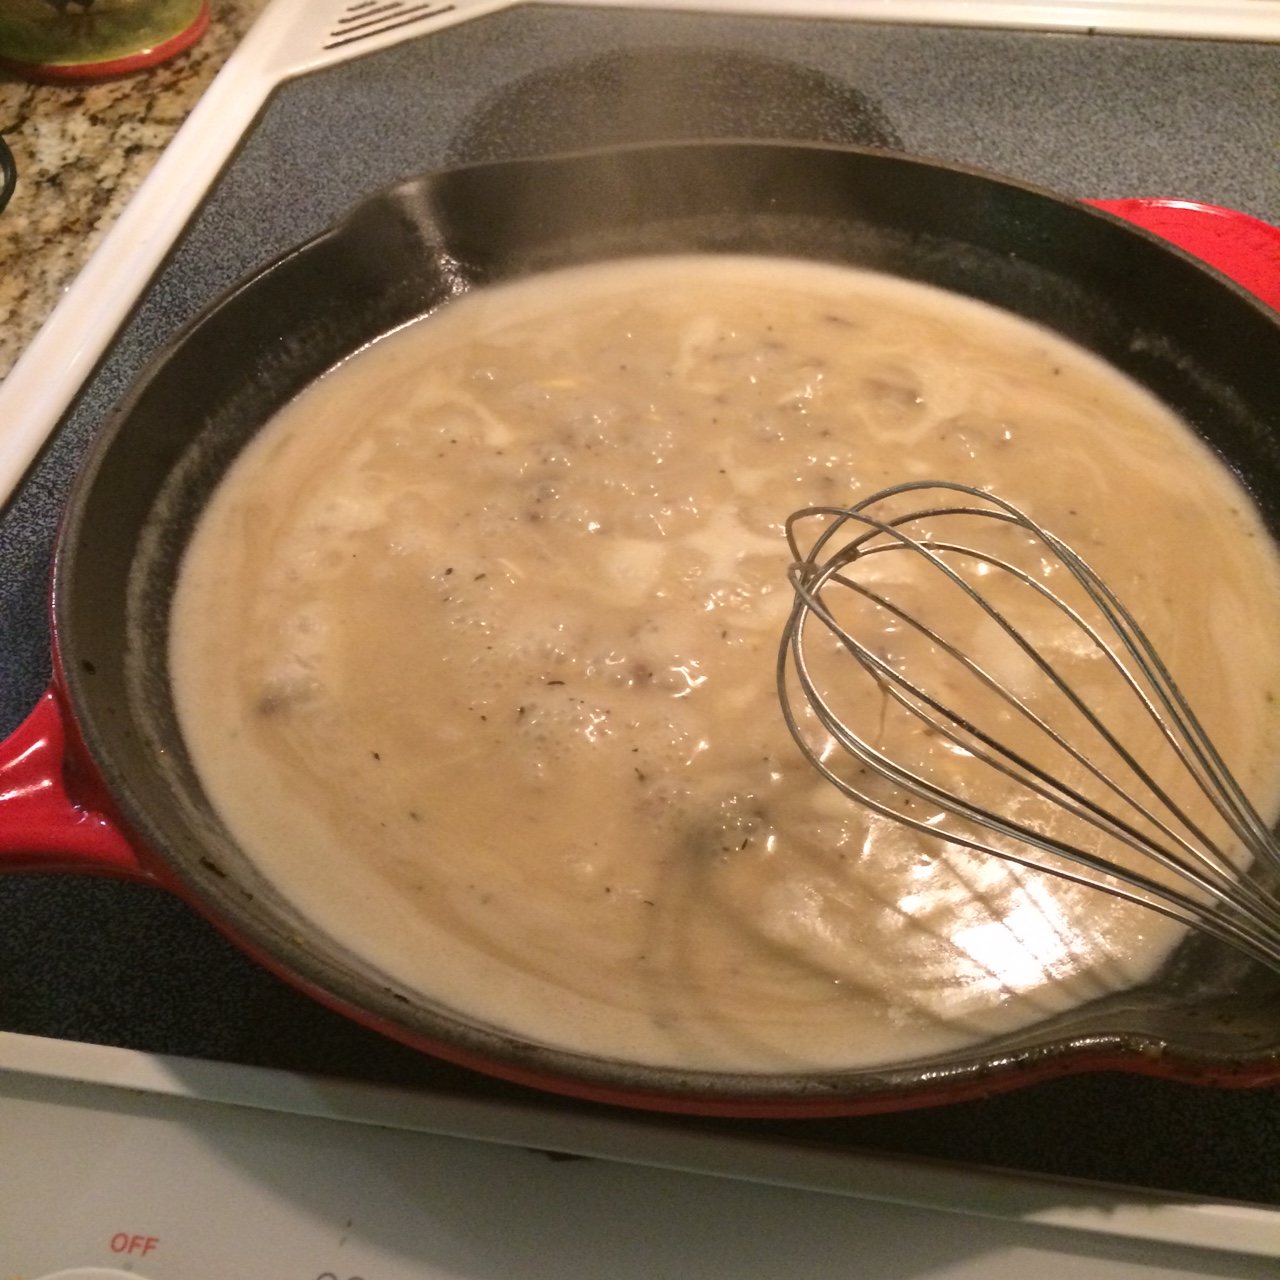
In the same pan you cooked the vegetables (don’t clean it!), add the butter, still on medium heat. If the skillet is large, keep the butter in one spot rather than moving it around the skillet. When the butter is completely melted, add the flour and whisk quickly for about 1 minute. This is a roux.
 Add the milk and half of the turkey/chicken stock, whisking calmly to blend the roux into the liquid smoothly.
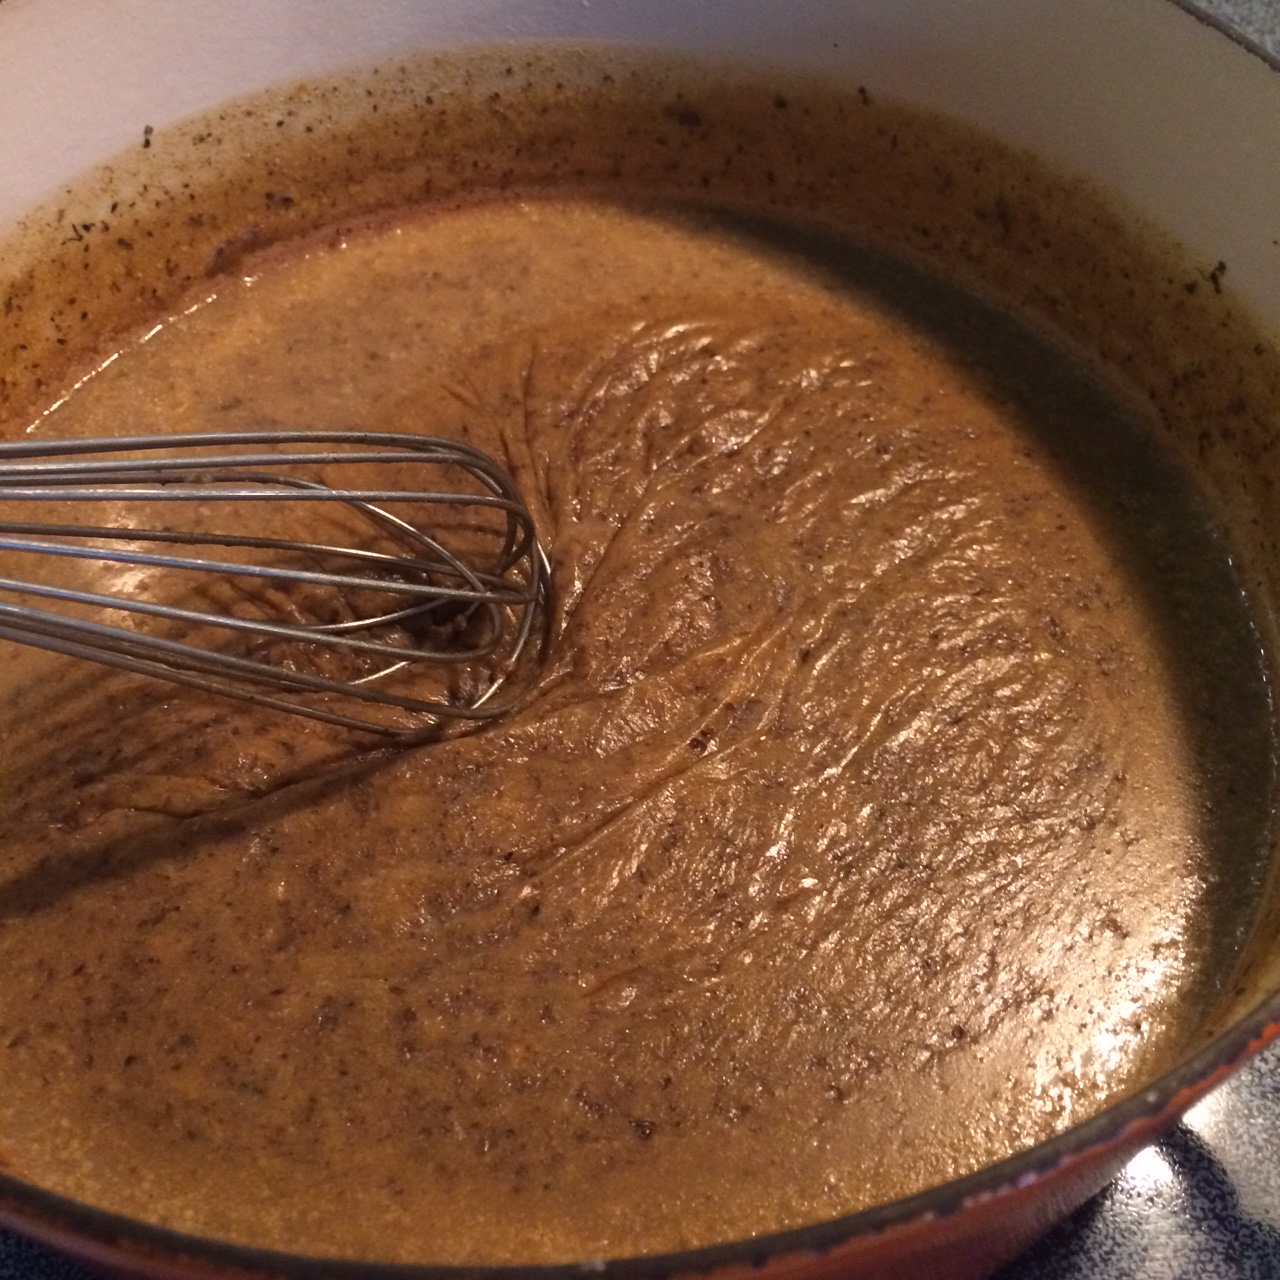
Now is a good time to salt and pepper your sauce, stir, and taste for balance, while you’re waiting for the sauce to come to a boil. That’s when you’ll also feel the sauce get thick quickly as you stir and blend; add the remaining stock and continue stirring. This makes about 2 cups of sauce.
Pour into the large mixing bowl on top of the turkey, potatoes, and veggies. Mix gently.
A semi-homemade alternative is to use 1 can of cream of chicken soup and add 1 cup of milk or stock to thin it out.
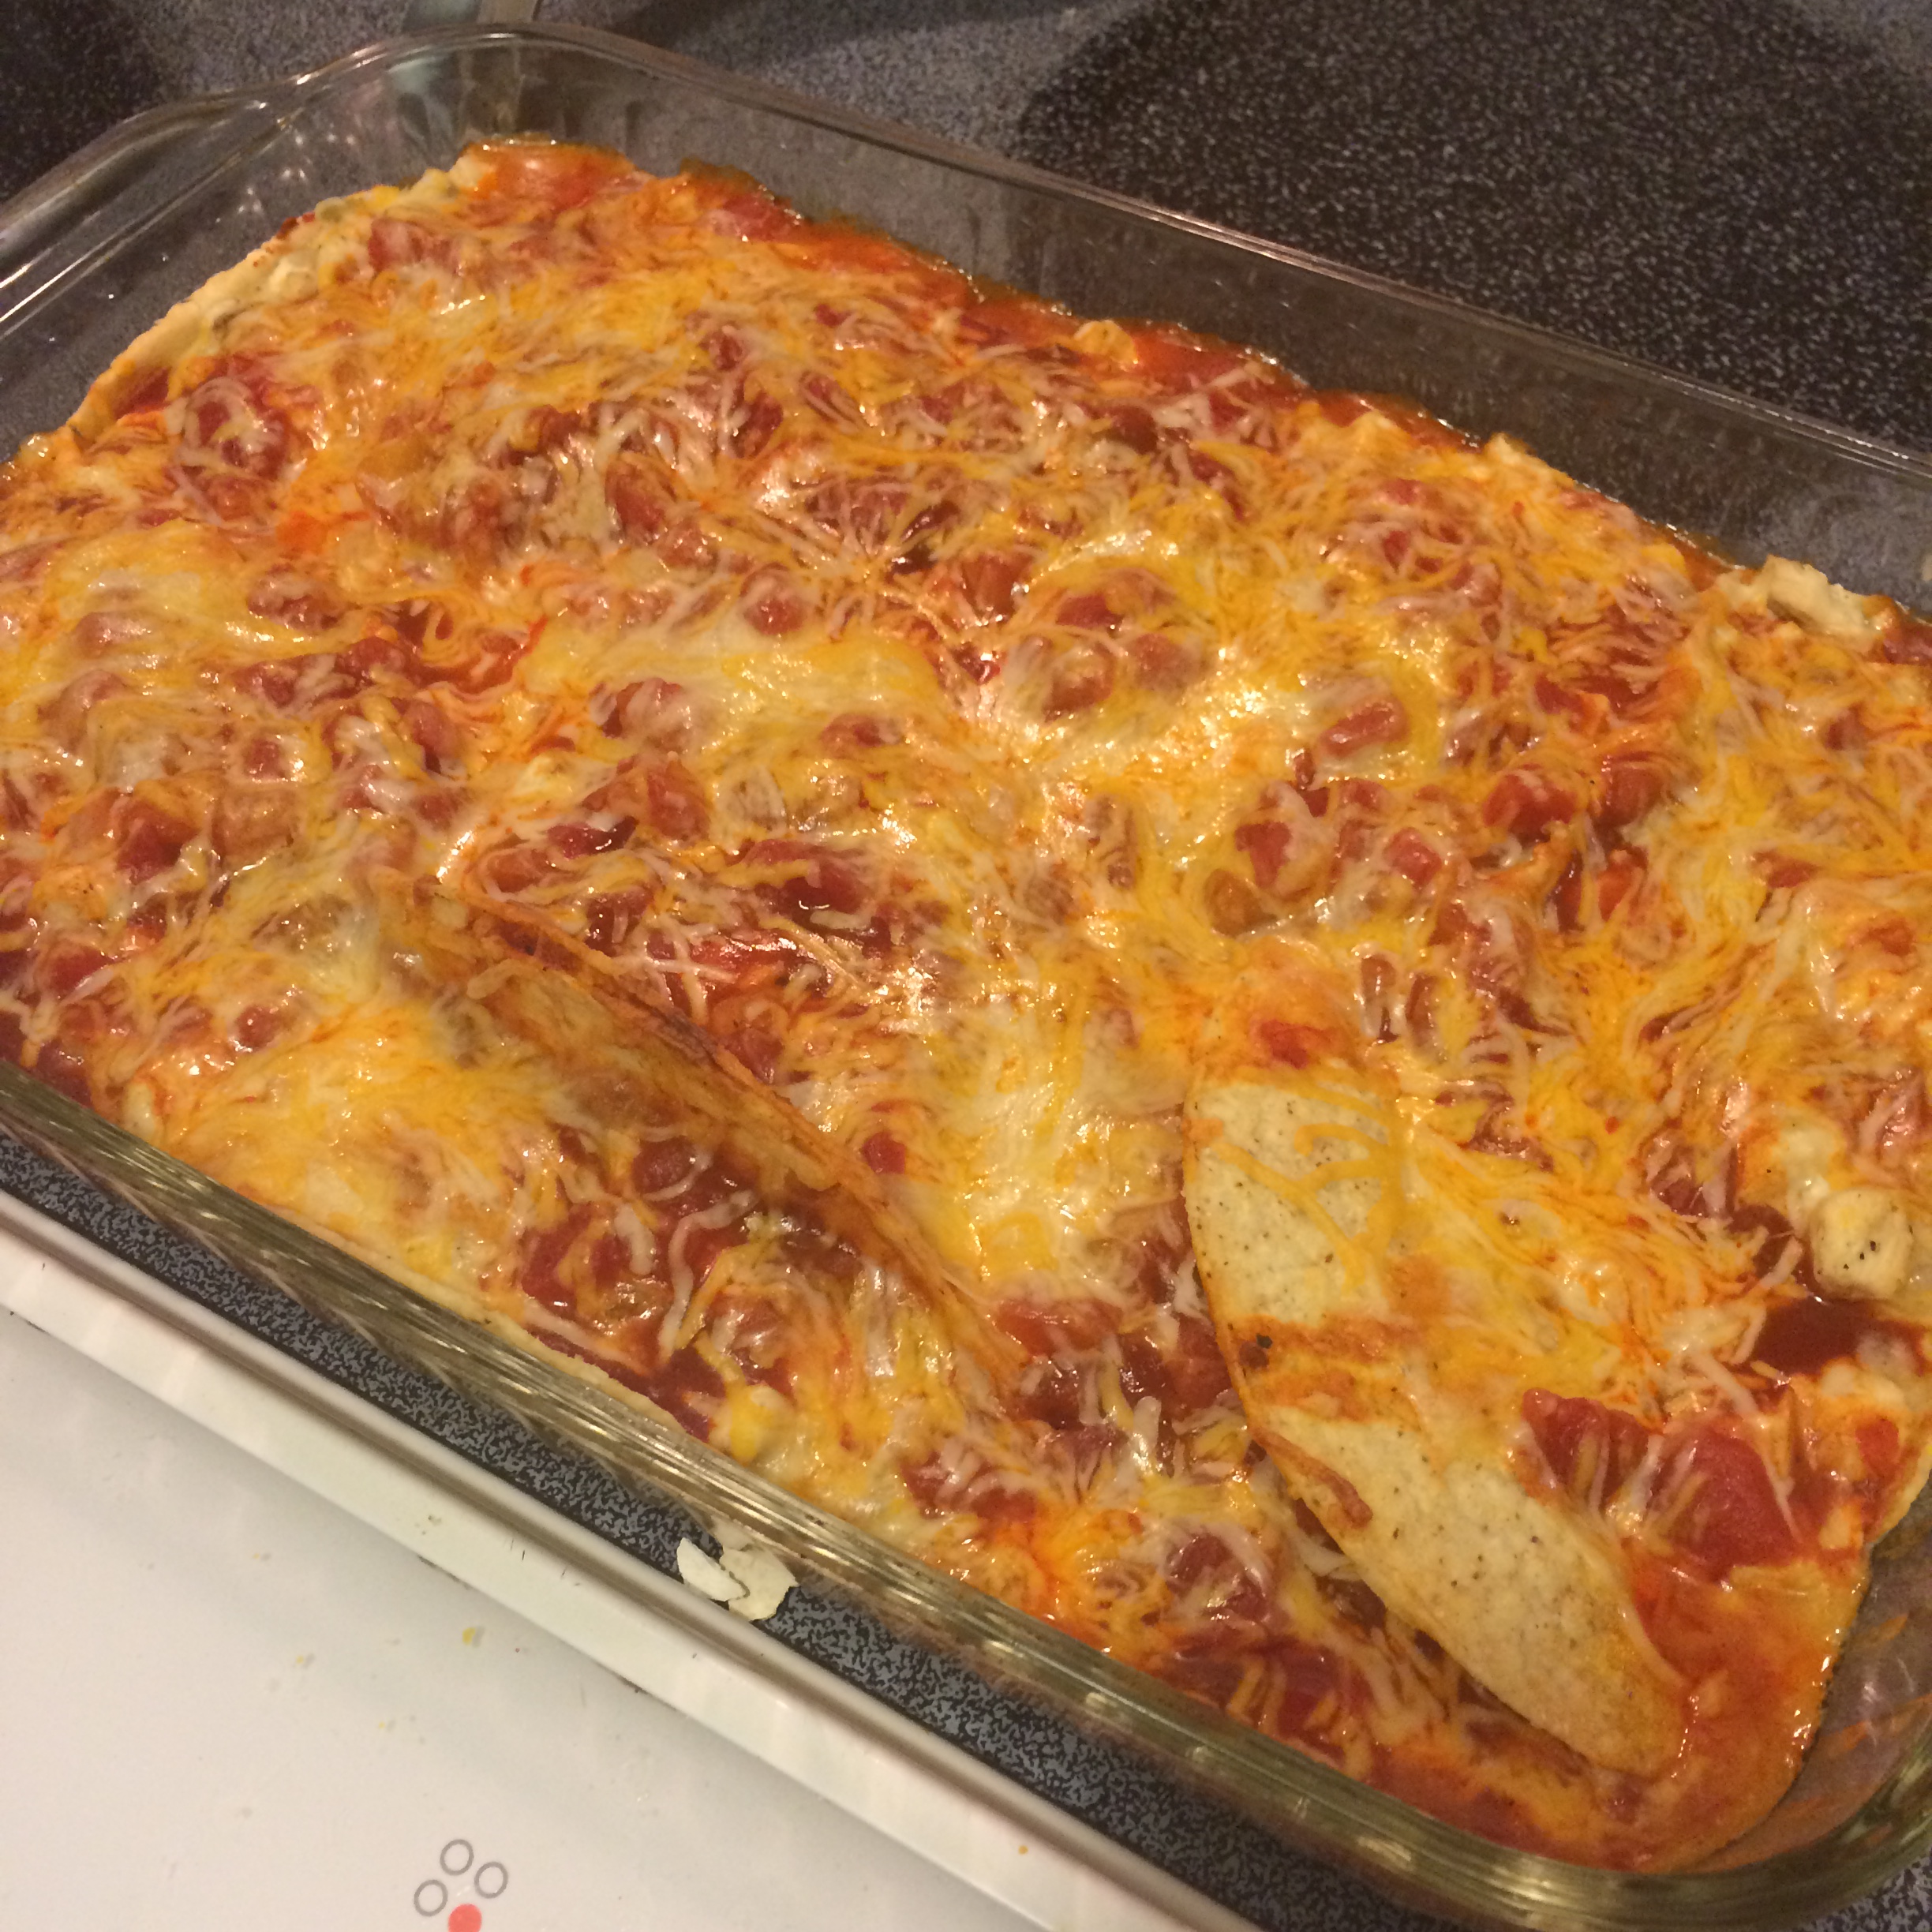
Step 4: Assemble your pie
 Roll out your store-bought or homemade dough and place in the pie dish. There’s no need to grease or butter the dish; the dough has enough butter/fat in it already to prevent sticking.
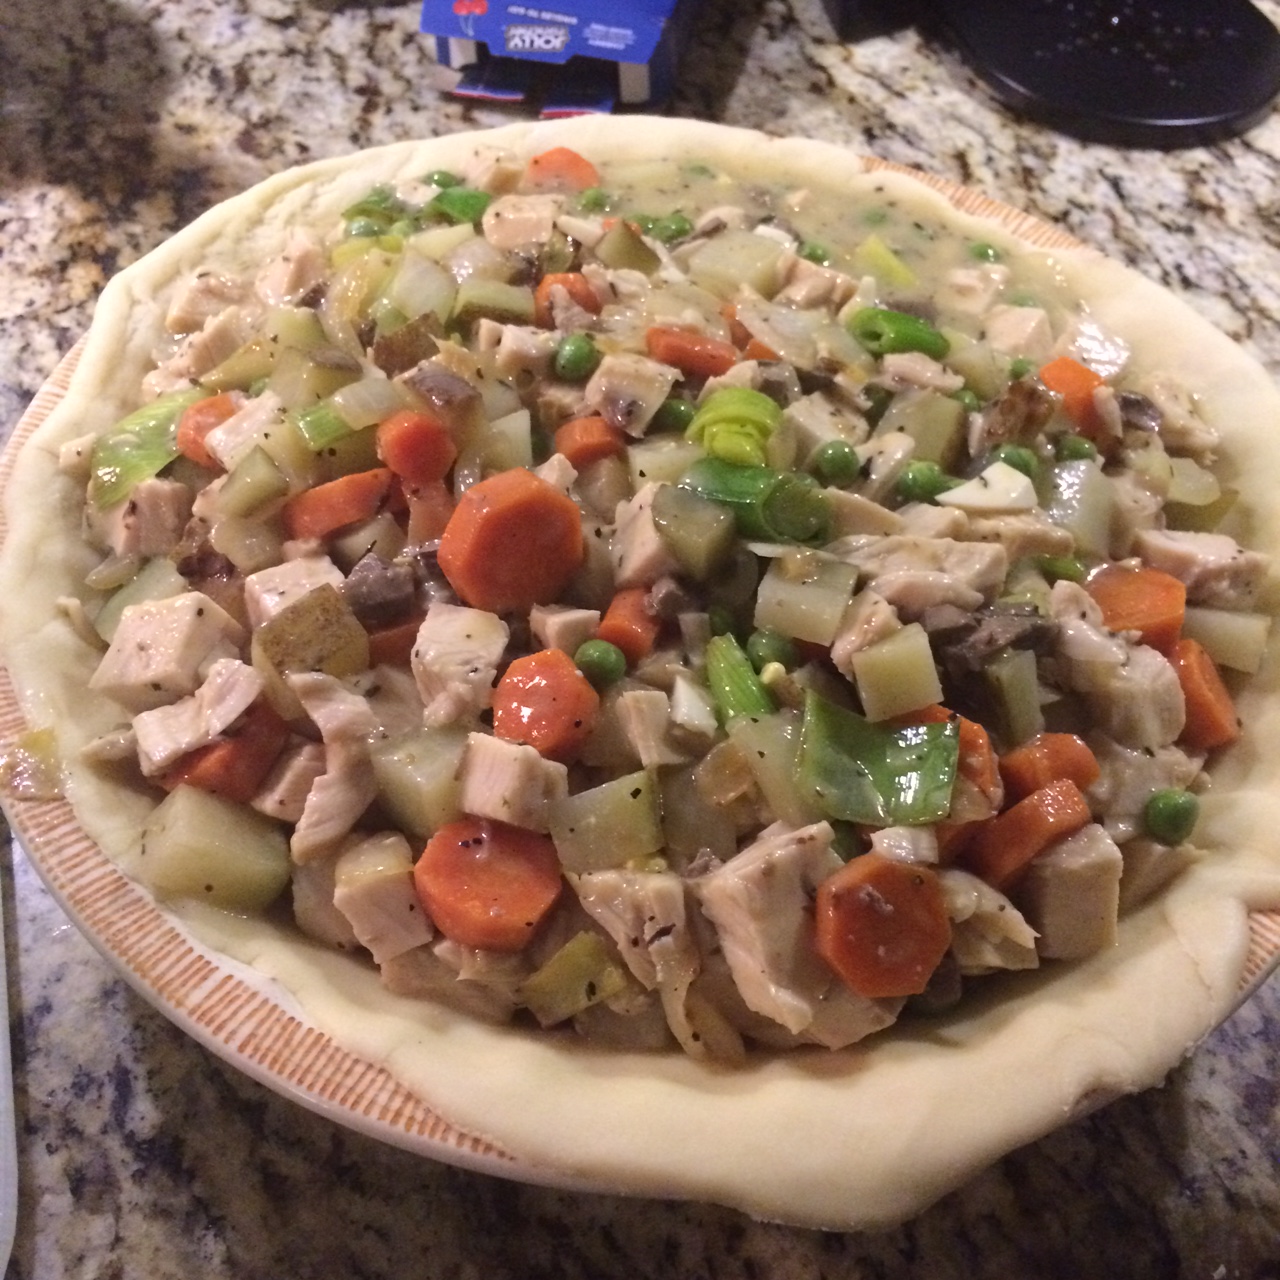
Dump your turkey-vegetable-sauce filling in the dish and smooth/squish it all in. Don’t worry if it makes a bit of a mountain in the middle; that’s ALL GOOD!
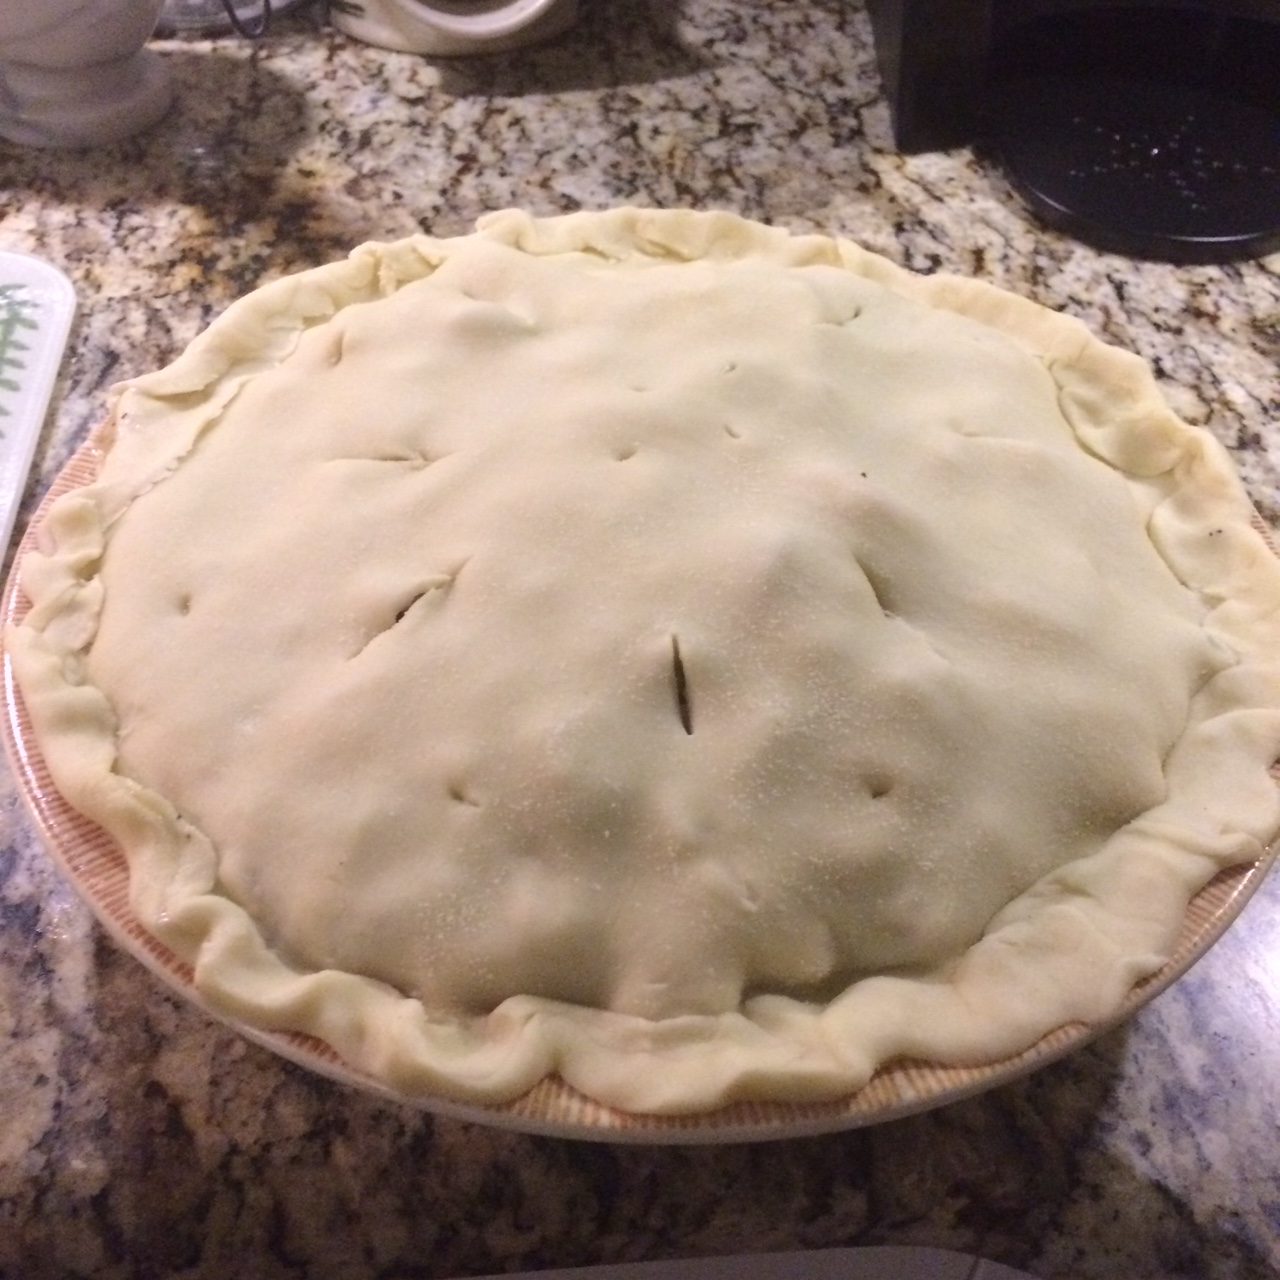
Roll out the top crust and place it on top. Pinch the edges together, folding them over towards the middle if any dough overlaps the edge of the dish. Cut some 1/2-inch slits in the top crust, maybe 8-10 slits; there’s no magic to the number or design of these, just spread them out reasonably.
 Some folks like to egg-wash their crust for a glossy top; it doesn’t affect the flavor, so I don’t bother. If you like this look, scramble 1 egg and use a pastry brush to “paint” the top crust with the egg wash.
Tear a couple of 2-inch strips of aluminum foil for wrapping the pie edges during the last 5-10 minutes of cooking; this will prevent the edges from burning before the rest of the crust is cooked through and crispy.
Bake at 475°F for 20 minutes for a standard 9-inch pie dish. If you’d like the pie edges a little less dark, add foil round the pie edges at the 15-minute mark. Since all of the inside ingredients are already cooked, you just need for the crust to cook all the way through.

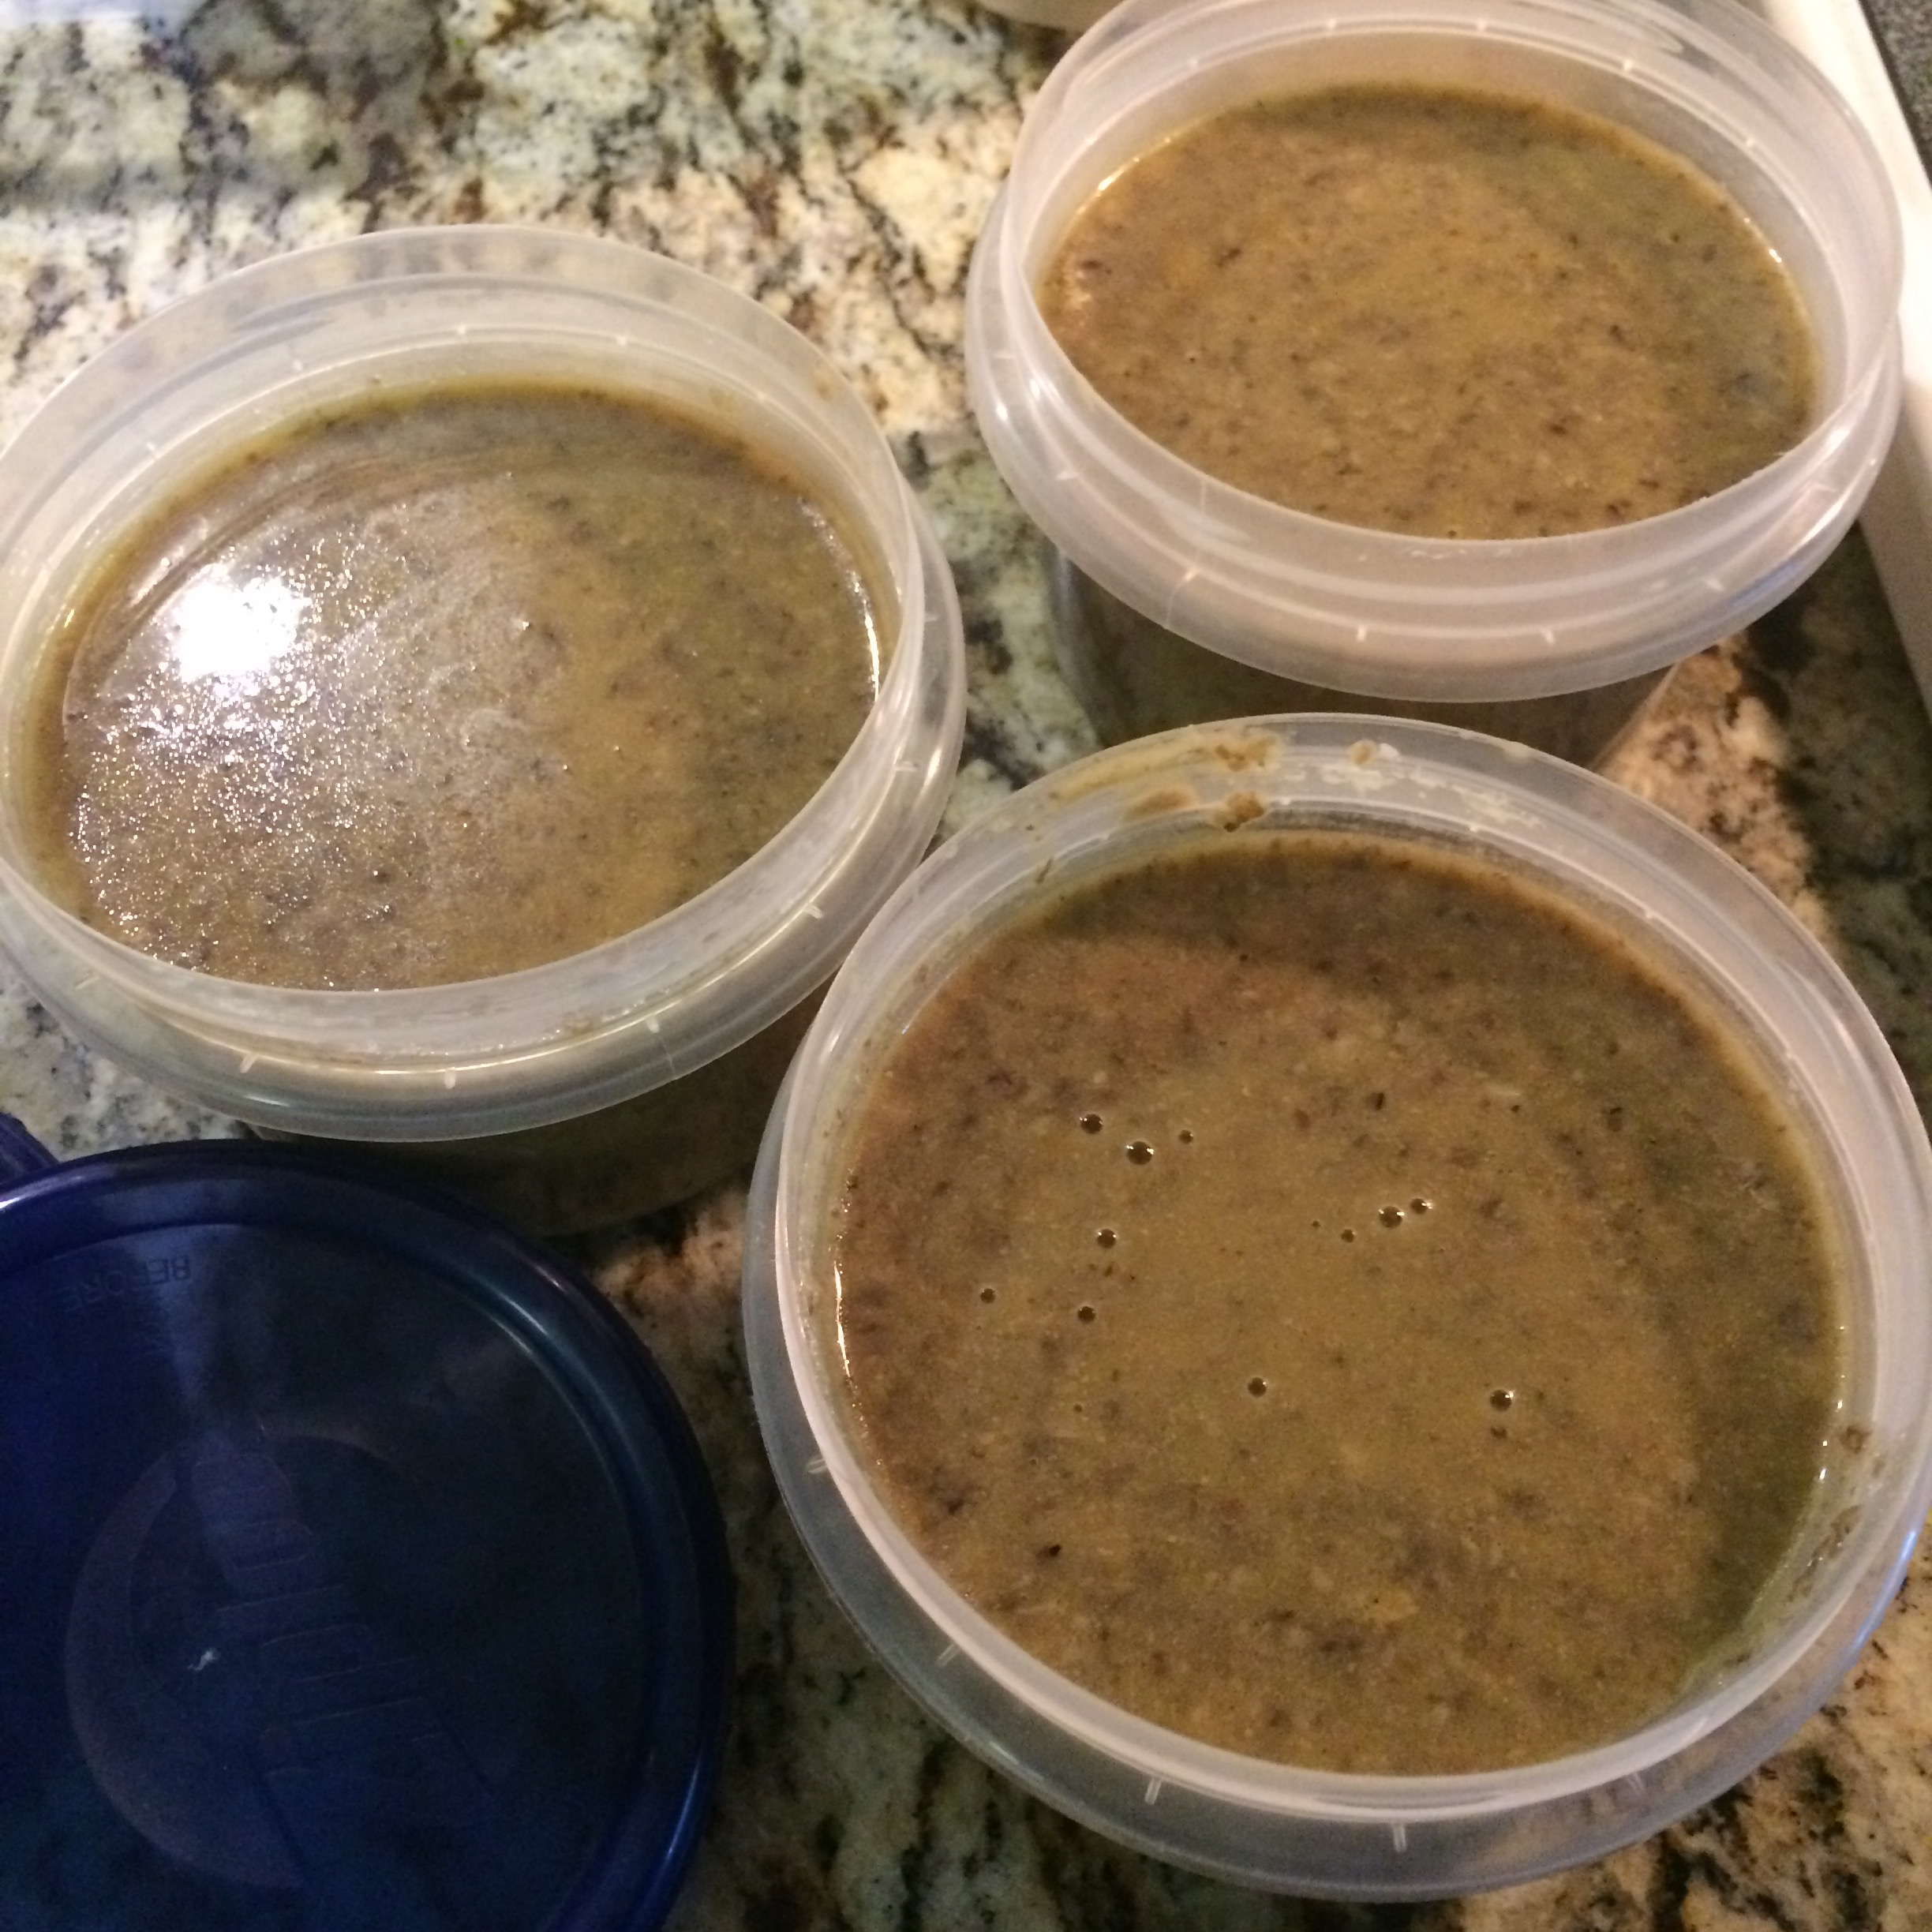
 Sure. It’s just regular Potato Soup with cheddar cheese added, but I just learned that my younger cousins never learned our Nannie’s Potato Soup recipe. I did because it’s my mom’s “sick soup.”
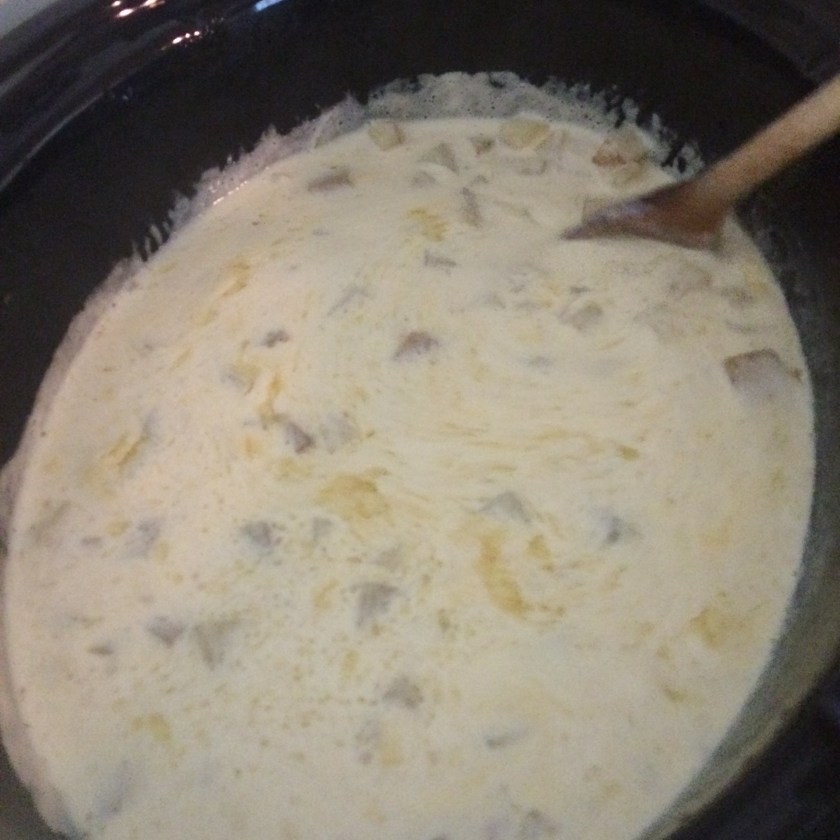
 This is one of my favorite soups to do in the crock pot, mainly because my chicken and veggie stock are made ahead and frozen, and I can’t ever remember to thaw them out. Using the crock pot, I can put all but the heavy cream and cheese in at once and set it on Low for 6-8 hours. It takes a little more than an hour for the frozen stock to thaw and cover the potatoes and onions and cook.
 The night-before dinner for the
 For a strong, dark-colored ACV in a quart jar,
 3-4 medium apples, diced, with cores
 band. Store in a dark place (mine goes on the bottom shelf of my pantry) and add a note to your calendar to check it in 21 days.
 At 4 weeks, taste. If you like it, start using it and switch to a sealed jar top or bottle with a cap/lid. If it’s not there yet, re-cover and add a note to your calendar to check again in a week. Continue this process until the ACV reaches your desired taste.
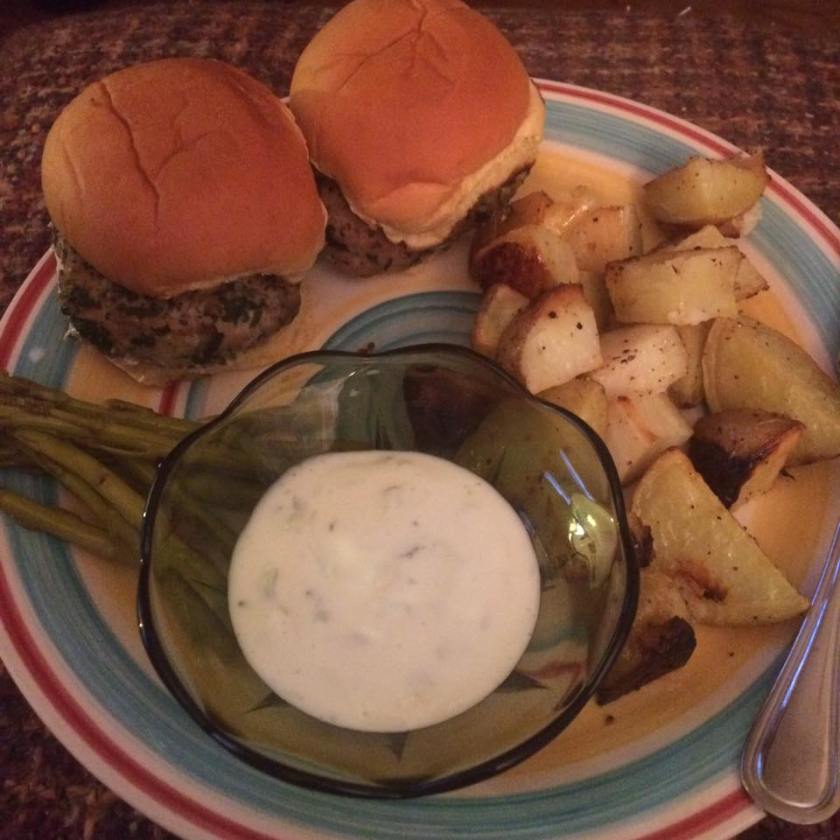
 My mom likes your run-of-the-mill shaved meat gyro, and we often get our annual Greek Festival lamb dinner for Mother’s Day each year, but for the most part, my family of four doesn’t really do Greek flavors. So when they asked to have the “Greek Turkey Burgers” I’d labeled for the freezer – for me to have as one-offs – I said sure; it was tame enough even for them.