Posted in Cooking

Charleston Macaroni Pie

I just love to see people’s faces…people not from the south, that is…when I talk about macaroni pie. I kind of do it on purpose, knowing they are trying to reconcile the sinful sweetness of fresh ripe peach pie in a homemade sweet pastry crust with pasta and tangy cheese. Not really what I want to eat either.

Then as I explain, they always say, “but I like my macaroni and cheese creamy.” Ha! If you’re eating Charleston Macaroni Pie like I grew up eating, then it is creamy. If you’re not, the cook should be shot!

The key is in the….custard. Yep, macaroni pie uses a custard…a milk, egg, and flour mixture that “sets”. It doesn’t scramble or cook hard like eggs alone, but neither is it juicy from the milk.

Here’s what you’ll need from your pantry and fridge…because every home should have these ingredients at all times!

  • 1 box of elbow macaroni
  • 1 lb of sharp cheddar cheese, grated in 1/4 lb piles
  • 1/2 stick of butter
  • 4 whole eggs
  • 2 cups milk
  • 1 tsp ground mustard (never use prepared, ick)
  • 1 tsp salt
  • 1 tbsp pepper

Some notes on the ingredients:

Naturally any bite-sized pasta will do, but theres just something about the way truly good and creamy cheesiness slides off of the elbow curls all the while evading your fork!

A variety of cheeses, even a combination, can certainly be used, but sharp cheddar is traditional and basic.

Arguments may now ensue regarding the fat content of the milk…anything from heavy cream to canned condensed milk to half and half to skim. Personally, I find that it doesn’t matter which one you use as long as you are conscious of the consistency of your custard.

Okay, now to get cooking:

Boil your pasta just like the box tells you to. I like to start with scalding hot water in the pot; it will boil almost 2 minutes faster.


While the pasta is going, cut your block of cheese into 4 equal pieces and grate in individual piles. This will make it much easier to mix into the hot pasta in batches.
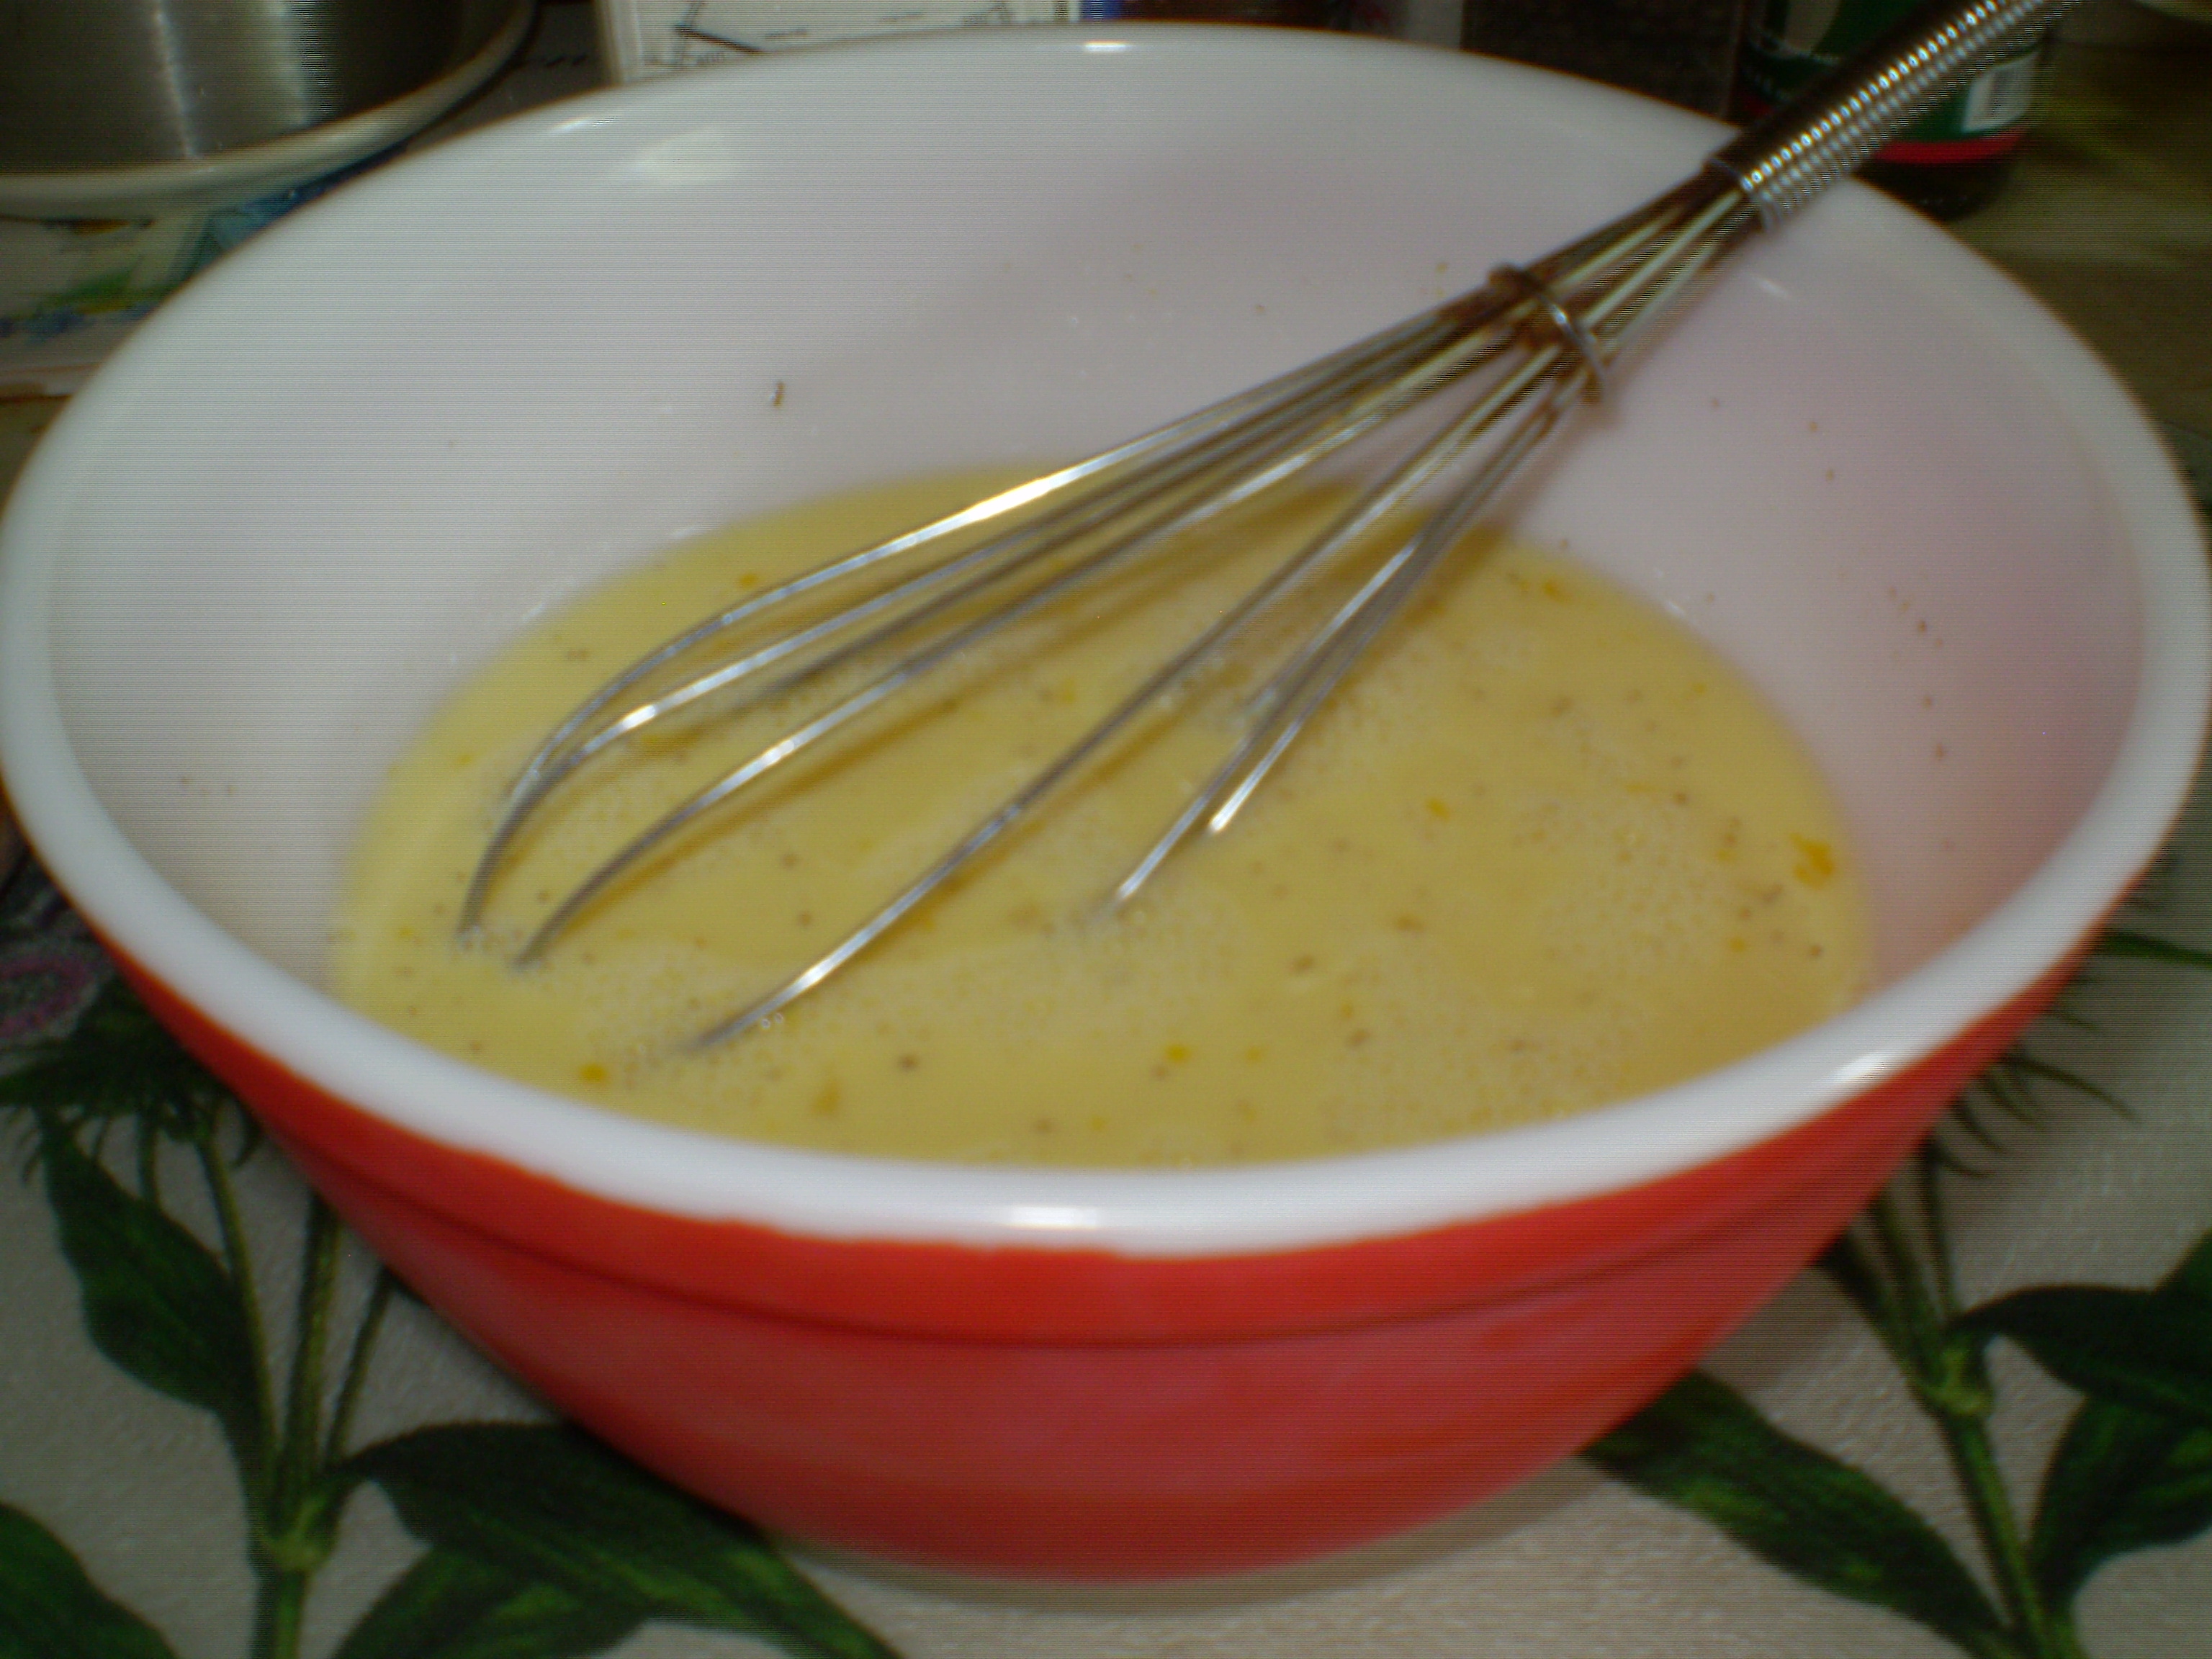
And before the pasta is done, whisk together your eggs, milk, dry mustard, salt and pepper. Now once you’re more experienced in making this, you’ll be able to adjust the balance of this custard to meet your desires…creamier set demands perhaps one less egg and a little more milk while a firmer set calls for the same mix but perhaps 2-3 egg whites added. Regardless, you always need approximately 3 cups of custard mixture per recipe.
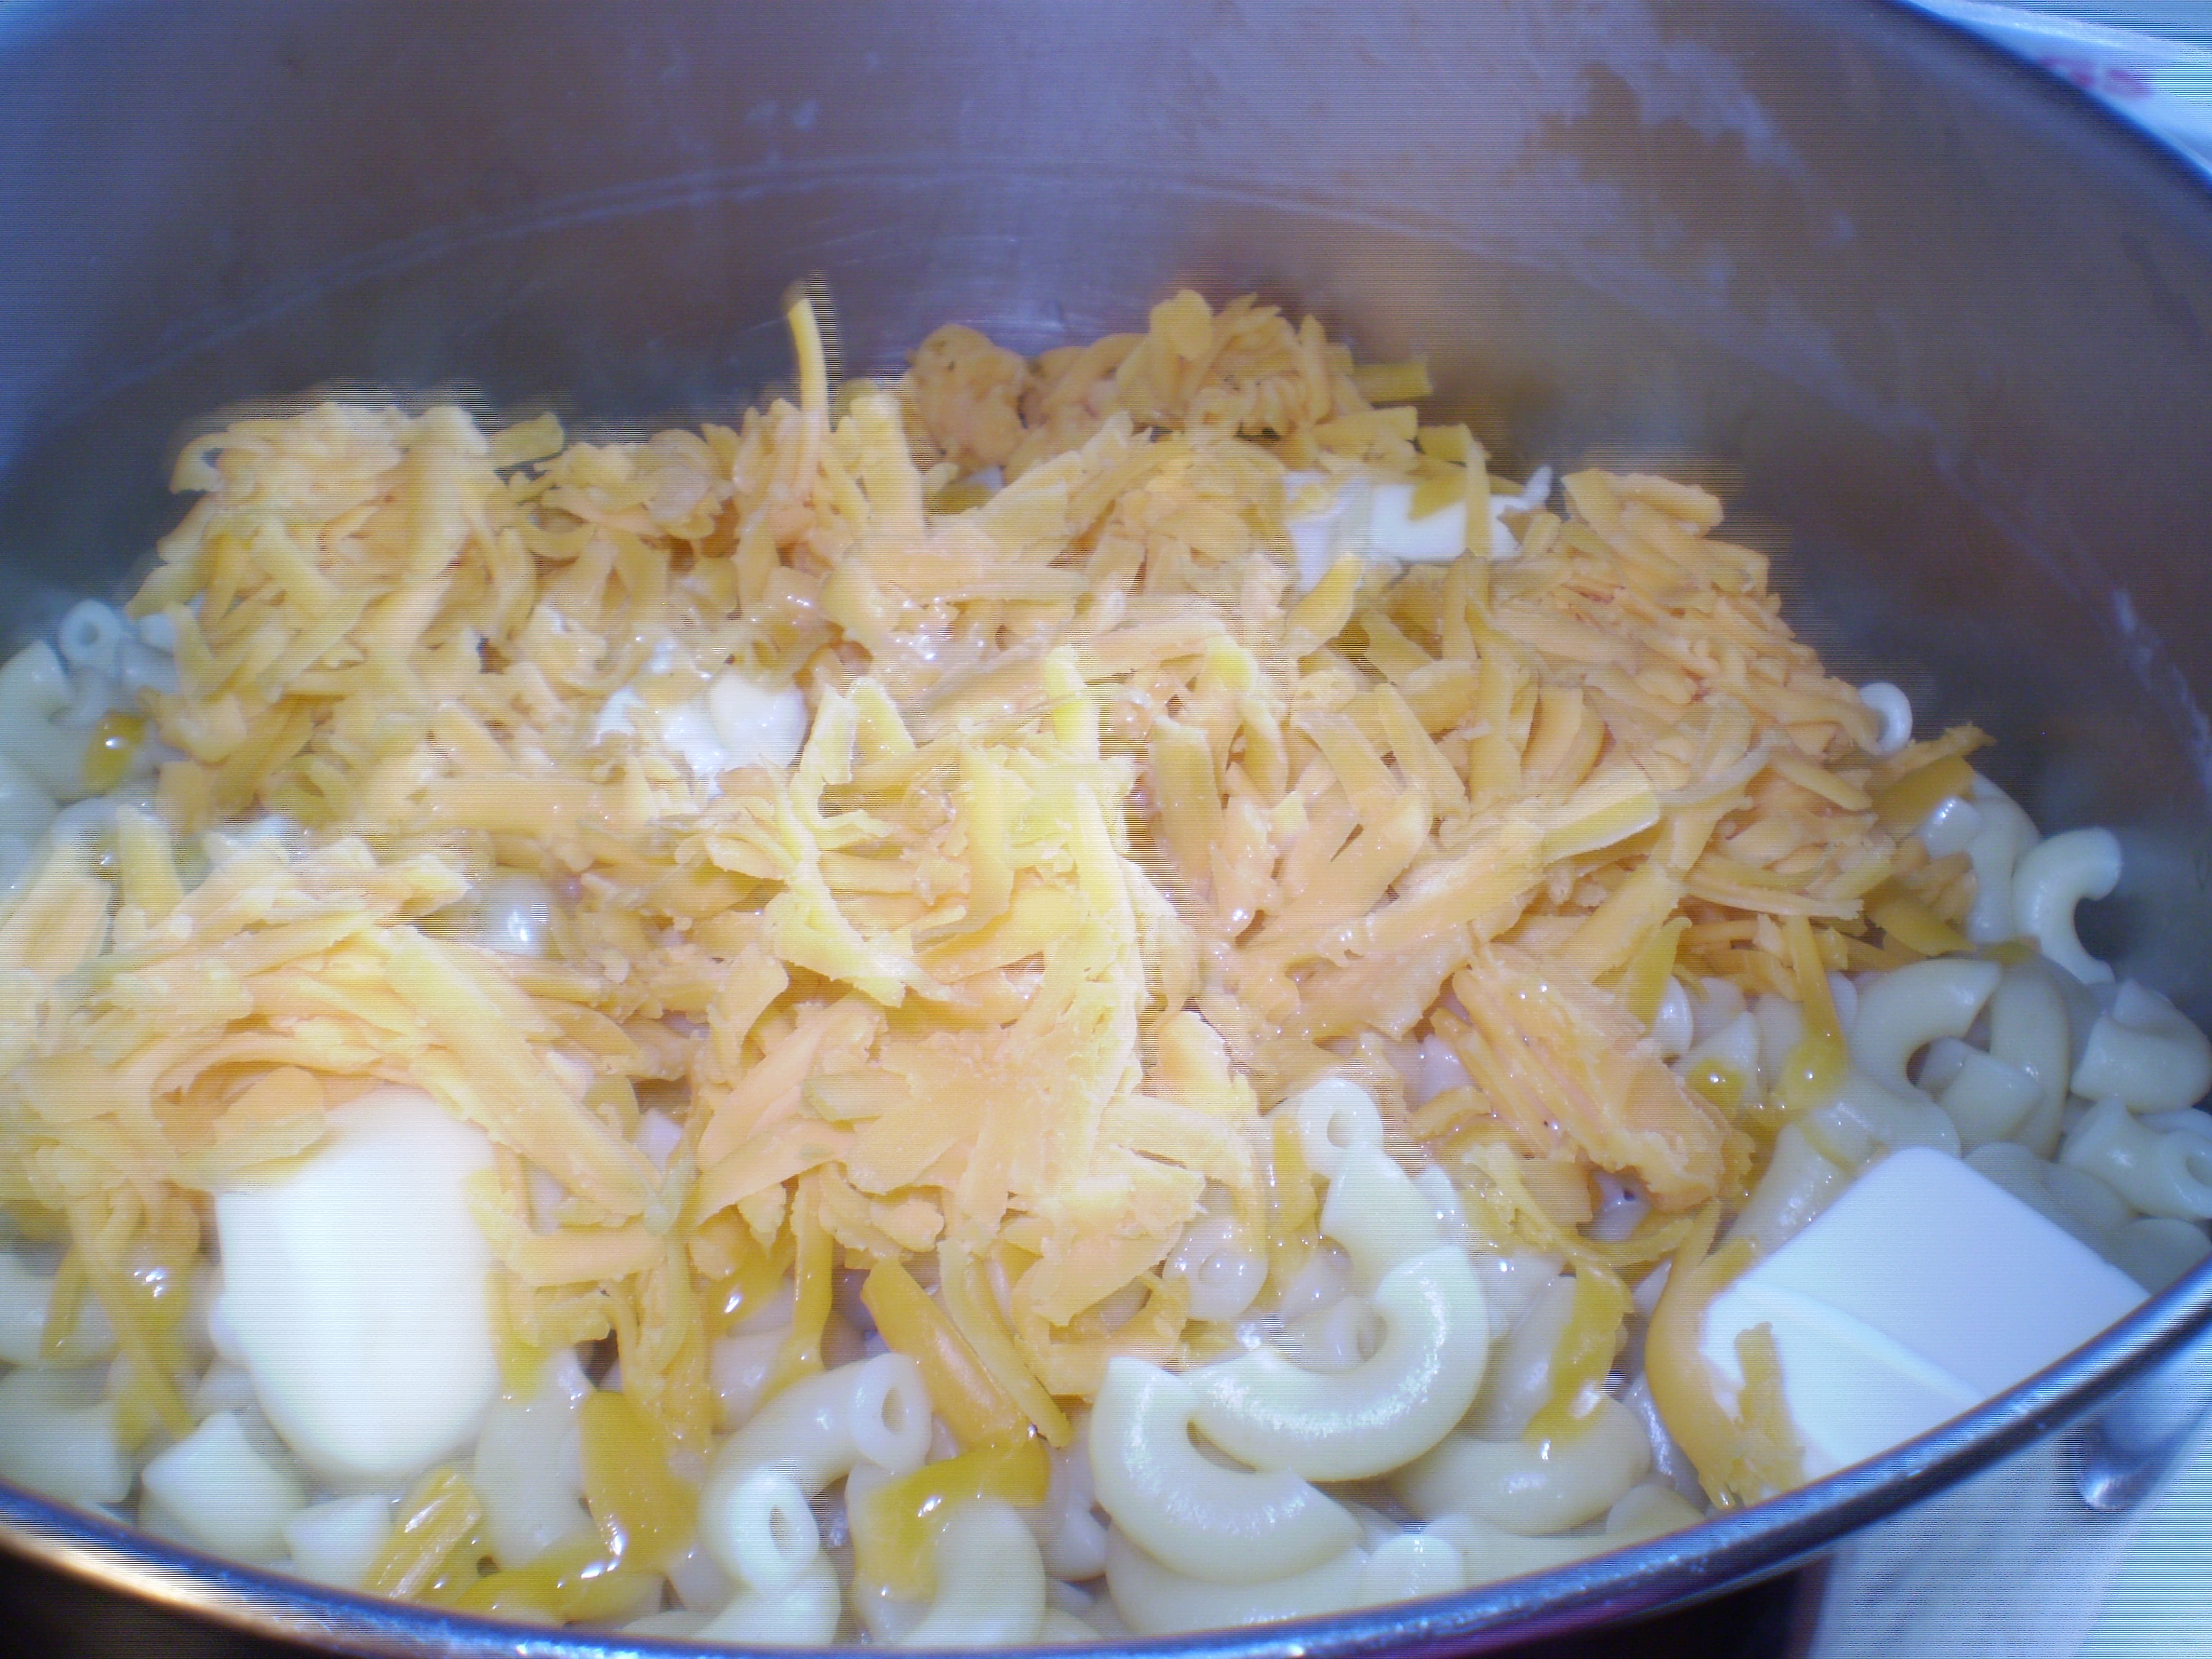
As the pasta finishes boiling, get ready to mix fast; you want to take advantage of that steaming hot pasta to create the creaminess that is the base of macaroni and cheese. Quickly dump your pasta in a colander, draining just slightly, maybe 5 seconds at the most. Pour the pasta right back into the hot pot, add the butter (cut into slices), sprinkle over 1/4 of the cheese (one pile if you followed my instructions), and about 1/2 cup of the custard mixture.

And stir…a lot…gently…watching for all of the cheese to “disappear” as it melts. Then add another pile of cheese and keep stirring. When that one’s all melted in, add a third pile of cheese.

At this point, you should be able to eat a spoonful of the macaroni and cheese and think to yourself, “Wowsers, I can’t believe I ever ate the stuff out of the box! But why on earth should I bake this rather than eating it right now?” Simple, it gets better, trust me!
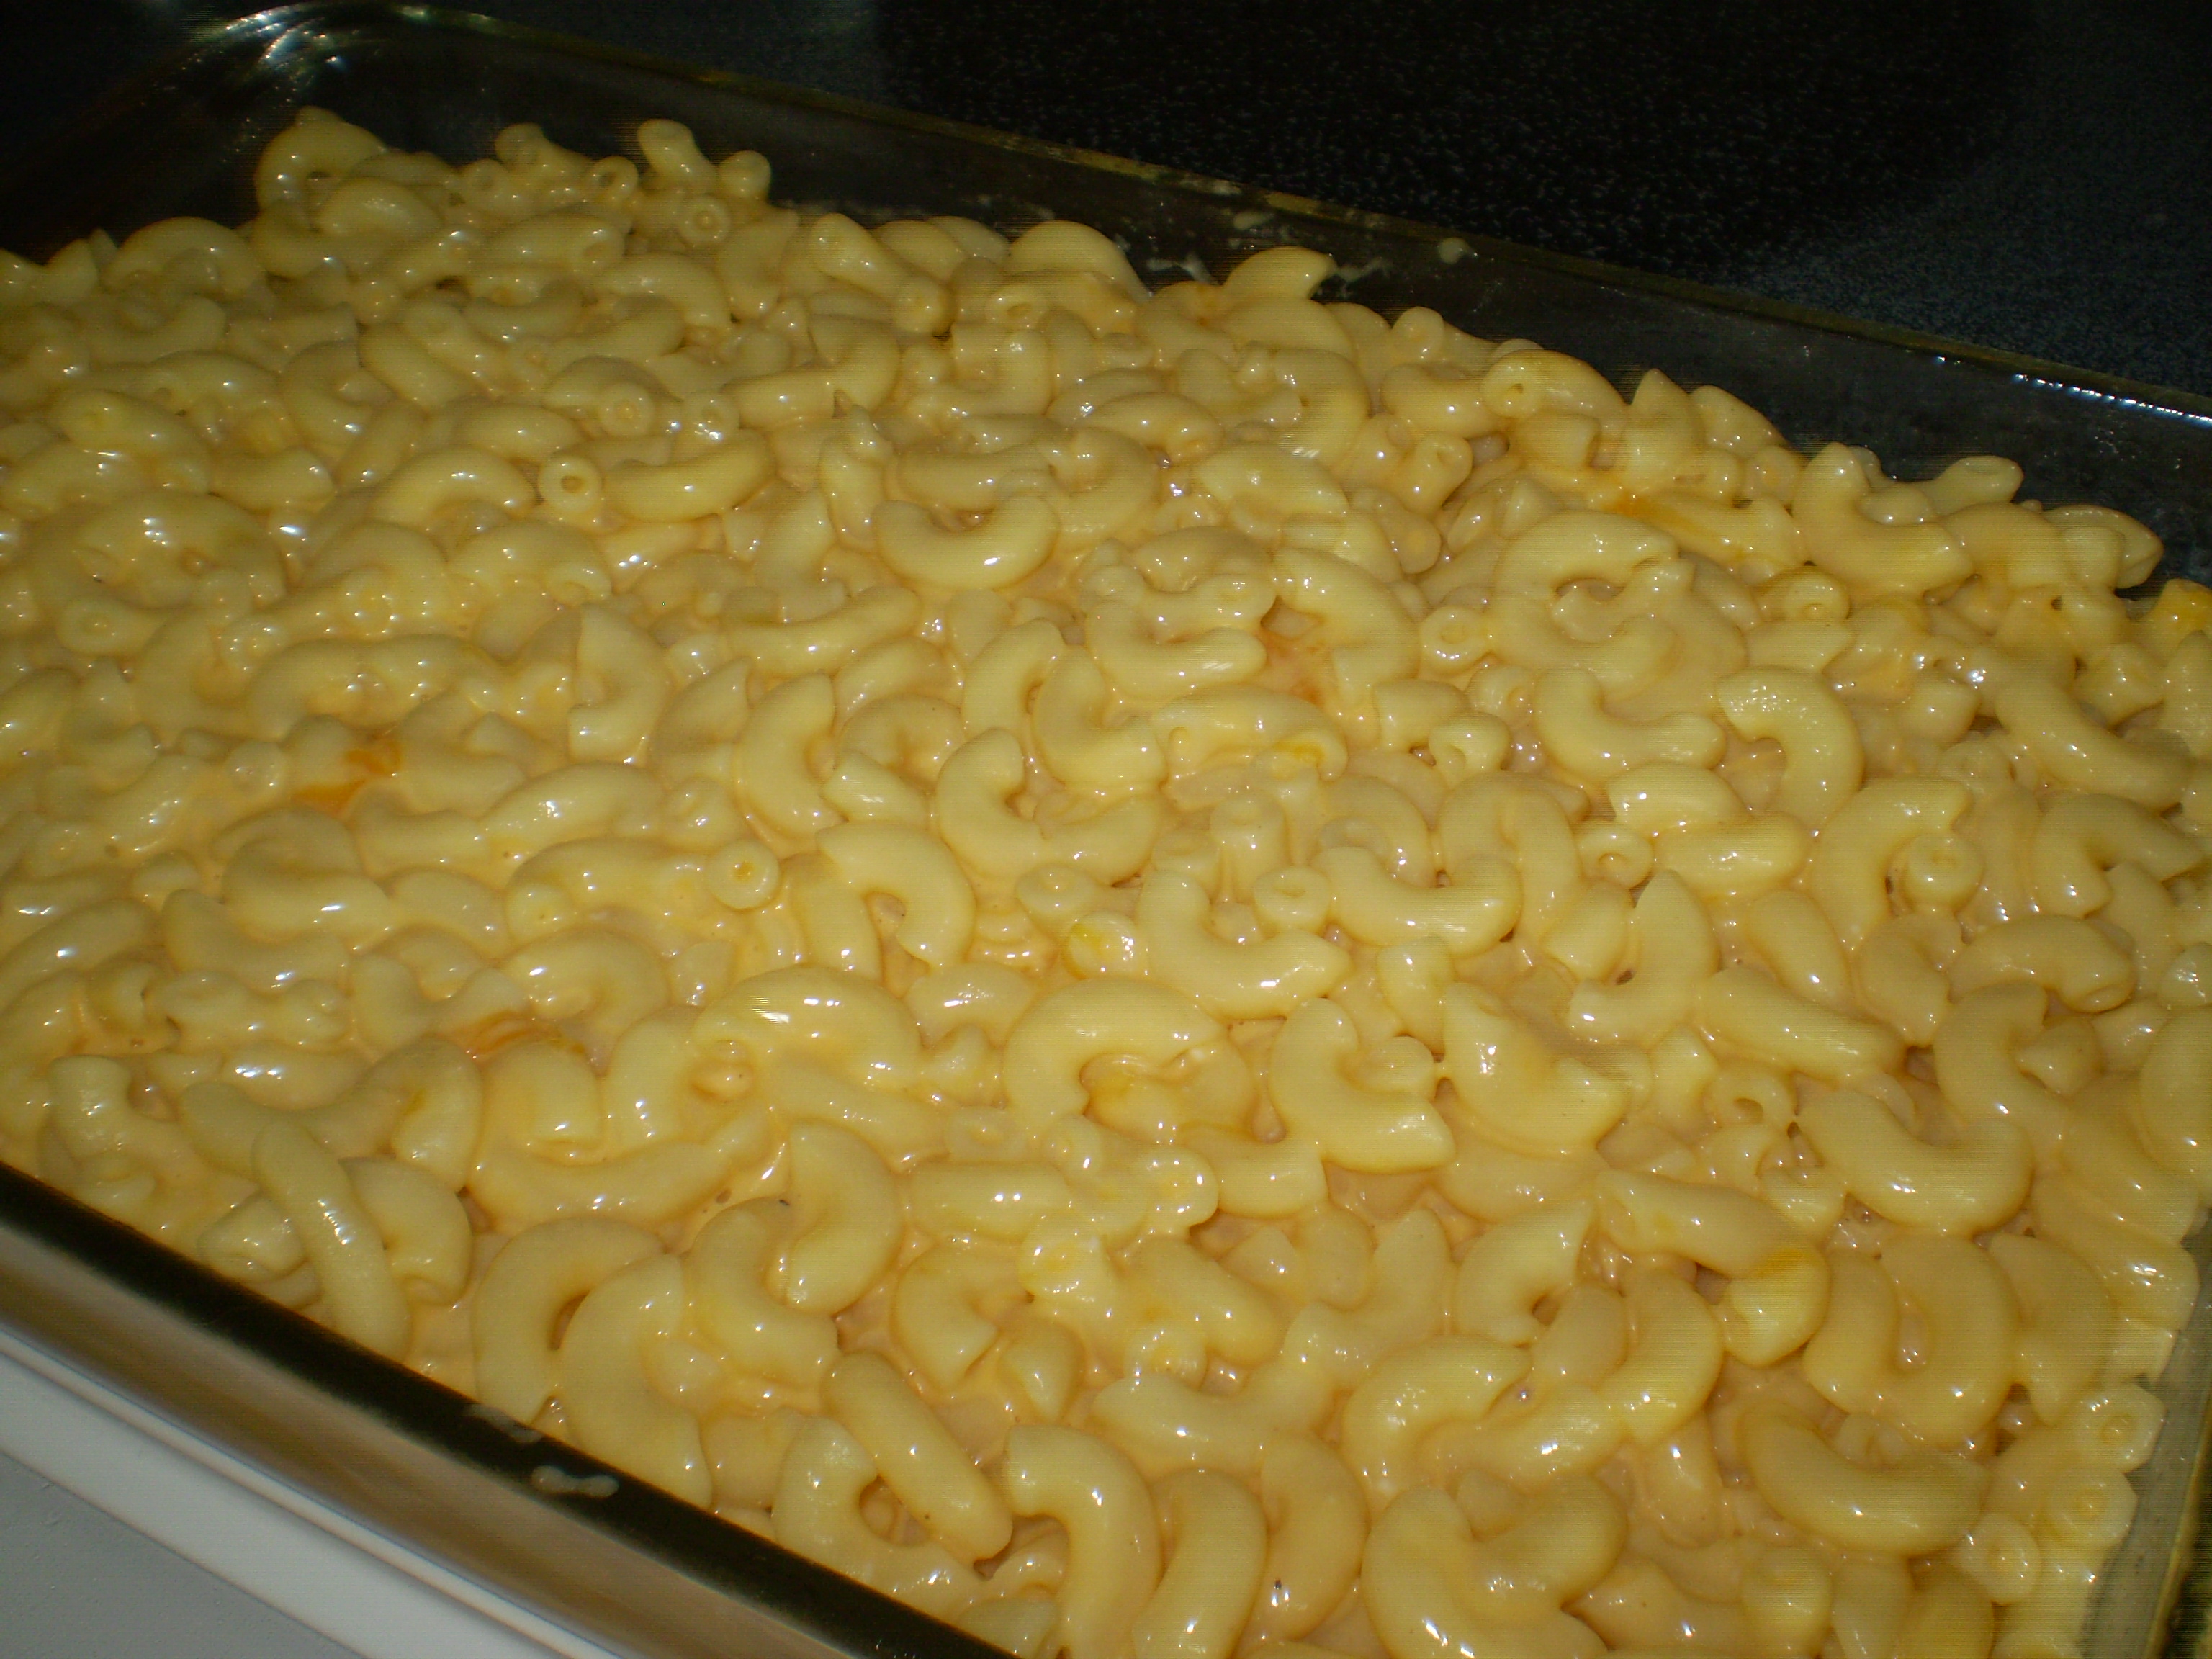
Pour your macaroni and cheese into a greased baking dish (9×13) and spread it out nice and even with your spoon.
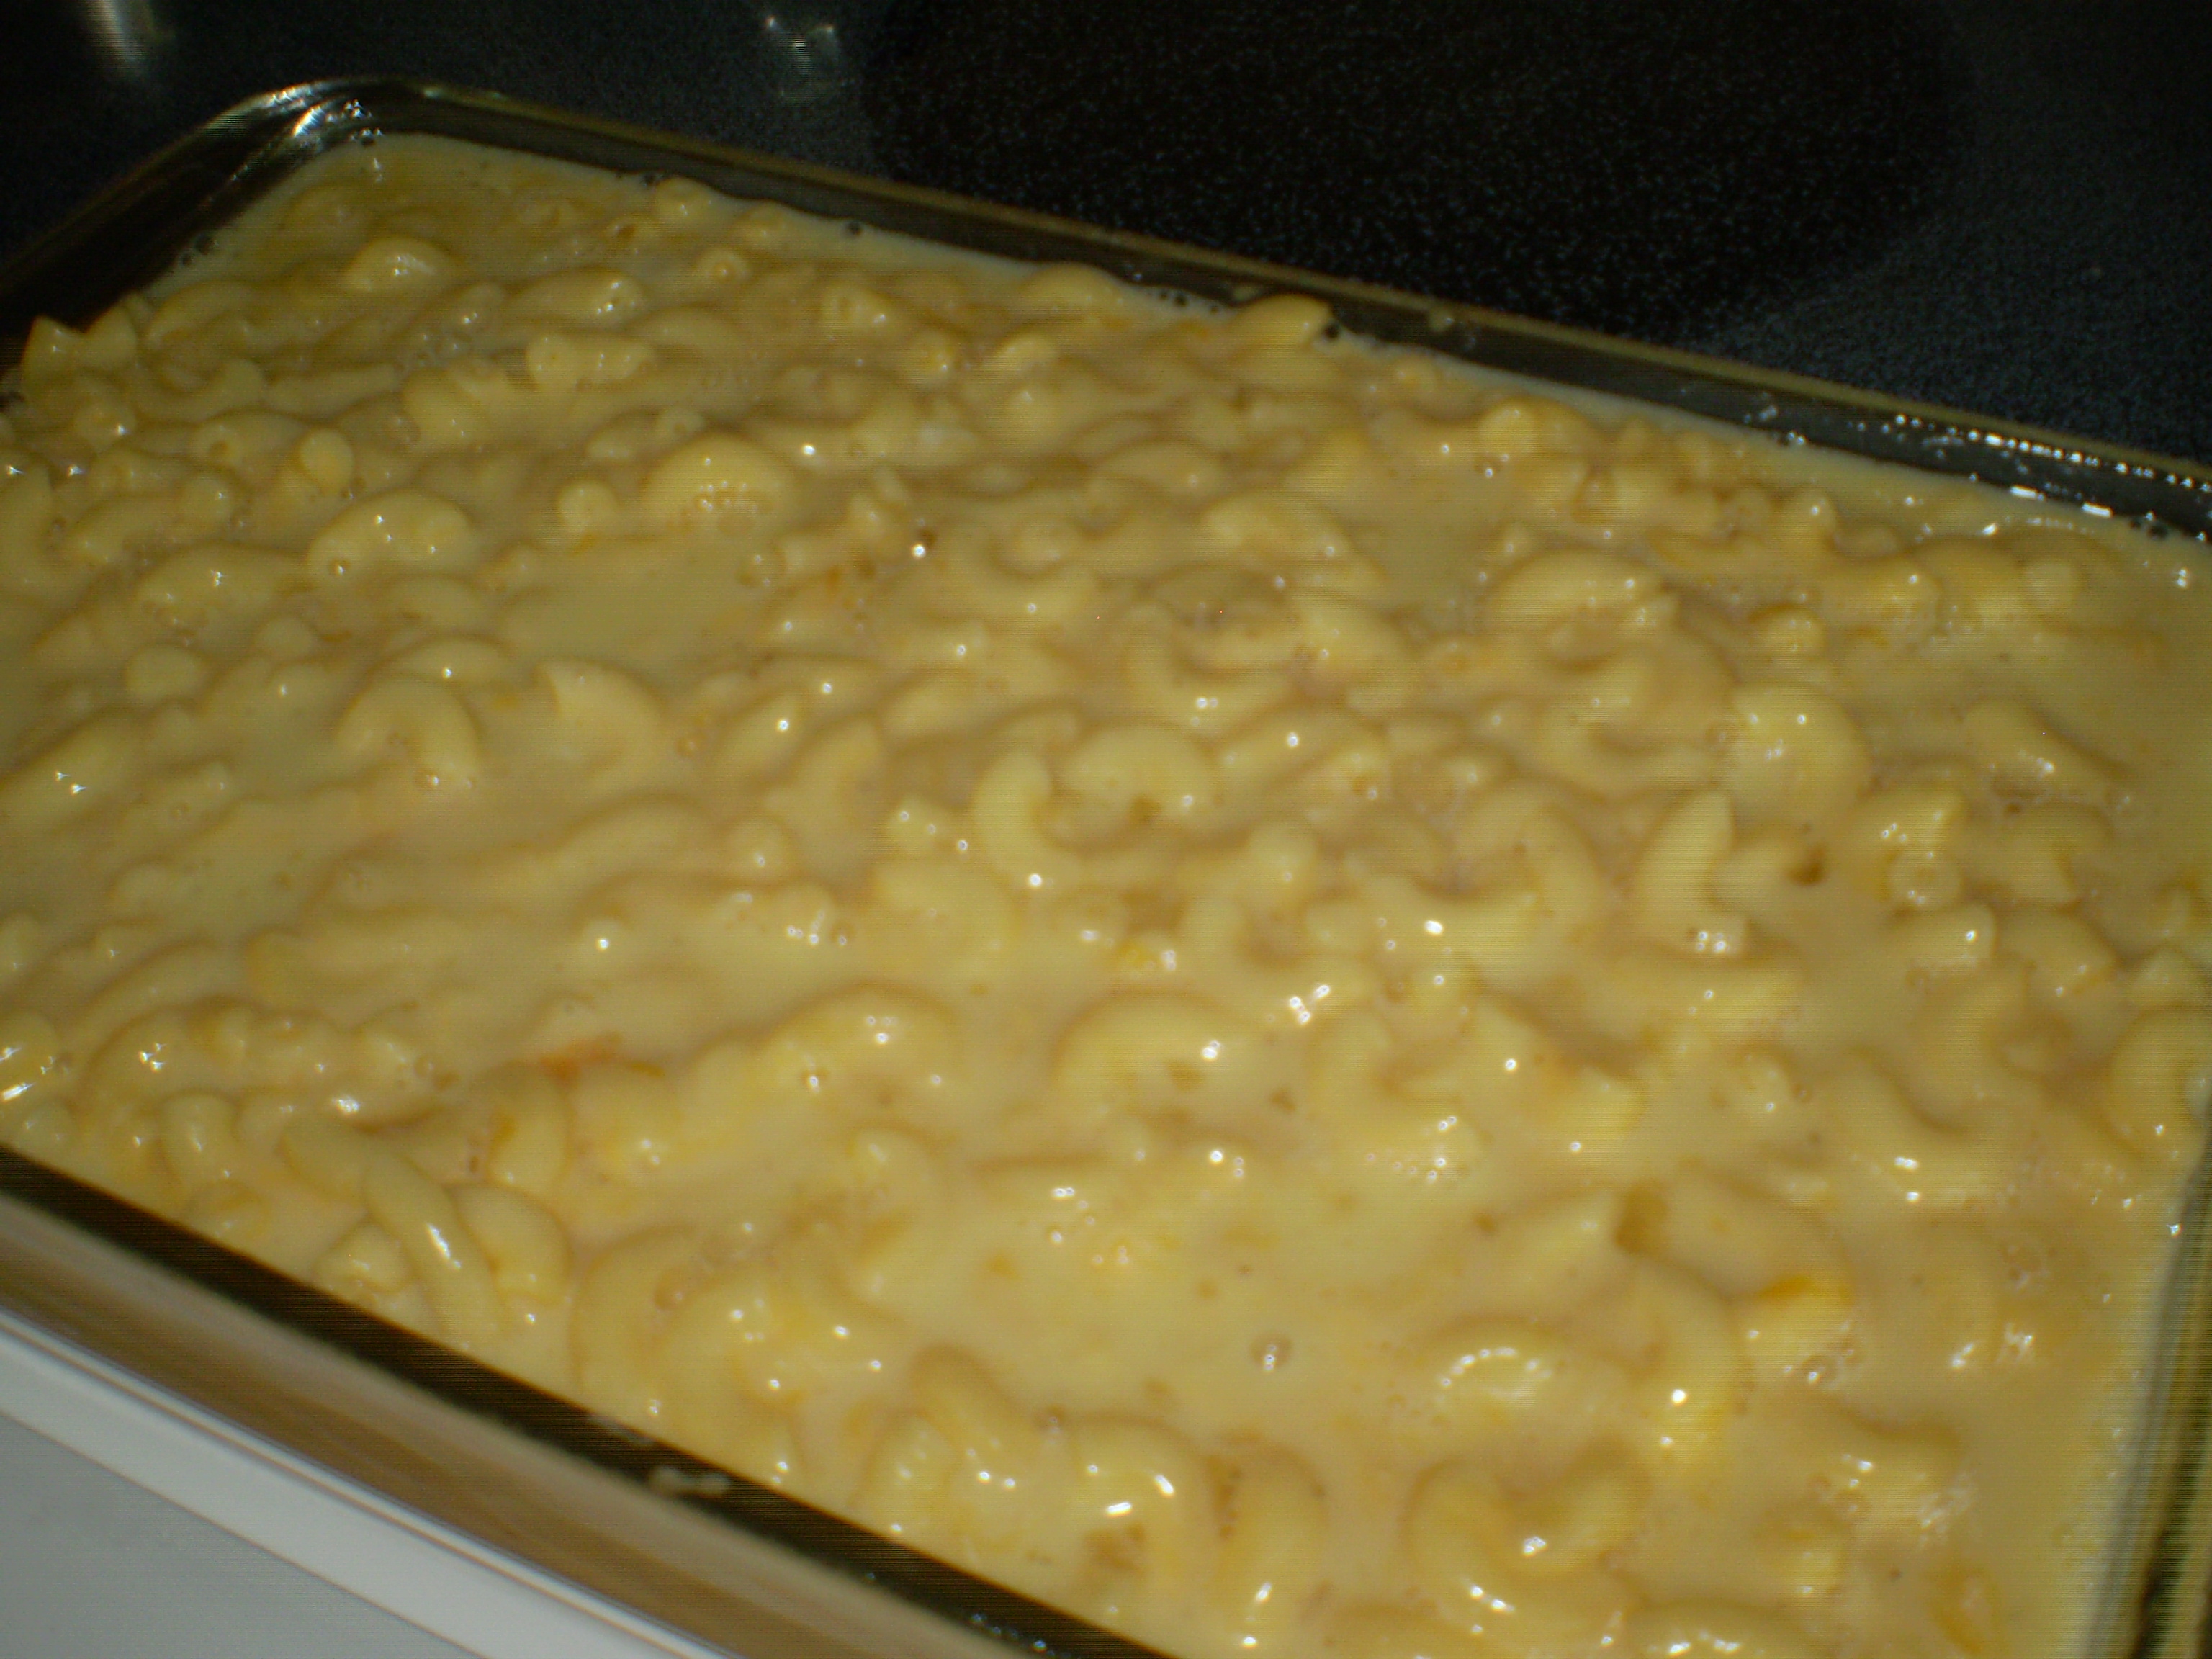
Pour in your remaining custard mixture, letting it sink in and settle out evenly.
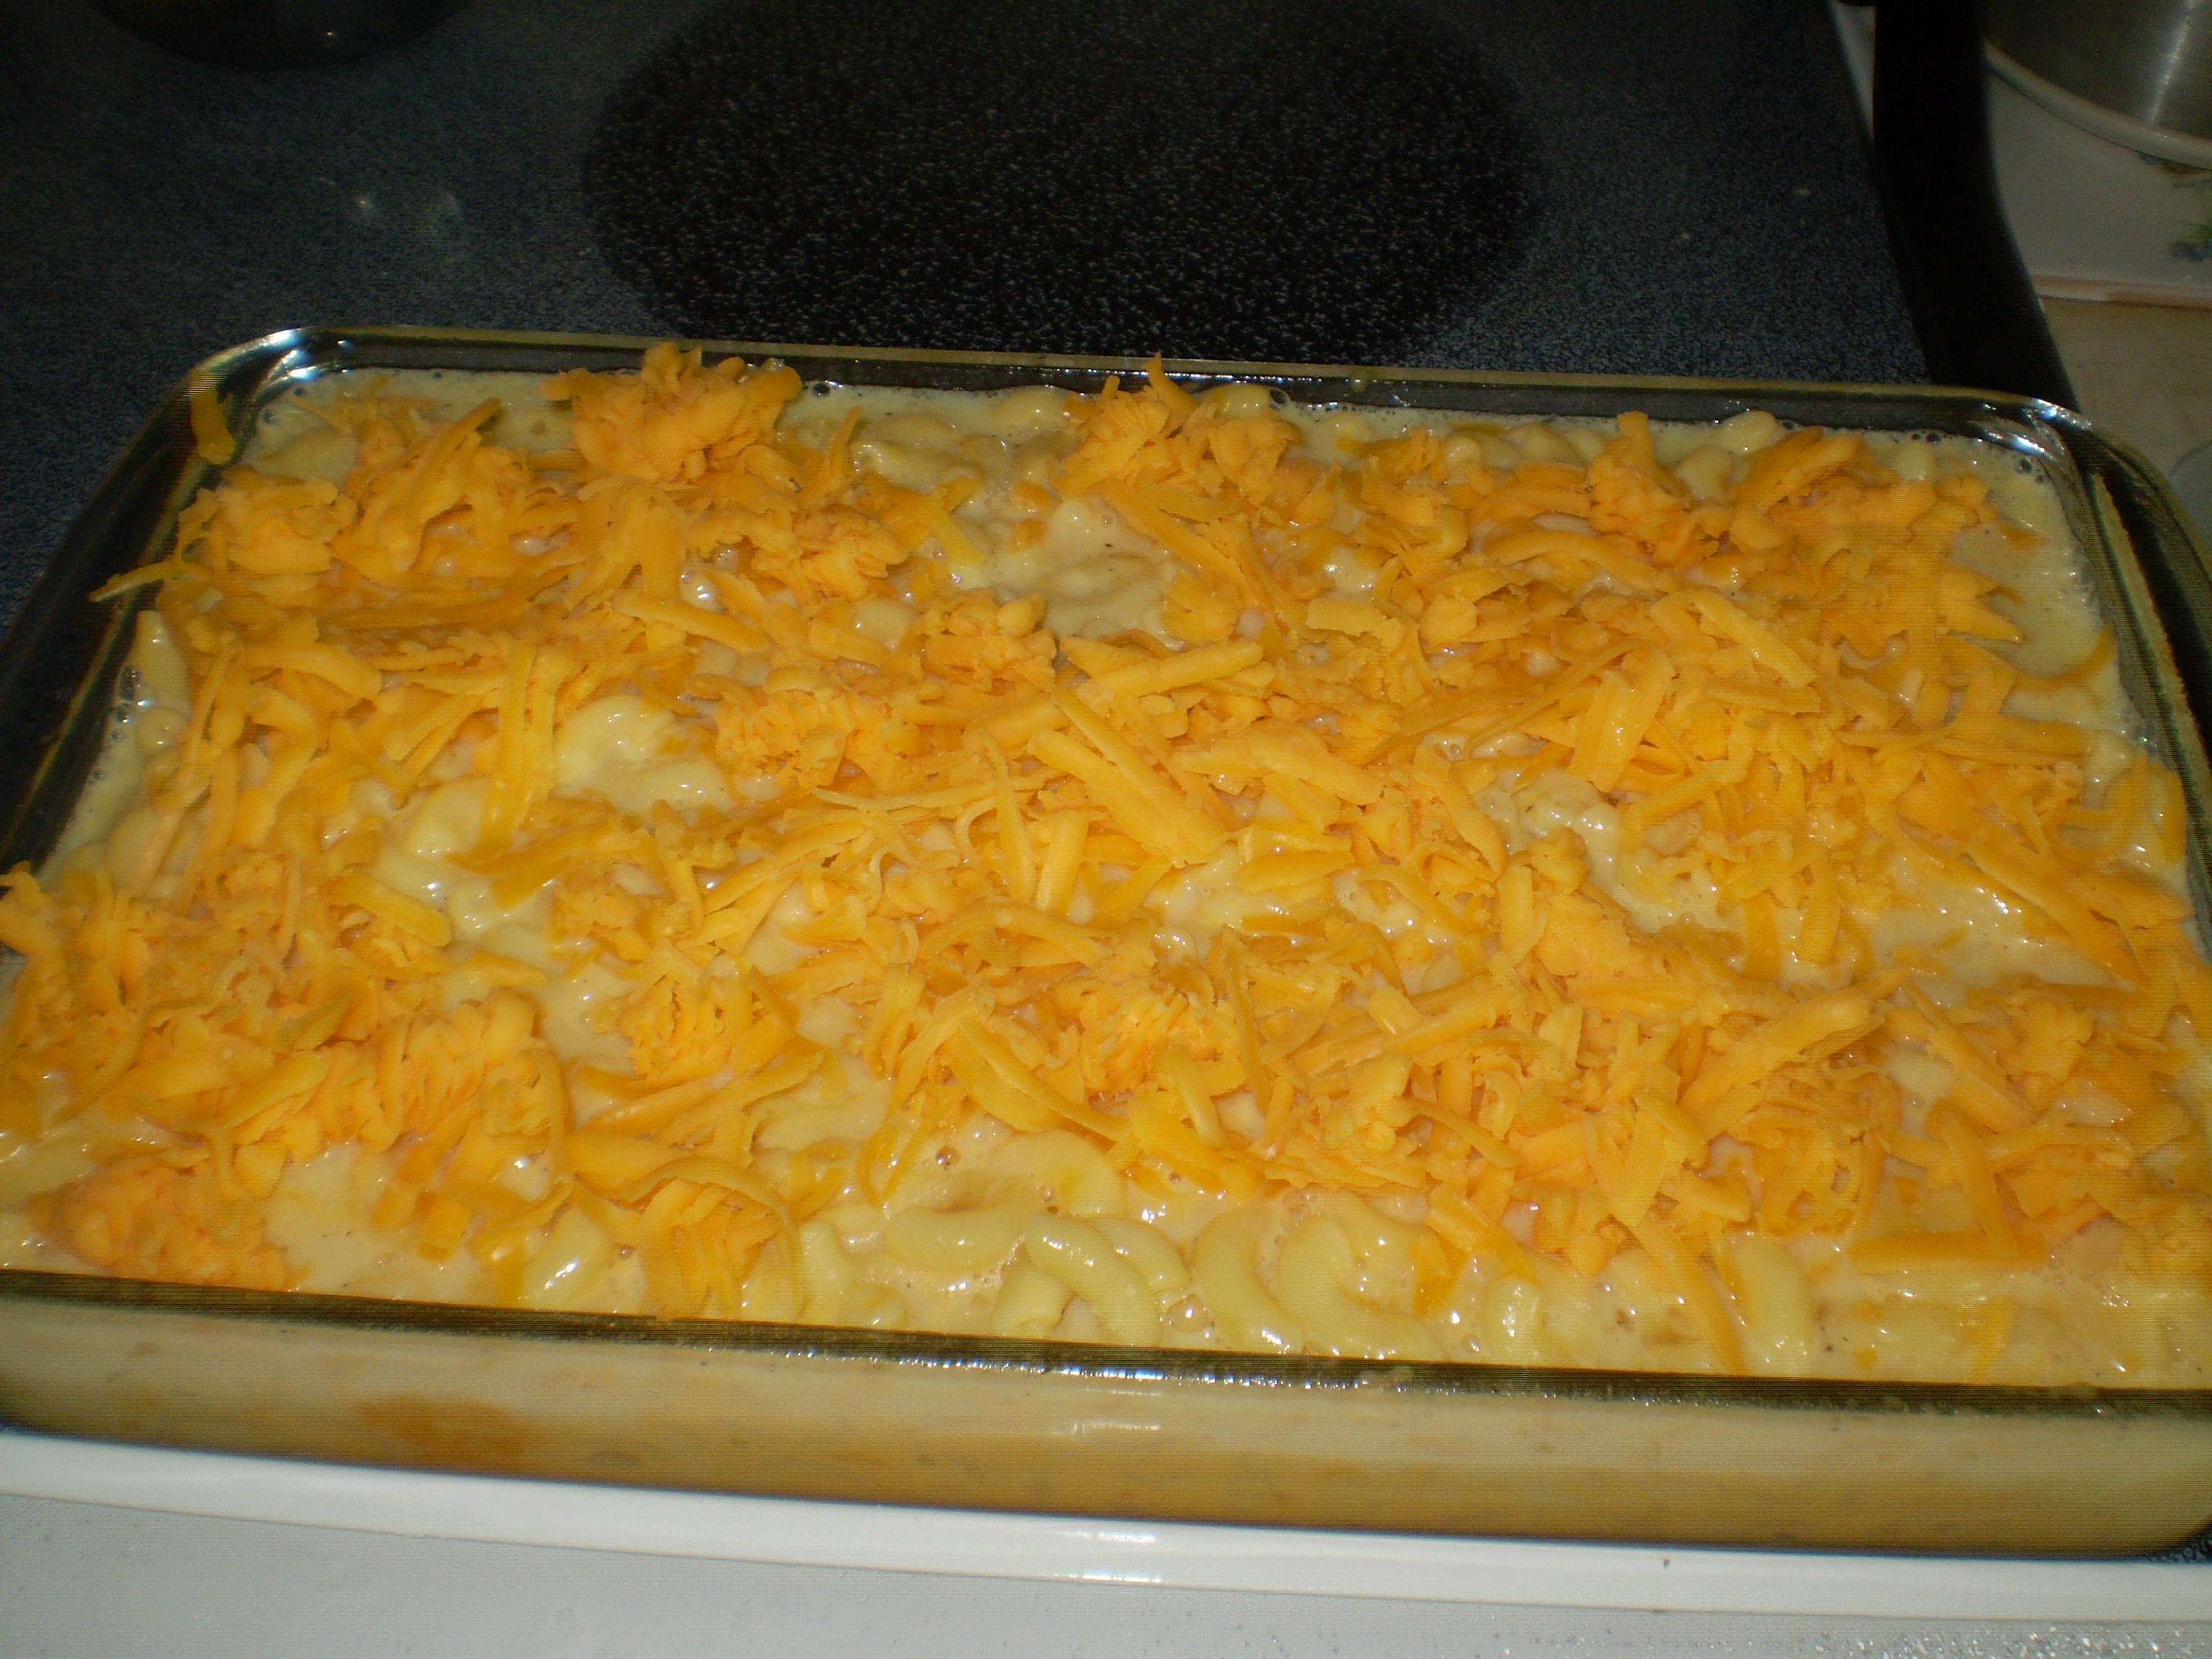
Finally, sprinkle the remaining pile of cheese over the top; this will make a scrumptious crust on top of the pie.
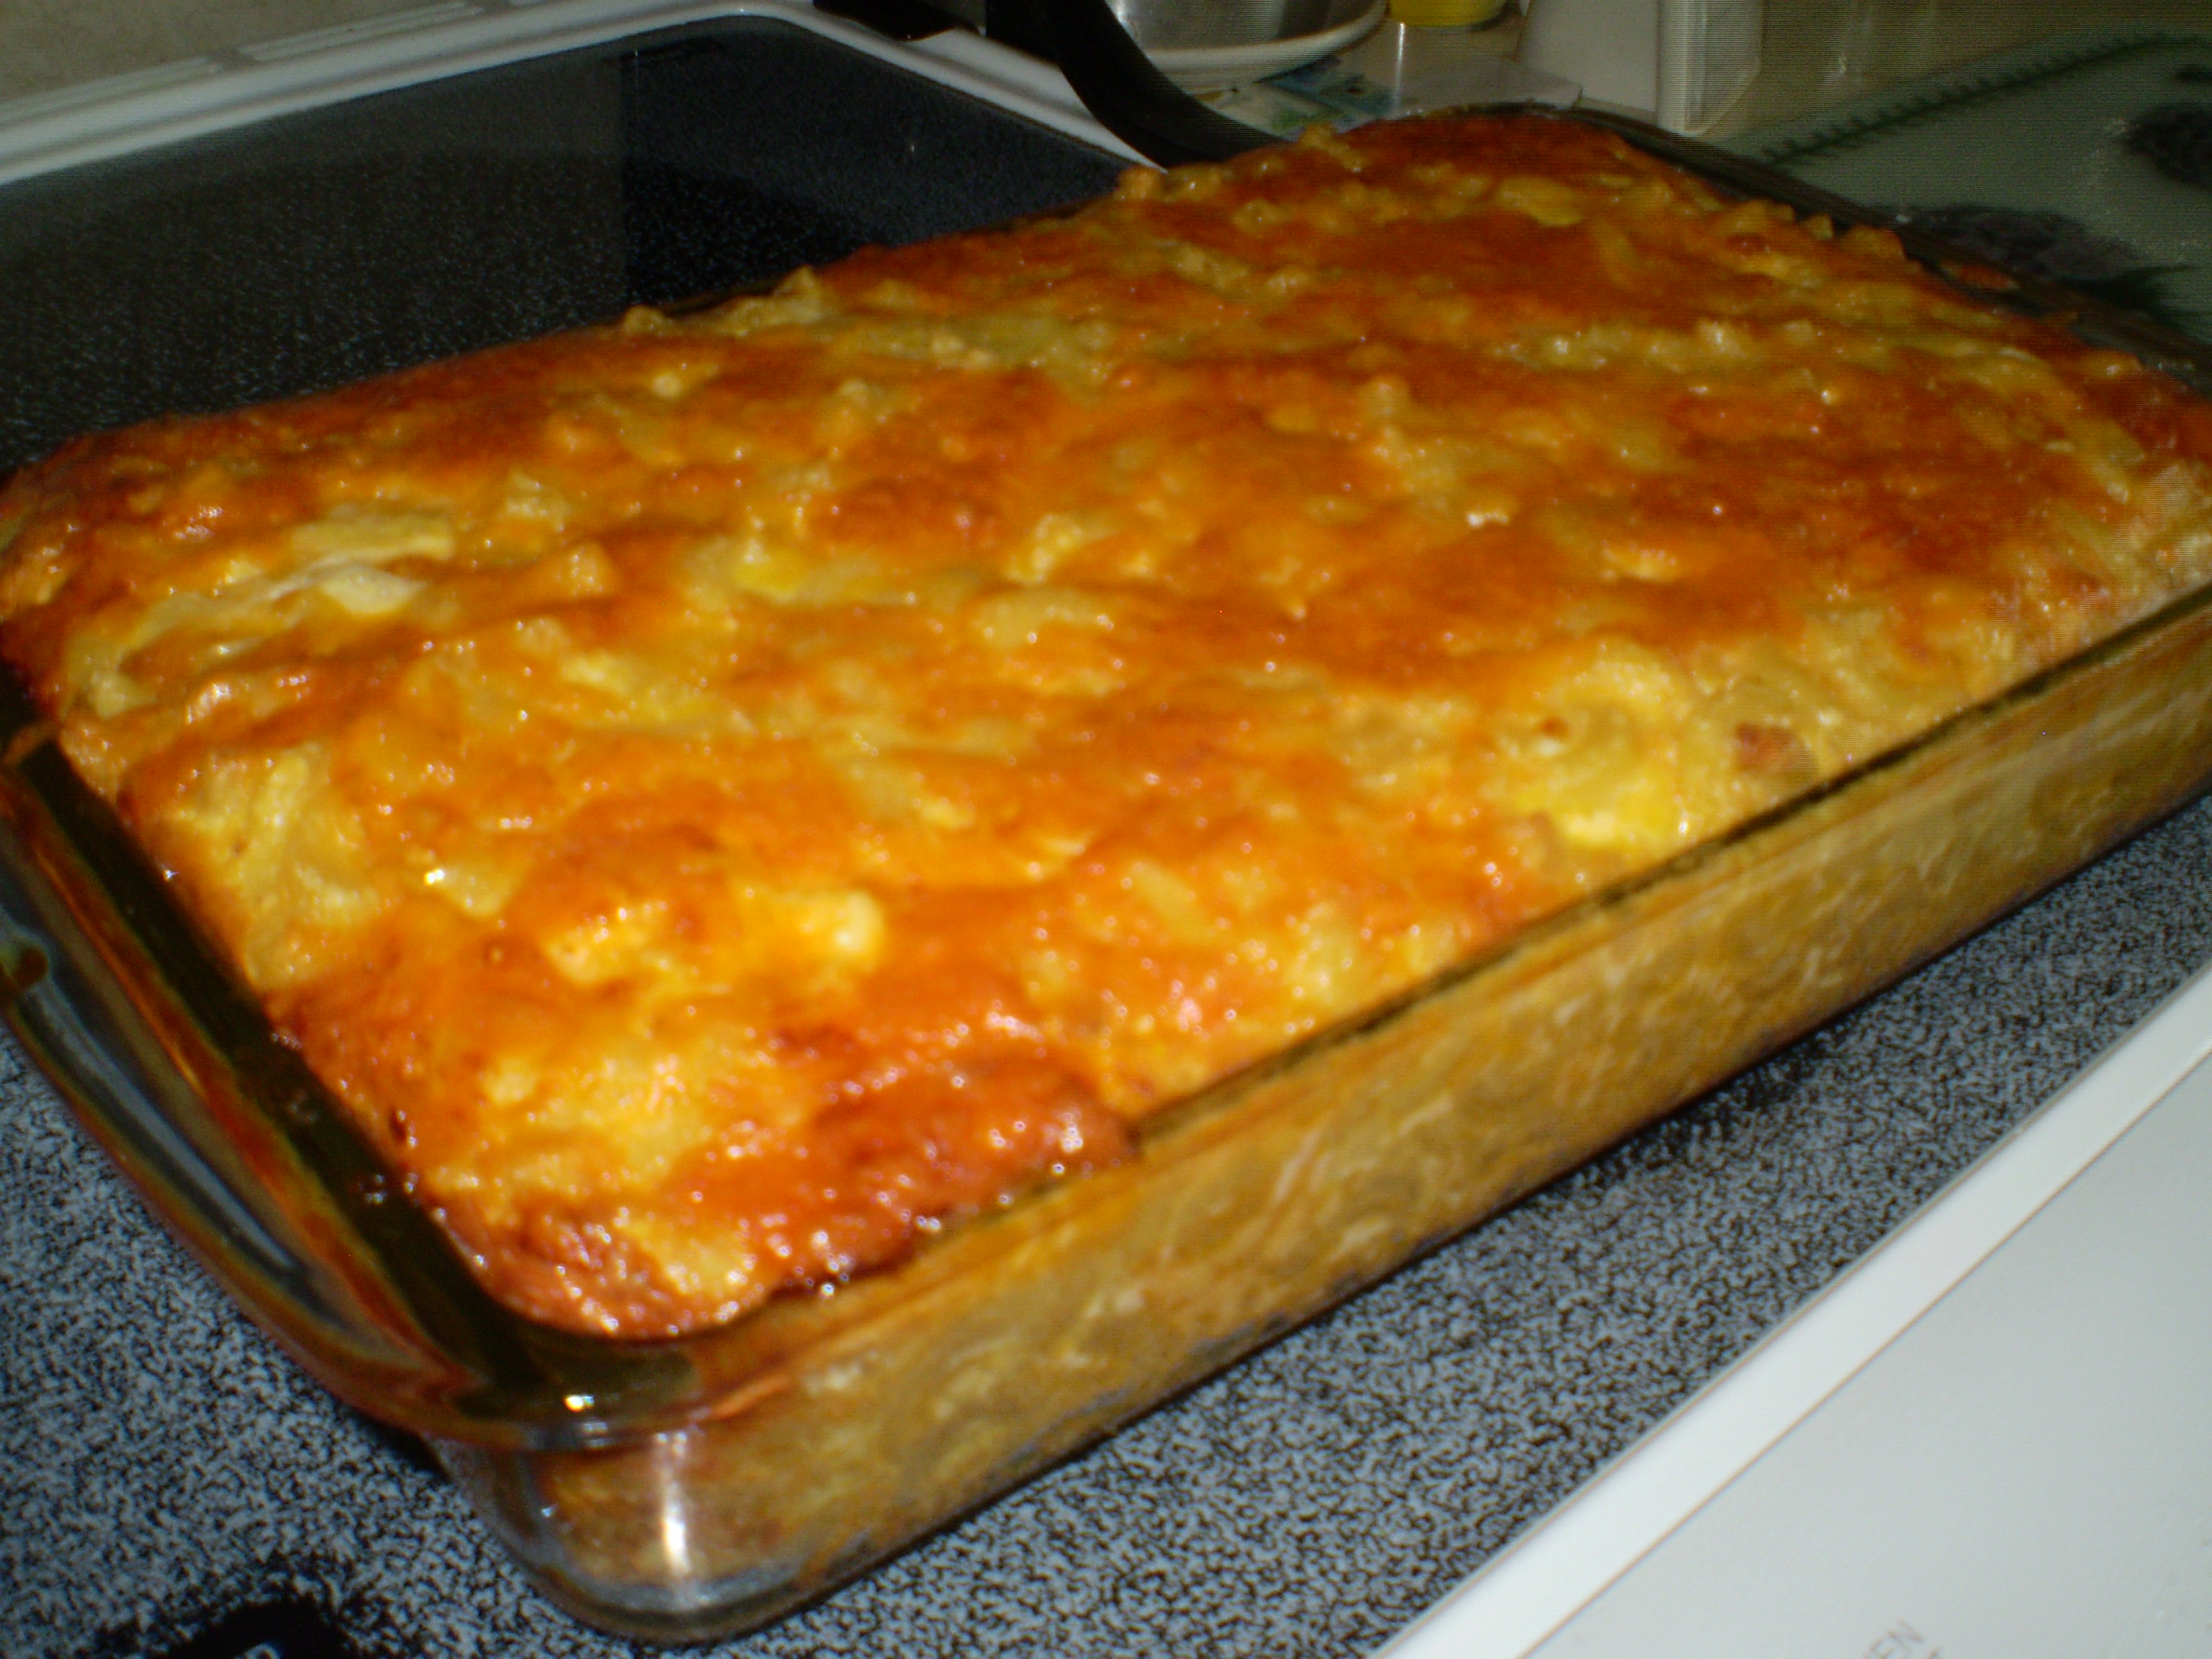
Bake at 350 for 45 minutes to an hour, depending on humidity. When it’s done, lightly touch the center to test for springiness; you want the pie to bounce and jiggle, but not squirt out juice.

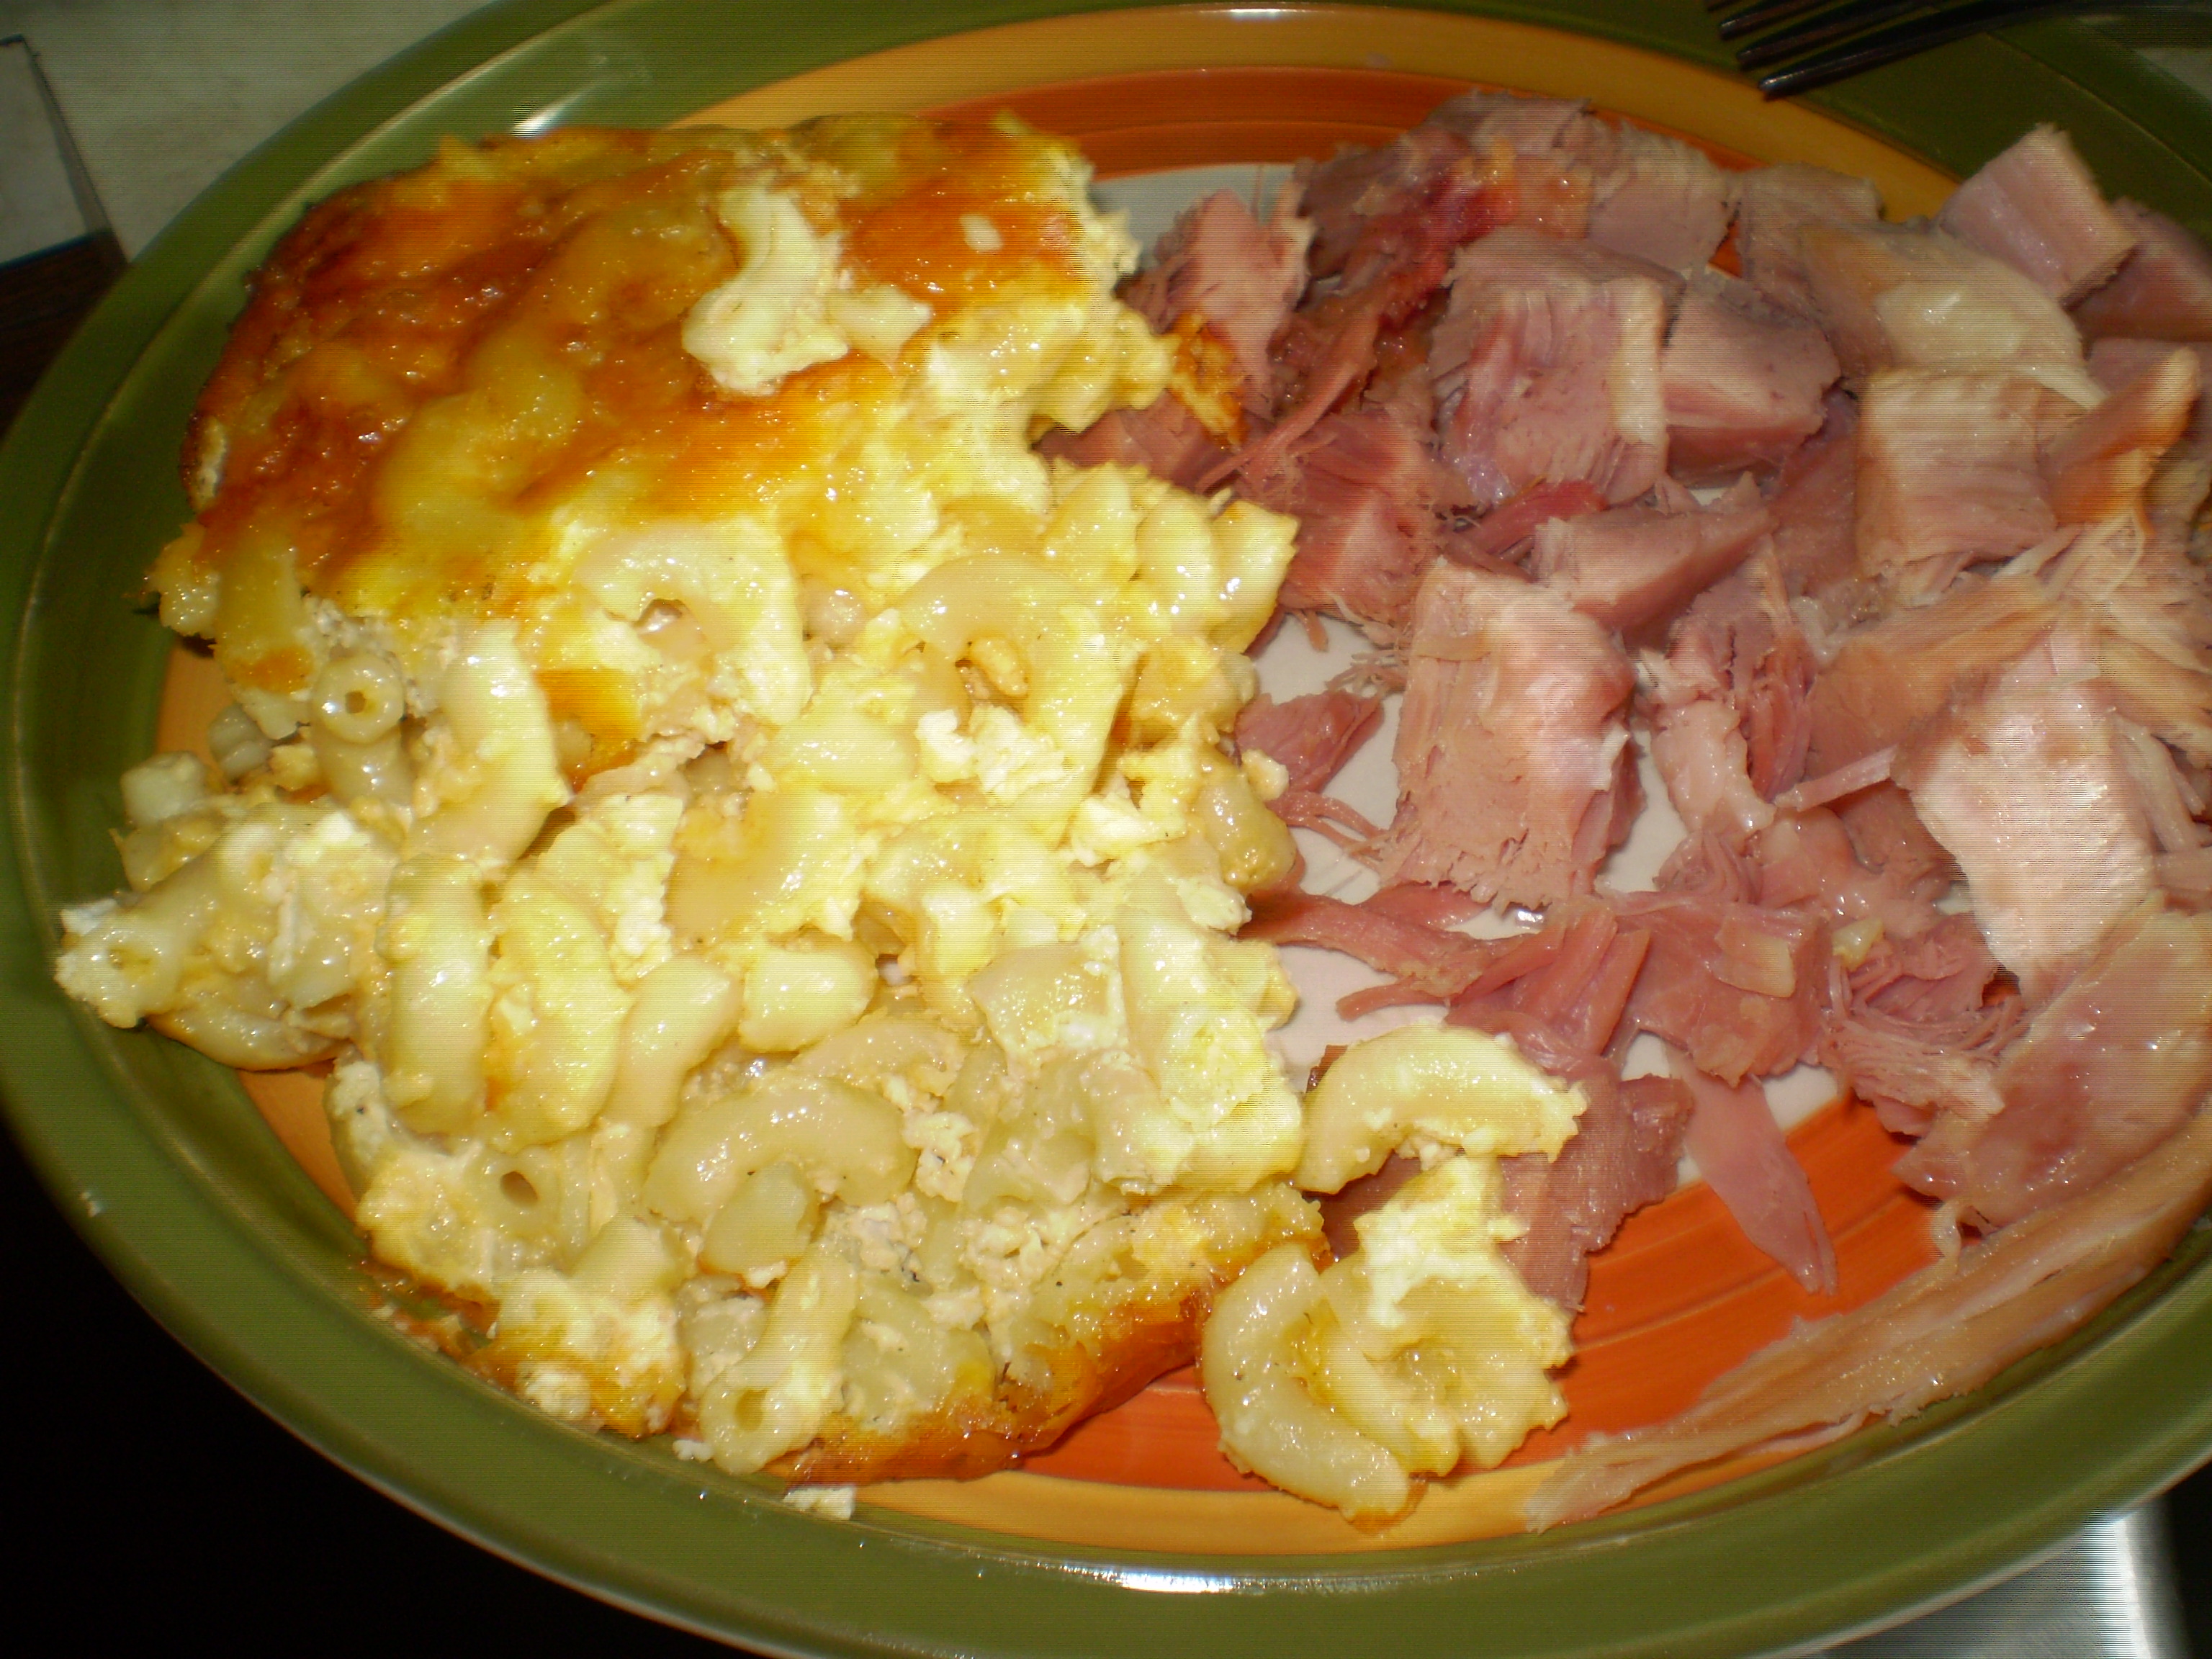
Macaroni Pie is a classic southern dish that is traditionally served as a side dish with anything at all: chicken, bbq, ham, steak…probably not fish or seafood, though. It can also be easily transformed into a complete meal casserole with the substitution of half of the cooked pasta for meat and vegetables; I’m fond of chicken and broccoli, myself.

PS–this is what I made to go with ginger ham and blue cheese cole slaw on Rapture Day (aka May 21, 2011).
Posted in Cooking, Healthy in Mind and Body

The Bliss of Homemade Popcorn

About five years ago, I took a chance and made popcorn in my own soup pot on a gas stove; you see, I was trimming the budget, and a bag of loose kernels is much cheaper than 24 bags of the microwave stuff (that’s an equivalent amount of popped corn).

And it couldn’t be simpler.

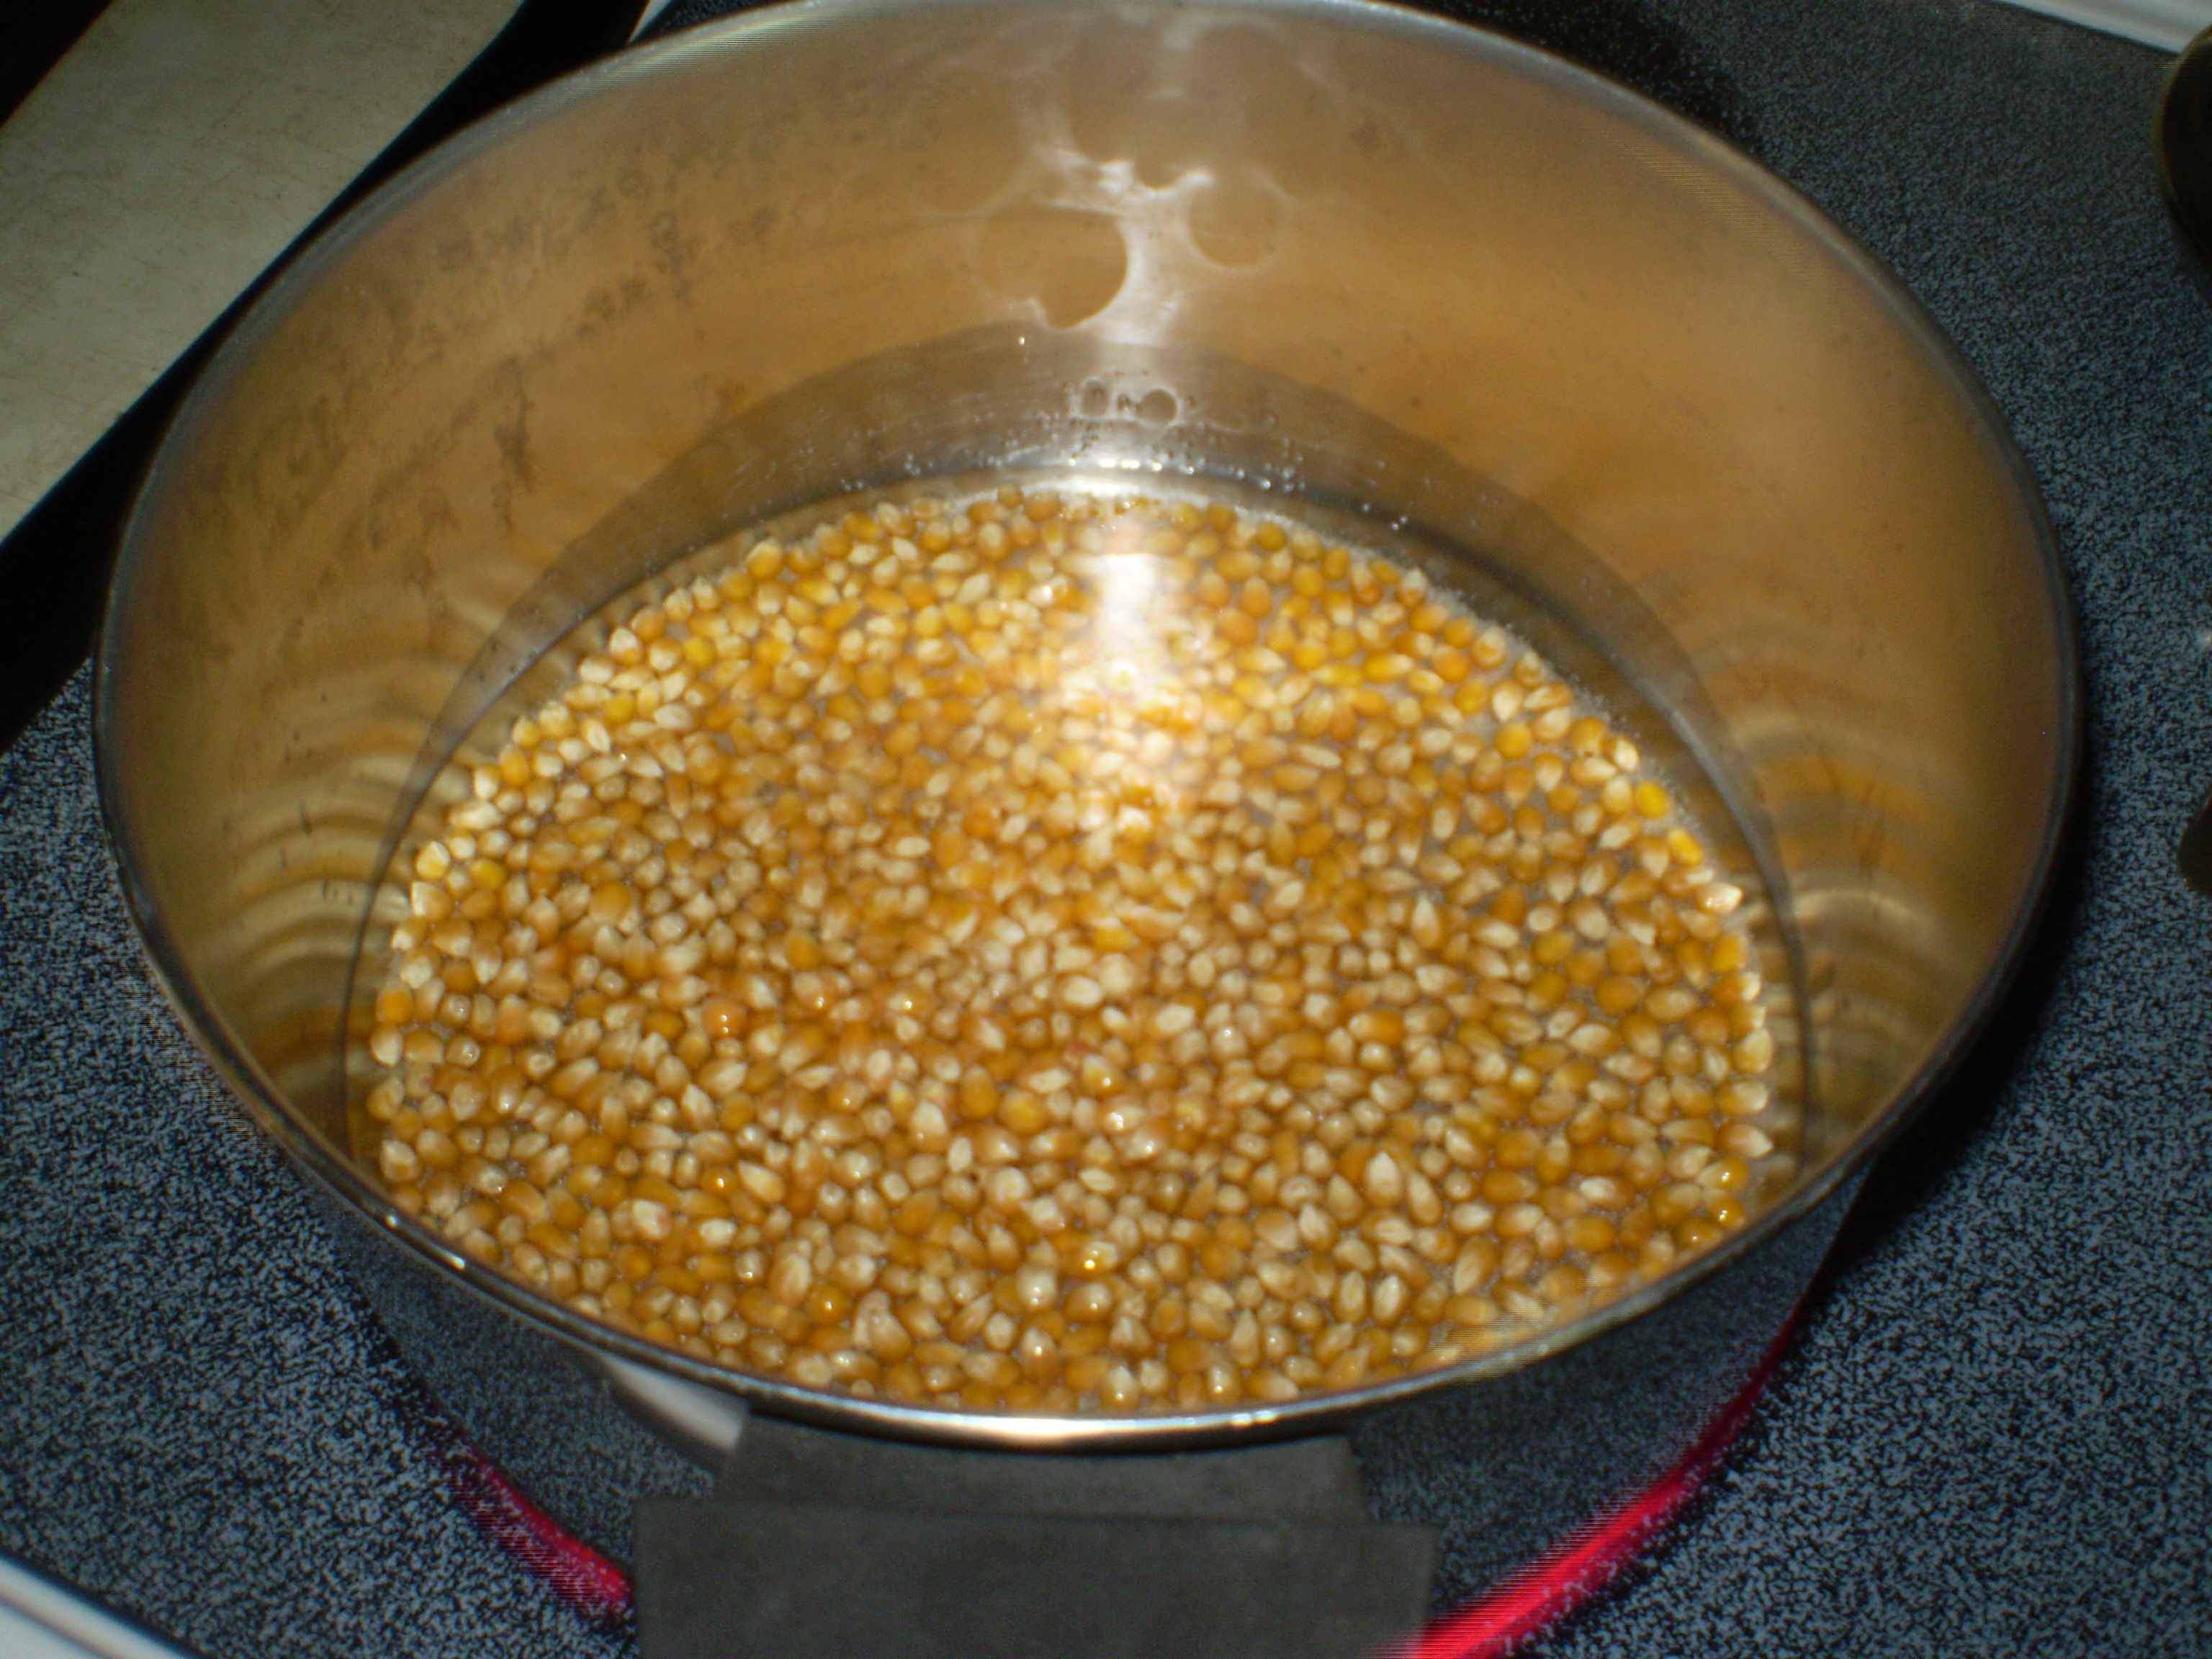
In your big soup pot (the lighter weight the better, if you have a choice), pour in cooking oil to cover the bottom of the pot, perhaps 1/8 inch. Dump in about half a cup of popcorn kernels and maybe 2 tablespoons of salt.

Then the secret: snap the lid on tight and don’t you dare open it up again until the popcorn has all popped.

Gently slide the pot back and forth over high heat. Don’t worry, be patient. You will definitely know when the action is heating up. You’ll hear the sizzle of the oil just a second or two before the first kernels pop. And they will pop up and hit the lid. Don’t be scared…and don’t you dare open the lid. Not only will you let out the heat and steam necessary to pop the corn, but you may lose an eye.

Keep sliding the pot back and forth as you hear the popping speed up. But listen carefully for the first signs of the slow down. When you can hear only one kernel at a time pop, it’s time to take the pot of the heat entirely.

Lift the lid carefully. You may get to enjoy the surprise of a few more kernels popping up and out of the top layer, which is a special delight for kids if you’ve got them helping with this!

Transfer the popcorn into a large bowl to let it cool off.

Now, if  you’ve used a good quality cooking oil, you will not need any flavoring. But…if you must, melt a whole stick of butter in the microwave and pour it over the popcorn; stir immediately but gently.

Other seasonings, which I recommend you add prior to popping:

  • 1/2 sugar or Splenda for sweet kettle corn
  • cayenne and chili powder for spicy
  • cumin for smokey
  • curry and sesame oil for earthy

Oh, and if you are on Weight Watchers and enjoy your 5 cups of 97% fat free microwave popcorn, just imagine what it’d be like to have delicately butter-flavored popcorn (same 5 cups) for 2 points…and feel so much more decadent!

Posted in Everyday Musings

High School Flashback…folding notes

Today, I enjoyed a day-long exchange with an old friend…actually my old high school boyfriend…mimicking the age-old tradition of passing notes…but Facebook style!

Yes, there are a few more exchanges, but only because he butt-dialed me and I heard the book he was listening to in the car.

But this all made me think about that classic way we used to fold our notes, thinking somehow that our “secret” folding technique made our notes impenetrable by teachers. I also remember writing backwards, again thinking that my teachers would be too stupid to figure it out and wouldn’t be able to read the note out loud and embarrass me.

So I grabbed a piece of paper from the copy machine and let my memory take over:


Fold diagonally from the top right corner to the left straight edge, matching up what was the top edge with the left edge and making a perfect point at the top left.

Fold the remaining bottom “tag” upwards.

Fold vertically from the bottom right to the bottom left, matching up the two bottom corners.

Fold horizontally and to the back so that the top point now points downward.

Fold that point back upwards over the front.

Fold the remaining little point tag down into the pocket made by the paper.

There were also variations on how to fold that final point into the pocket, sometimes making a pull tag, but that’s pretty much the gist.

Crazy sometimes the things you remember from high school. Crazier still that twenty years later a good-looking man can still make you blush by asking you to check yes or no to let him know if you like him. I mean like-him like-him 🙂

Posted in Cooking, Healthy in Mind and Body

Super-simple Sloppy Joes (and a tiny soapbox moment)

I have a love-hate relationship with sloppy joes. I do love the flavor, but there’s a soupiness threshold for me. Sure, it’s easy to buy a can of Manwich or some other pre-made sauce mix, but I think when you know what the sauce basic are, you just might want to try your own.

Brief Soapbox: The key reason I object to canned sloppy joe mix is that they all use corn syrup because they are tomato-based. I’m on a less-traditional bandwagon against corn syrup–and I don’t really care if it’s high- or low-fructose. First, why in God’s name does tomato sauce need sweetening? If the tomato is picked at the peak of ripeness, rather than forced into ripeness chemically, then they wouldn’t be bitter when cooked. Second, like milk allergies 15 years ago and nut allergies 10 years ago, the newest mass produce allergy is to corn; while research is too young to be conclusive, the prevailing medical, biological, and horticultural opinion is that this is because these products/industries are the first and largest to move into GMO production.

Okay, lesson over…for now.

Aside from that, don’t you want to be able to control the flavor of your sloppy joes! All they are is ground meat, tomato sauce, tomato paste, Worchestershire sauce, and seasonings. Sure, you can add other stuff like onions, peppers, tomato chunks, heat, etc., but that’s the basic recipe.

Ingredients (in the order they’ll go in the pan)

  • 1 lb ground meat–whatever you like, but tonight we have turkey
  • 1 clove garlic
  • 2 cups of tomato sauce (about 1 can)
  • 2T of tomato paste (often contains corn syrup so steer towards the international tubes of tomato paste like Amore)
  • 2T Worchestershire sauce (make your own GF/CF/SF with this recipe!)

After that, whatever you add is essentially your personalization of the basic sloppy joe:

  • green peppers
  • diced onion
  • crushed or diced tomato
  • chilis
  • bbq sauce
  • honey
  • any variety of spices

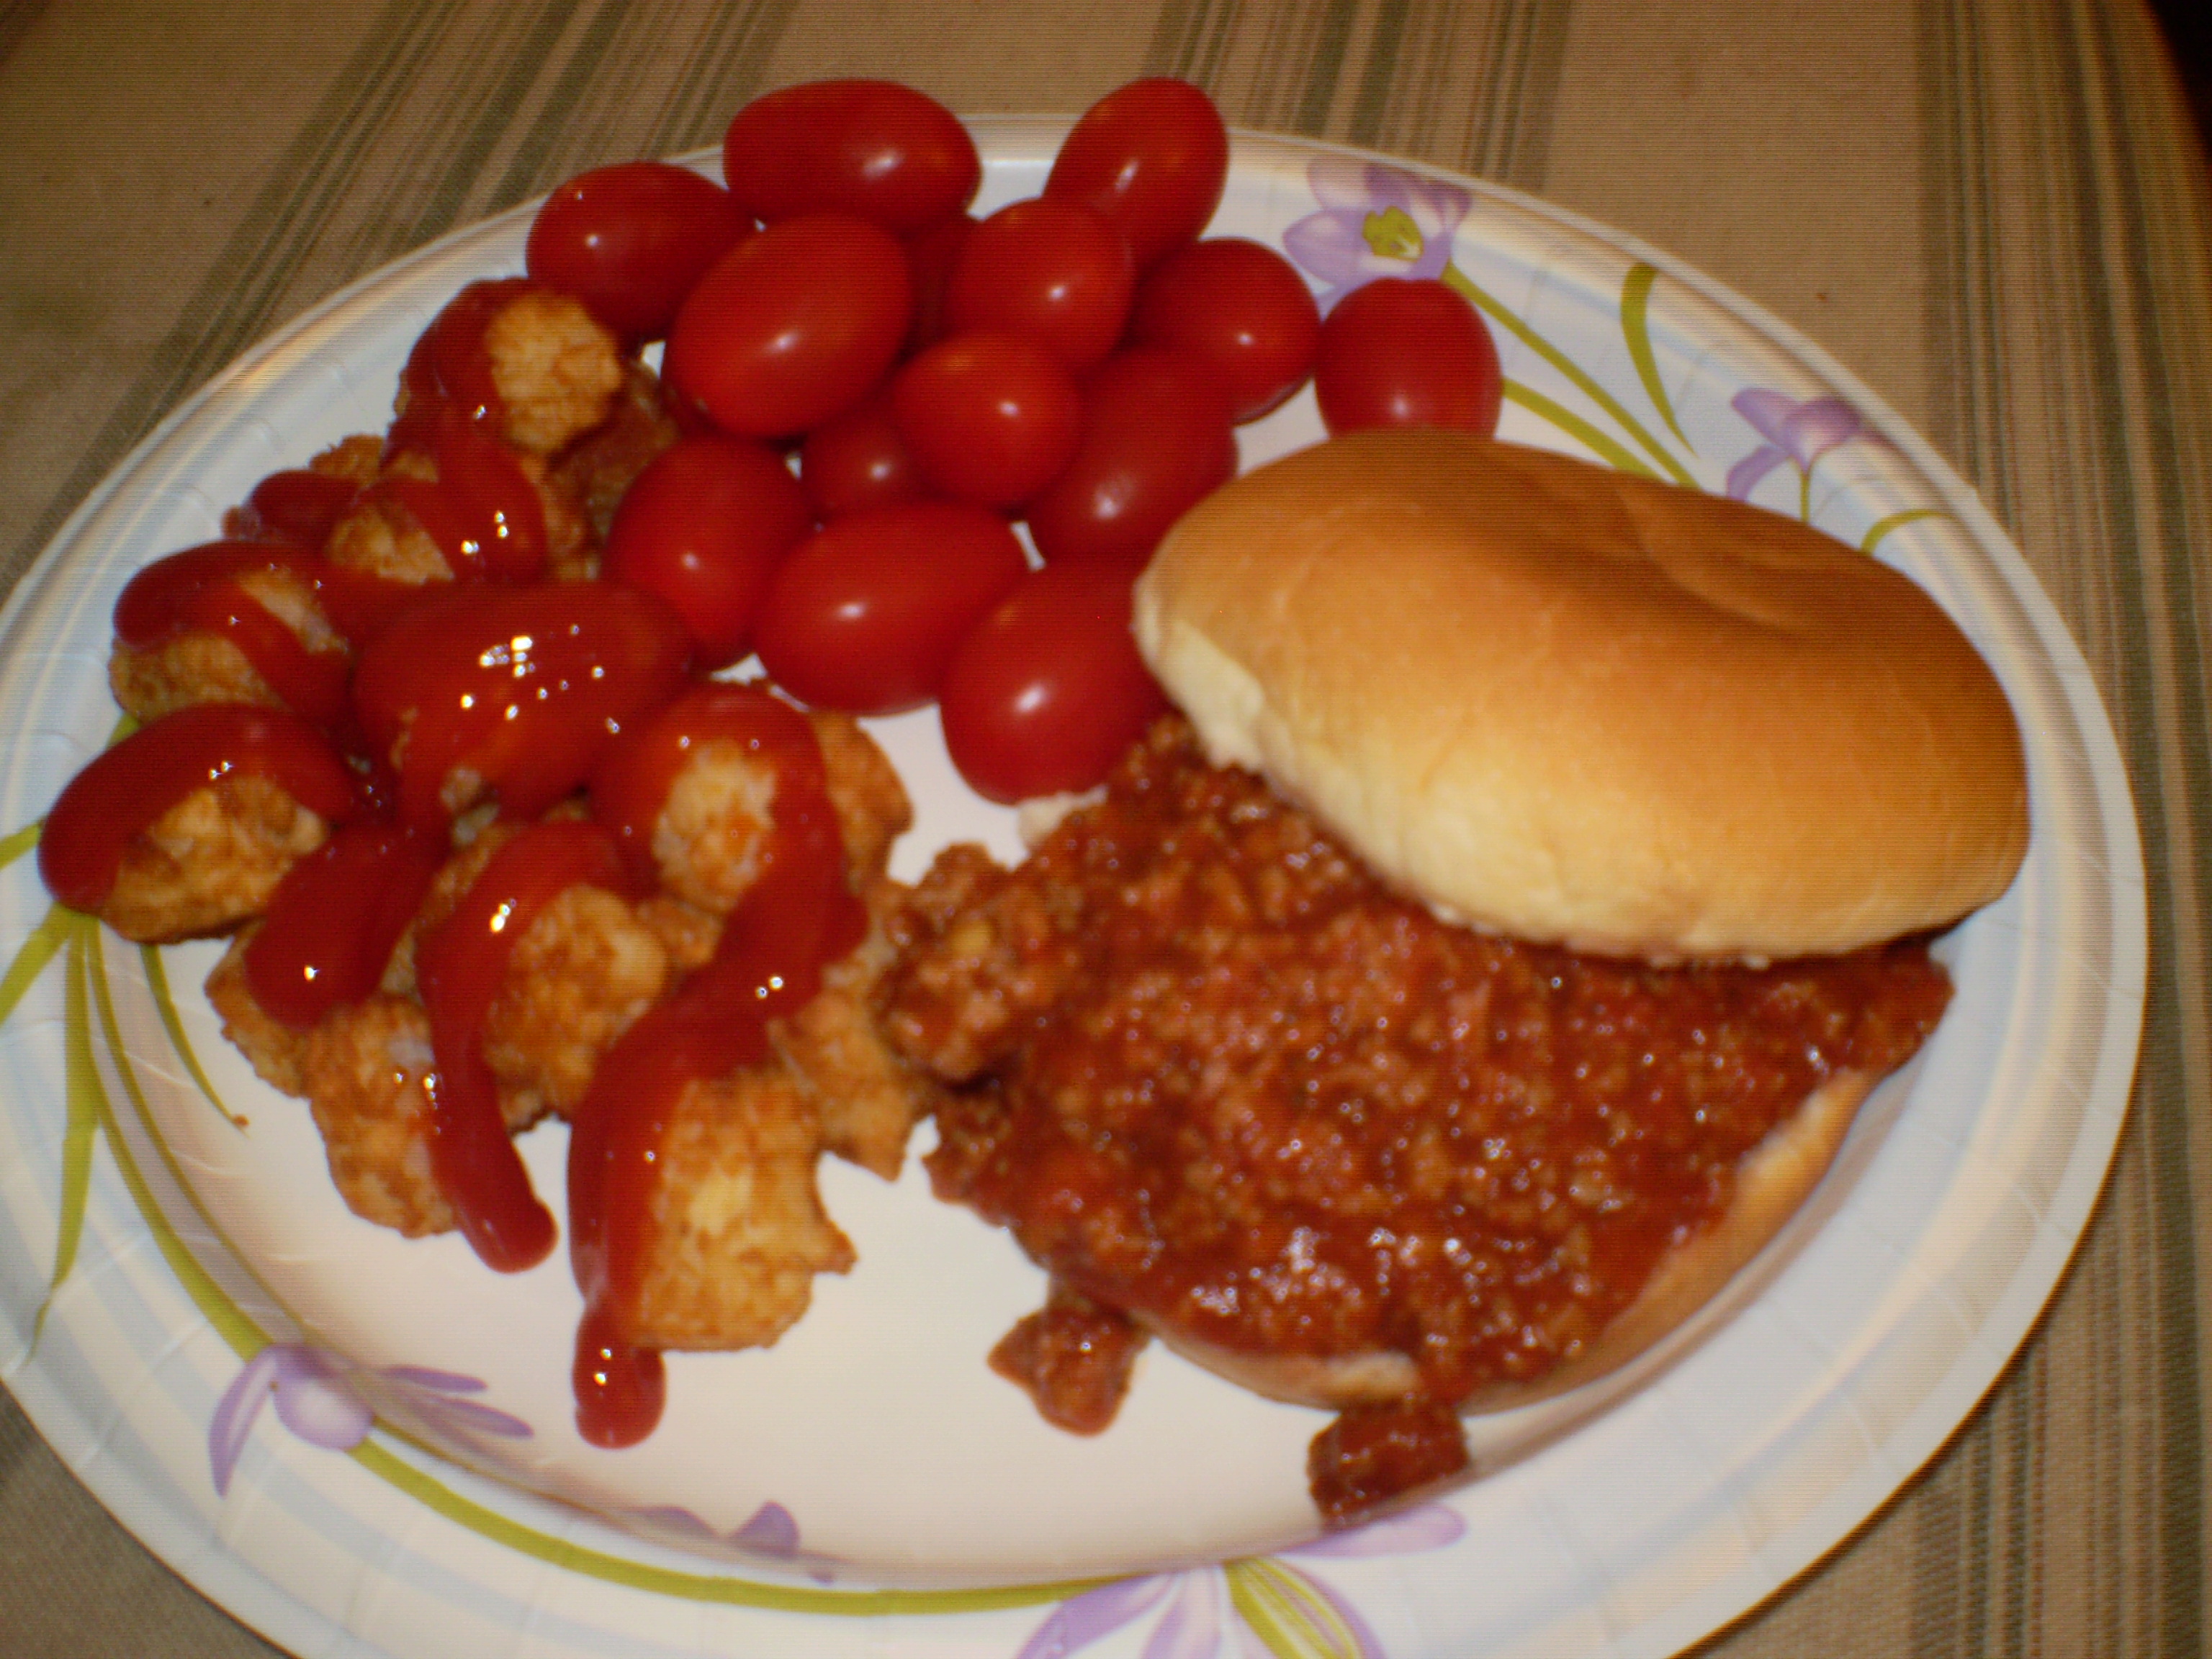
Serve this delicious concoction on a hamburger bun (traditional) or in a hot dog bun (practical). We are especially fond of eating them with a whole green onion. And tonight, our sloppy joes are paired with tater tots and fresh cooked green beans.

Posted in Cooking, Healthy in Mind and Body

My Favorite Summer Pasta Salad

It’s summer, which for many means that all the best produce is in season, fresh, and readily available. Definitely true for all of the ingredients of my favorite summer salad.

It couldn’t be any simpler or take any less time or effort…and you’ll find it very versatile:

  • 1 package of your favorite shaped pasta, cooked, drained, and cooled (try an all-rice pasta for gluten free and corn free needs)
  • Equal volume of your favorite medley of fresh veggies (equal volume to the cooked pasta)
  • Seasoning: salt, pepper, thyme
  • Olive oil, about 1/4 cup for the whole salad
  • Lemon juice, or other acid like apple cider vinegar (to keep some of the veggies from turning brown)

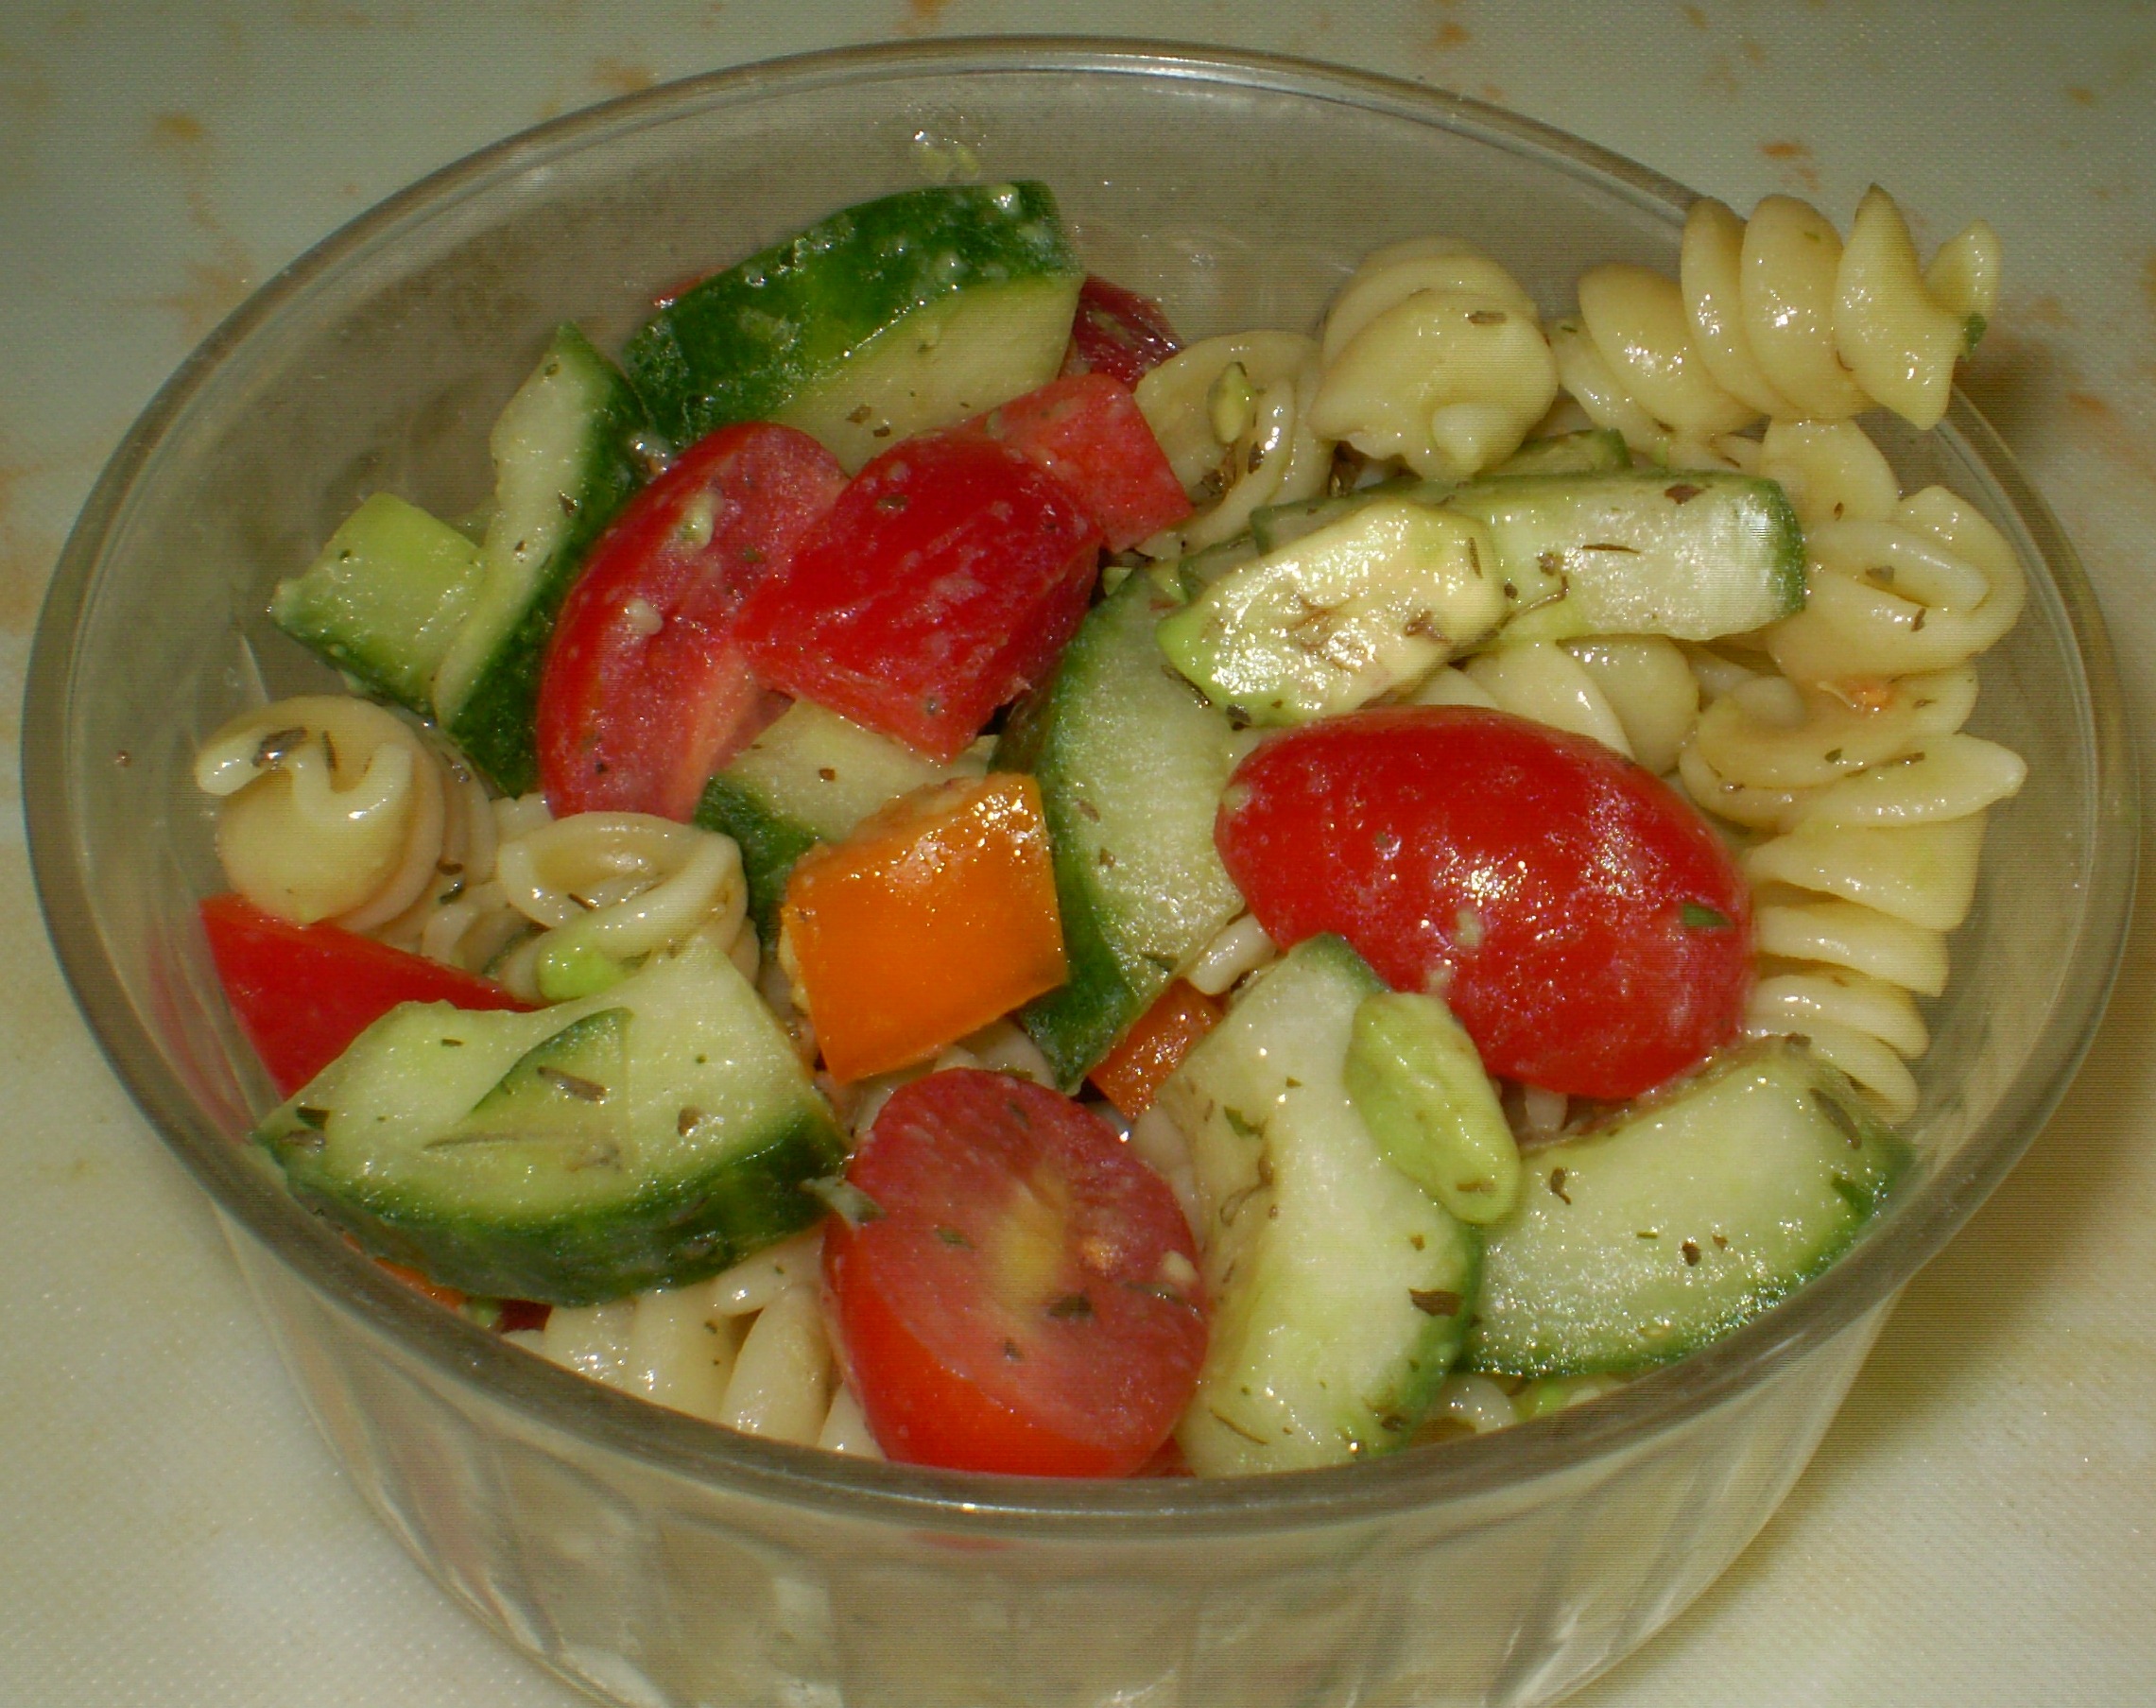
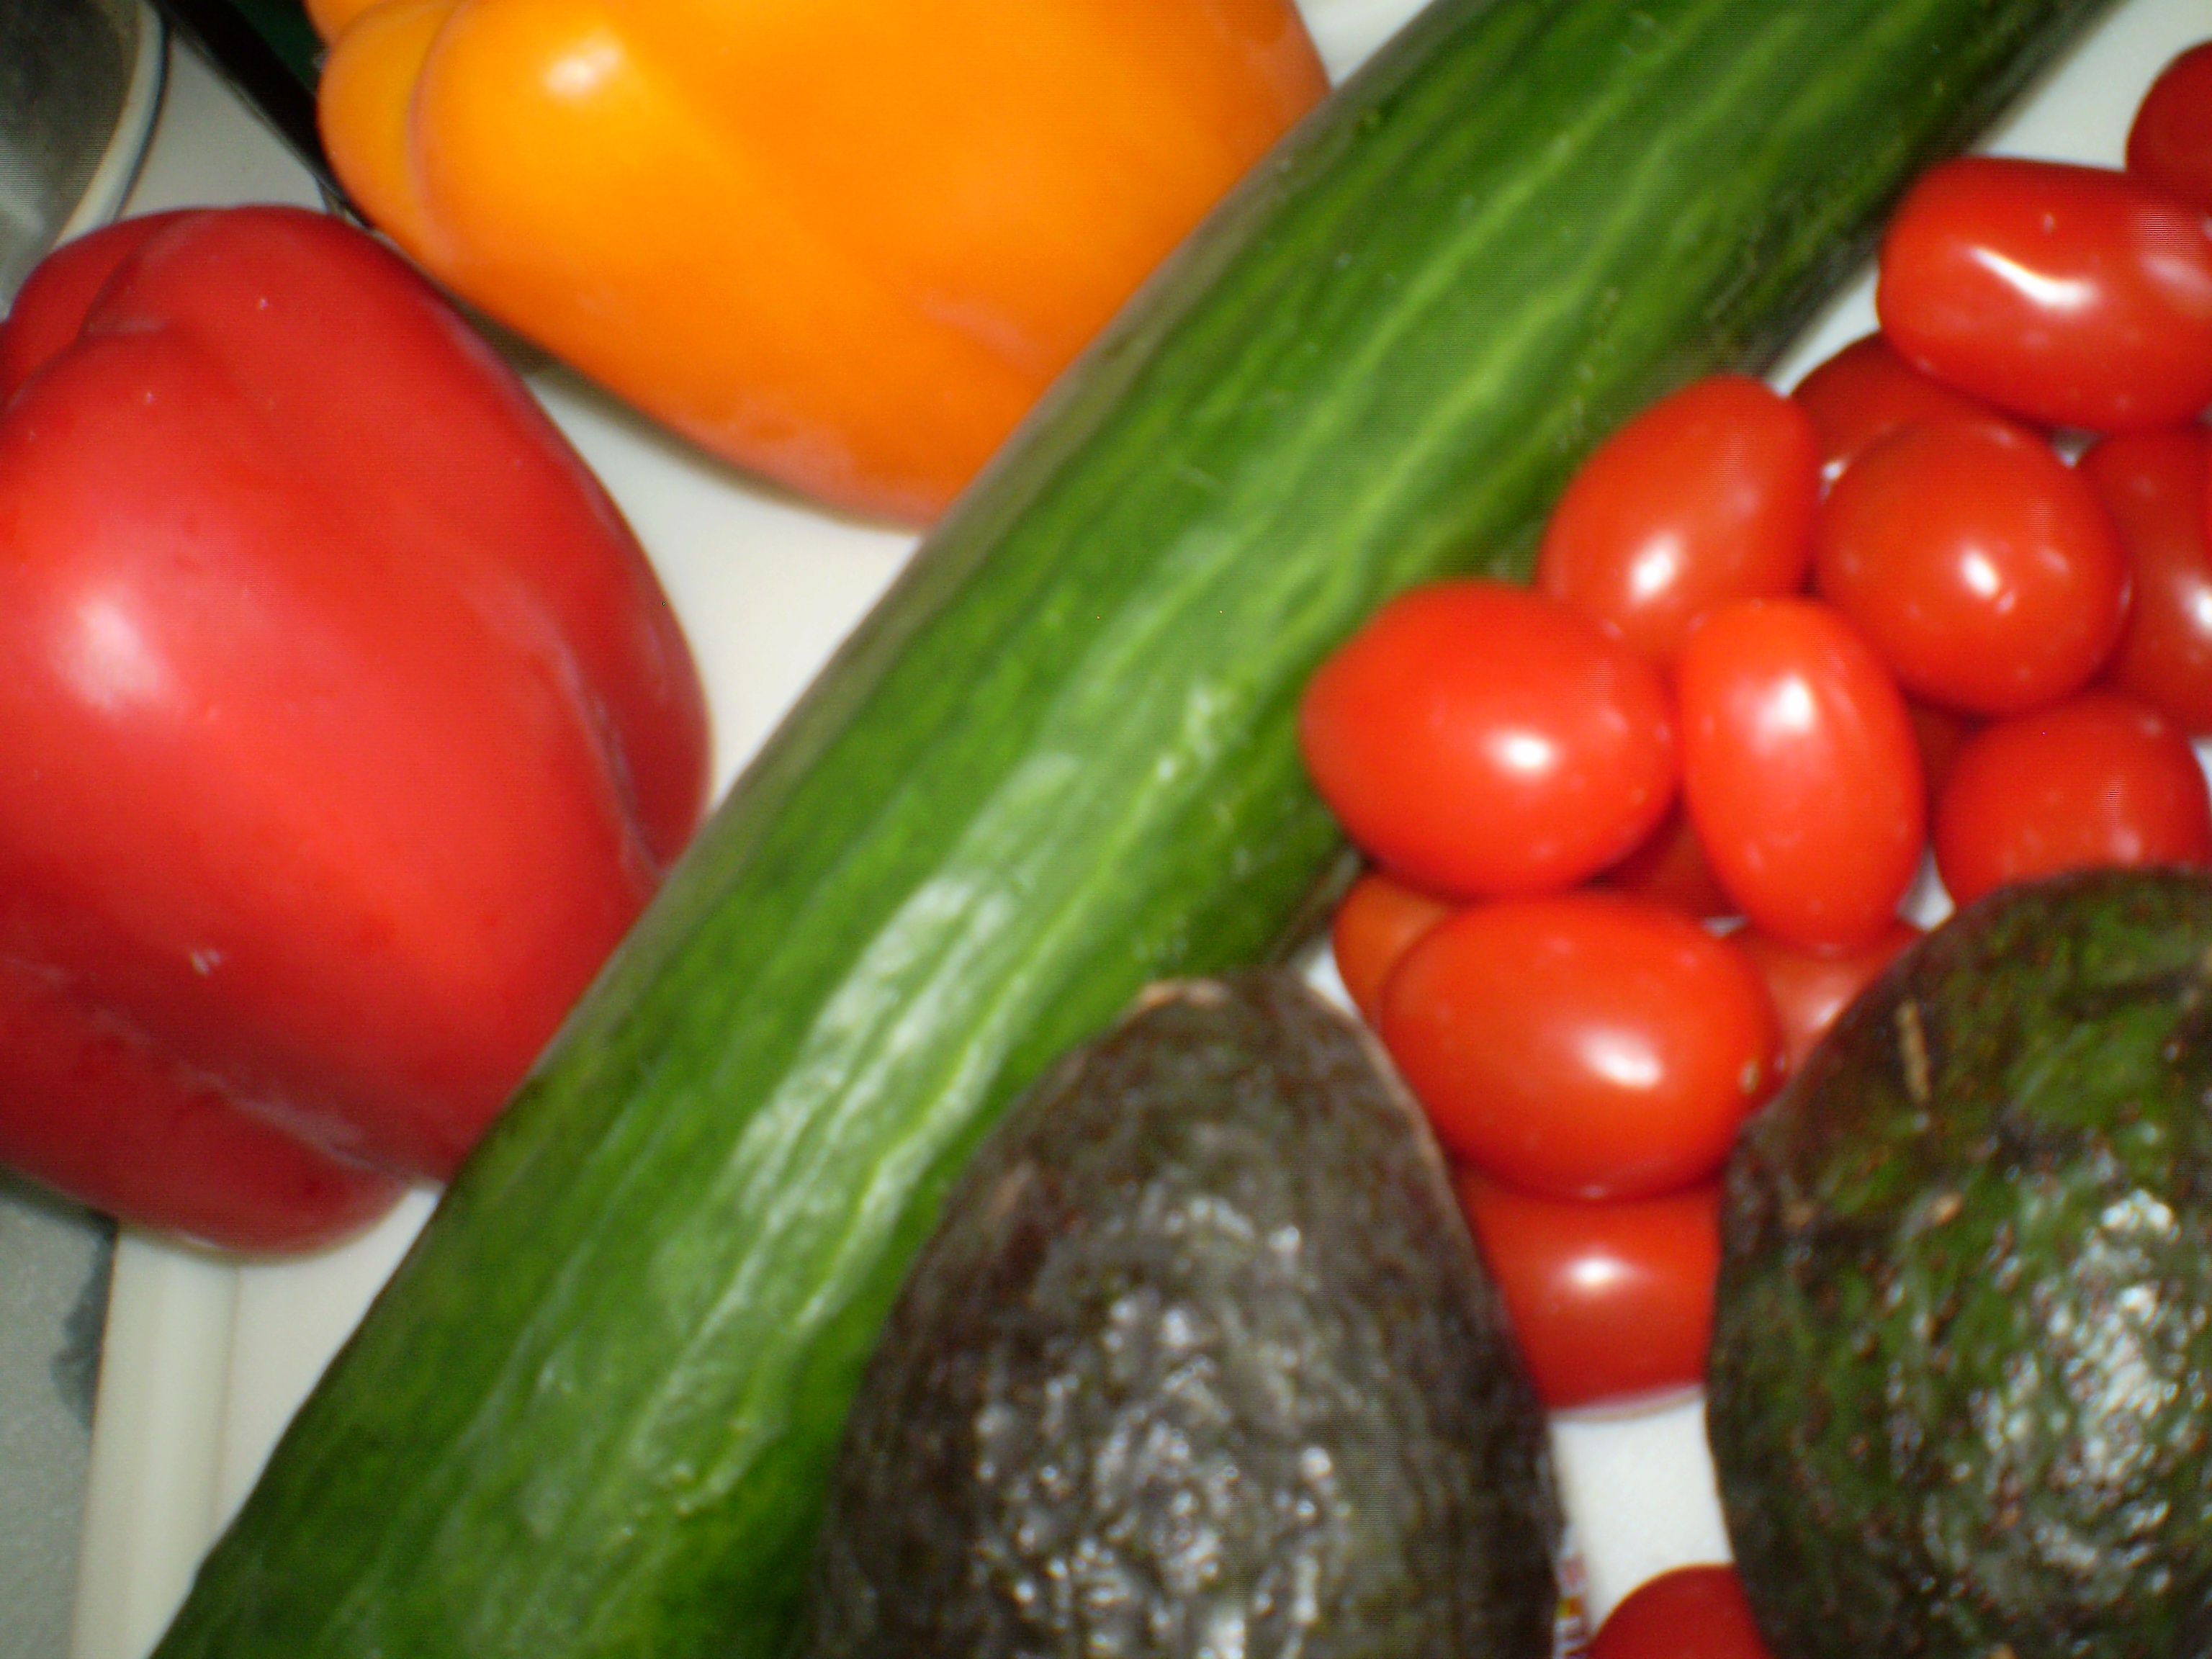
Me…this week I’ve paired rotelle (spiral) pasta with what I think of as my classic medley: 1 pint of grape tomatoes, 1 large hothouse cucumber (seeded), 1 orange bell pepper, 1 red bell pepper, and 2 small Hass avocados. I love how the avocados, regardless of how firm they are when you cut them, start to “melt” and become part of the dressing, keeping everything nice and lubricated without extra oil in the dressing! And I went with 2 T of herbs de provence to season everything nice and brightly…it’s the lavender flowers that I love best in the American version from Whole Foods.

Some alternative combos:

  • artichoke, orange, red onion with red wine vinegar
  • broccoli, cauliflower, shelled sugar snap peas with grapeseed oil

Sometimes I add a small bag of edamame, organic and non-GMO, if I don’t have any regular protein to go with it (either freshly made or leftover). But this week, I’ve cooked up several chicken breasts with herbs de provence.

The chicken, salad, and a banana will comprise my lunch for the week…all made in about 30 minutes.

But this salad is fantastic to make up on a Saturday or Sunday afternoon and just have in the fridge as a quick side or even late-night snack. With the sweet and crunchy veggies, it’s often an acceptable alternative to your palate’s oreo craving at 10:30 pm.

Finally, this is my regular go-to contribution to any summery potluck, especially if I know any vegetarians will be attending; I make a special point to let them know I will be bringing the salad and how I prepare it so they can be comfortable eating it. I’ve had several vegetarian friends attend a potluck for the first time because they knew there’d be something for them other than just what they brought. (In the winter, I do a mushroom risotto for my vegetarian friends.)

Posted in Cooking

Taking a Helping Hand from the Experts: Ginger-glazed Ham (Momentum 1 pt/oz; PointsPlus 1 pt/oz)

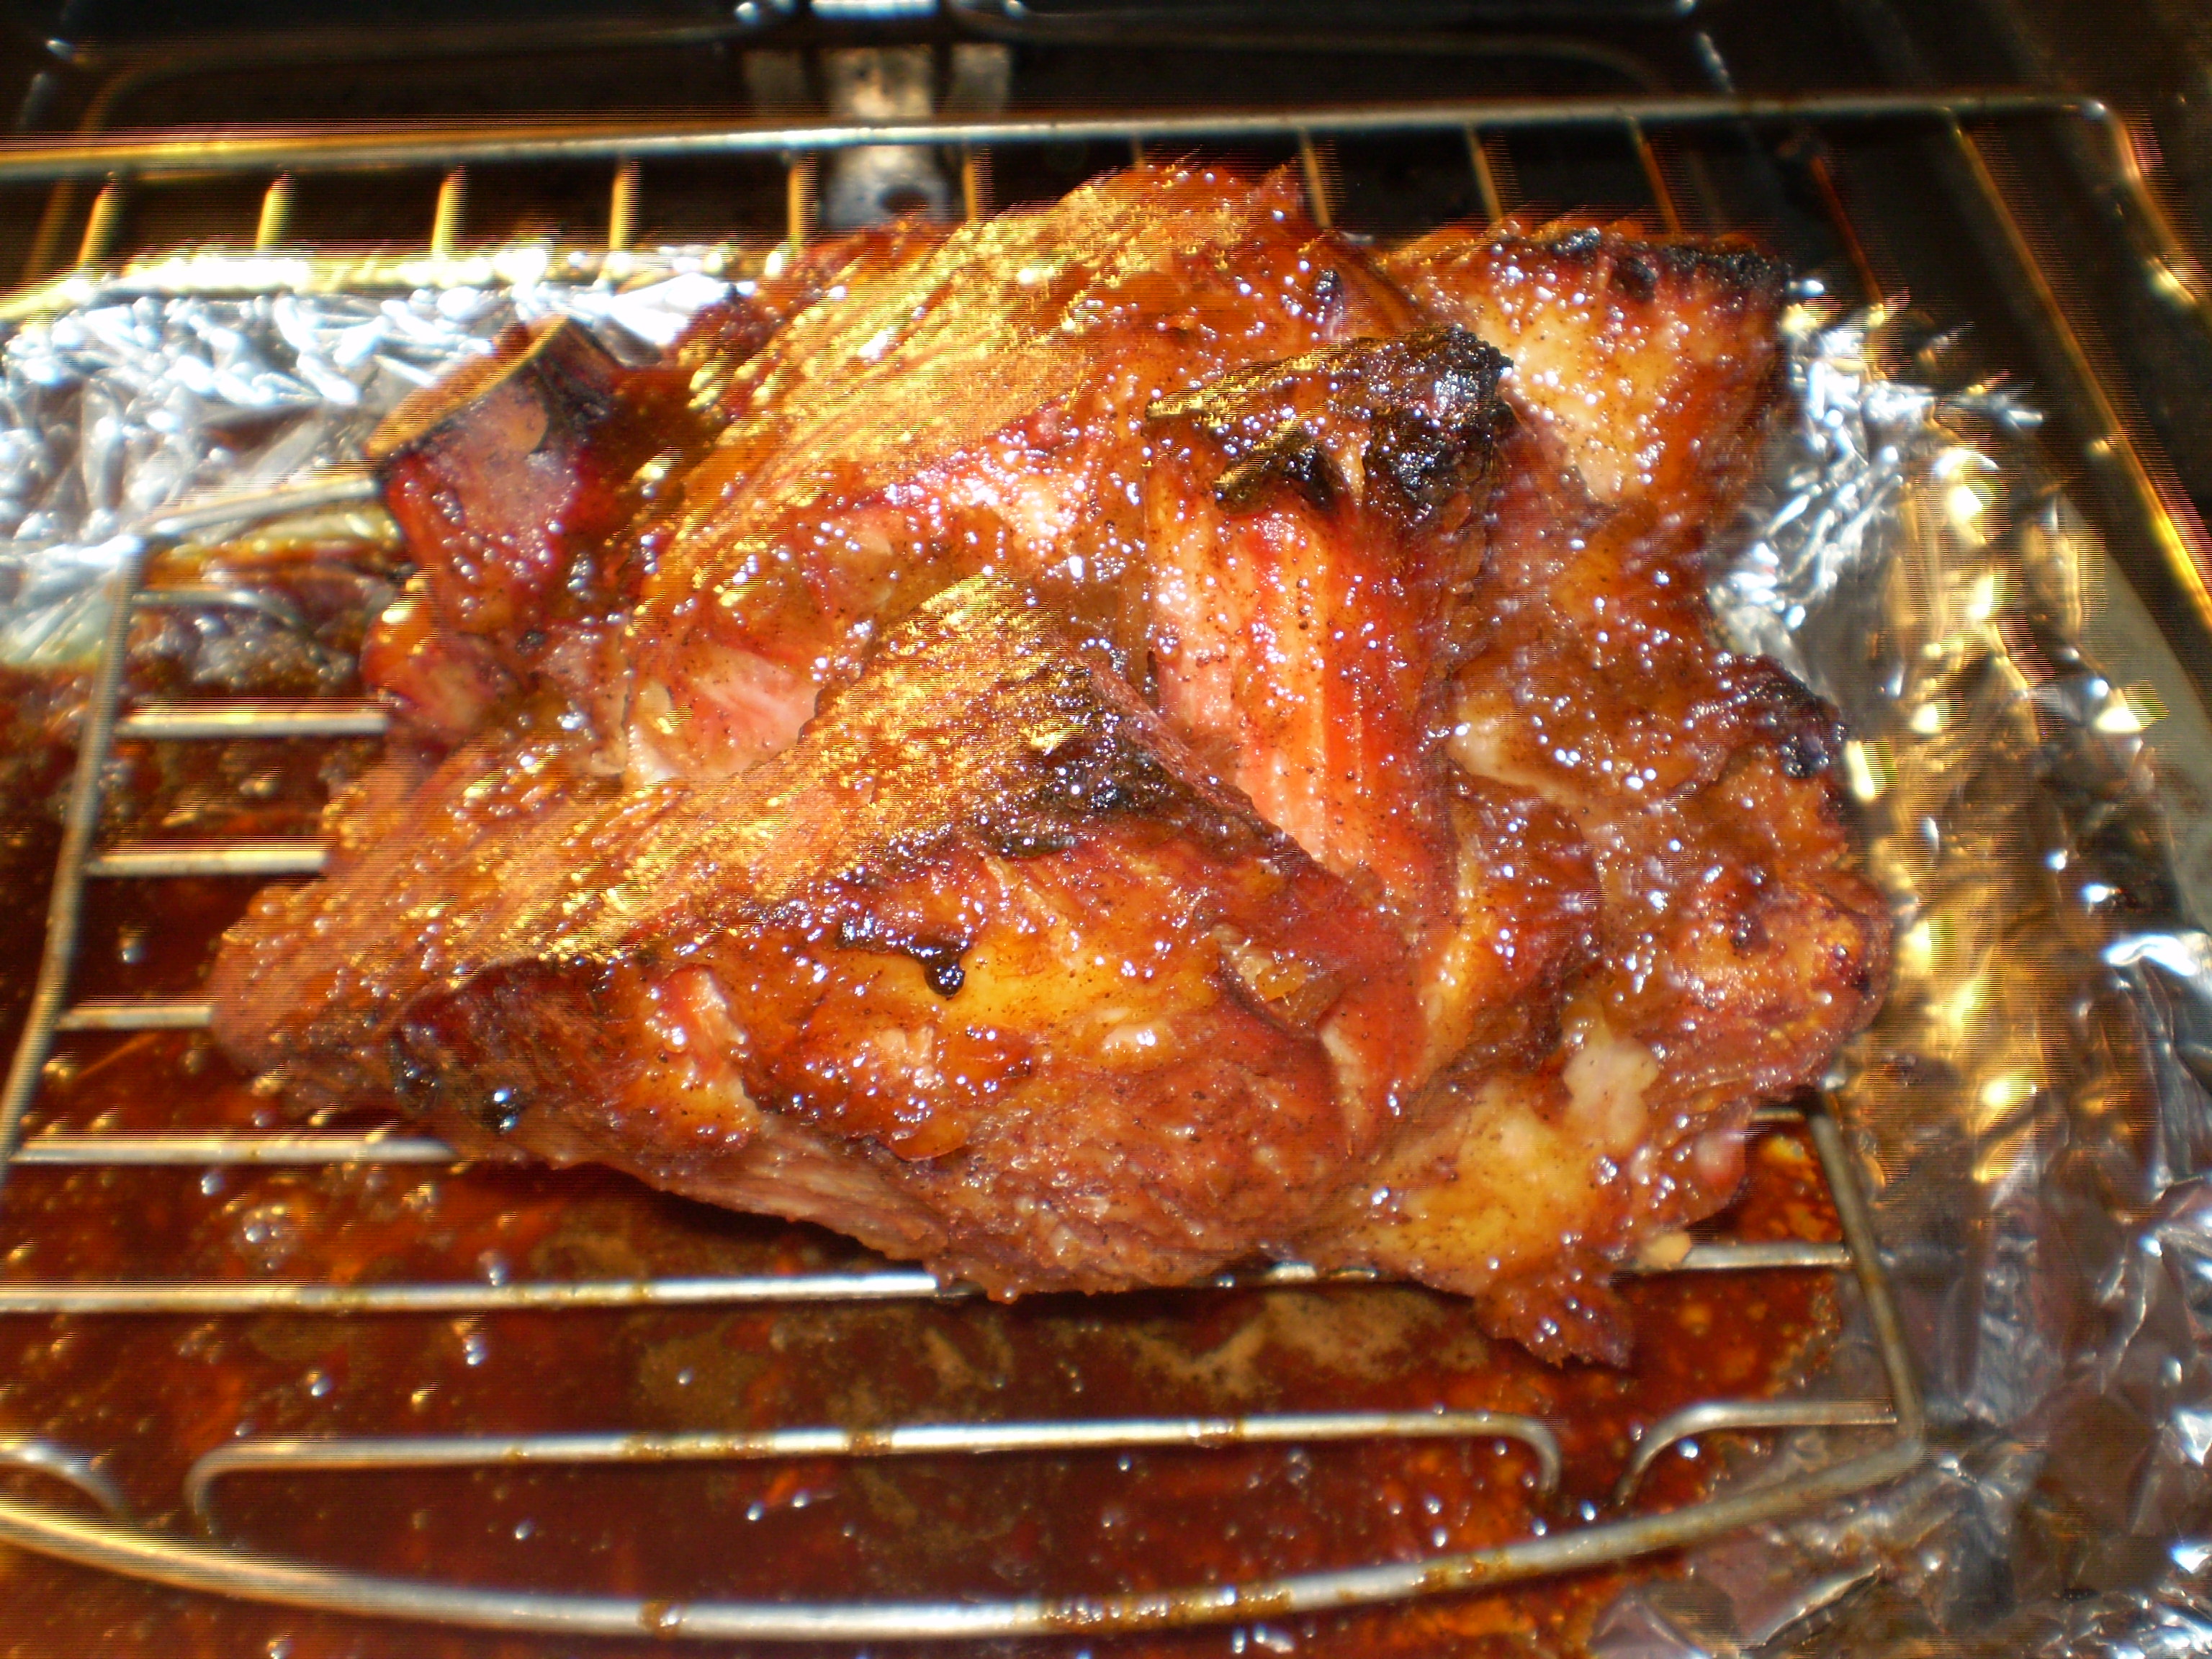
Ginger-glazed Ham a la Nigella Express

I’ve got a few favorite shows on Food Network, and Nigella Express is tops for me. She cooks just like me, in a throw it together, don’t measure anything, do whatever it takes to make it ooey gooey yummy and then watch your friends and family enjoy!

So a few weeks ago, I caught an episode where she made a Ginger-glazed Ham. Now anyone who knows me personally has just lifted their eyebrows to the ceiling (perhaps beyond, in a few cases)…because everybody knows I hate ham. Wait…sshhhhh…about a month ago, to be polite, I ate some ham at Sunday dinner at a friend’s house a month or so ago, and it wasn’t horrible. Still not my favorite meat preparation, but I learned I don’t hate it anymore.

But when I saw Nigella combine ham–a mediocre meat preparation–and ginger glaze, my eyes lit up and my mouth watered. Now, I may be just okay with ham, but I LOVE ginger!

You can find the original recipe at Nigella Express on Food Network, but I changed it just a little and made it perhaps more American kitchen friendly:

  • 1 8-lb ham shoulder (bone in)–because I couldn’t find boneless ham joint at my grocery store
  • 1 2-liter of ginger ale–just use the store brand
  • 1 cup (or about half a jar) of ginger preserves–I find Dundee’s to be the best, with a strong, spicy flavor and natural ingredients
  • 2 tablespoons of dijon mustard–again, I had store brand in the house, so that’s what I used
  • 1/2 teaspoon of ground cloves
  • 1/2 cup light brown sugar

Put the ham in your crock pot and fill it up with ginger ale; mine took about 1.5 liters. If the ham is too big for you to put the lid on (like mine was), just cover it snuggly with foil. Put it on whatever setting you need to get it through the day; I happened to be at home the day I made mine, so I stuck with Nigella’s original 4 1/2 hour cooking time, setting my crock pot on the 4 hours on high button (mine has four buttons, 4 or 6 hours at high or 8 or 10 hours at low).

30 minutes in the oven at 400 degrees

When it’s done in the crock pot, take it out with some large meat forks/scoops and place it on a baking rack in a foil-lined pan (with high sides, preferably). With a fork, perhaps some tongs, and a sharp knife, cut away the skin and most of the fat, exposing the dark pink meat of the ham. While it’s cooling just a little, mix up the glaze ingredients in a bowl: ginger preserves, mustard, cloves, and brown sugar. Then slather on the glaze and pop it into a 400 degree oven for 20-30 minutes, depending on how crispy you like your glaze.

PS–this glaze is about the most amazing spicy sweetness I’ve come across in a loooong time. I can imagine it topping just about any grilled, baked, or roasted meat: chicken, pork chops, lamb chops, tuna or swordfish steaks. I think I also prefer it to Major Grey’s mango chutney for my spicy curry topping too.

Ginger-glazed Ham a la Nigella Express

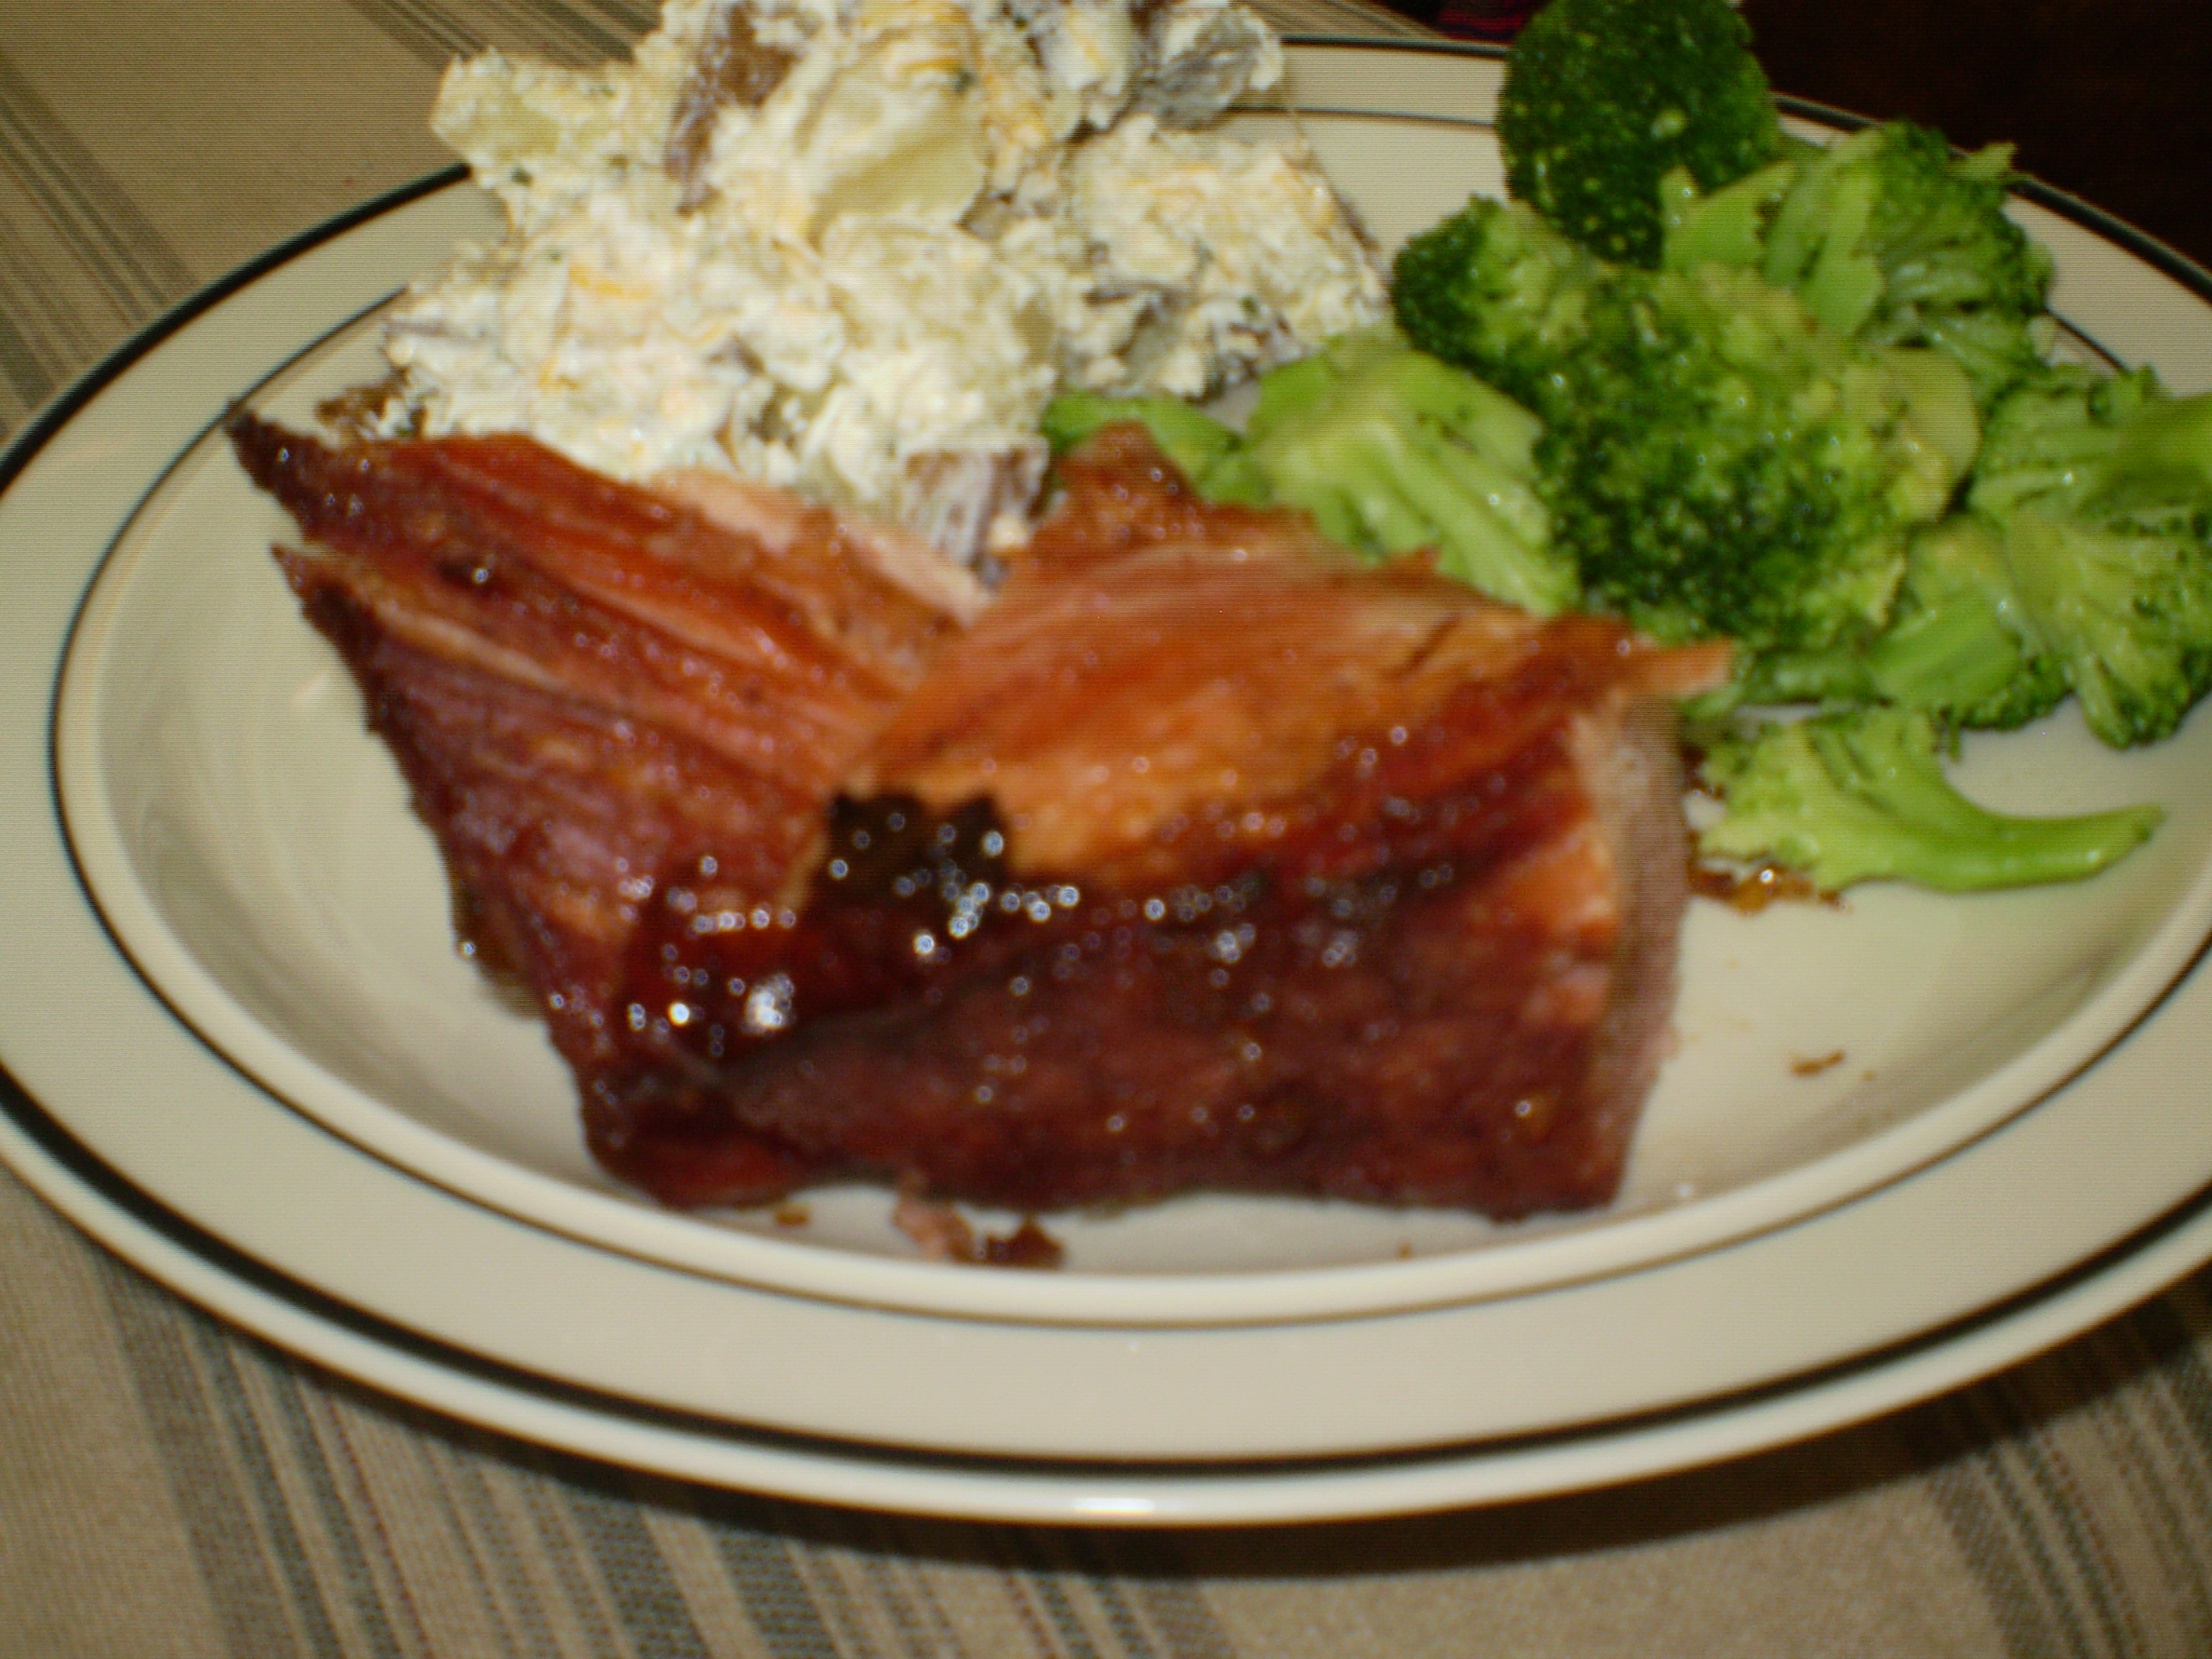
Paired with this sweet and spicy ham is a baked potato salad and steamed broccoli.

Oooo, and the best thing is that you can repeat this process with any flavor combination. Imagine cooking it in pineapple juice all day before glazing it in pineapple preserves, or orange juice and orange marmalade, or apple juice and apple butter, or ginger ale and sweet potato butter…the list is endless!

Better yet, cook it on low without any special flavoring or liquid and then glaze with some yummy bbq sauce or whiskey sauce or maple glaze.

For such a strong flavored meat…that cured ham…it sure can take a lot more flavor the more you cook it!

Posted in Cooking, Healthy in Mind and Body

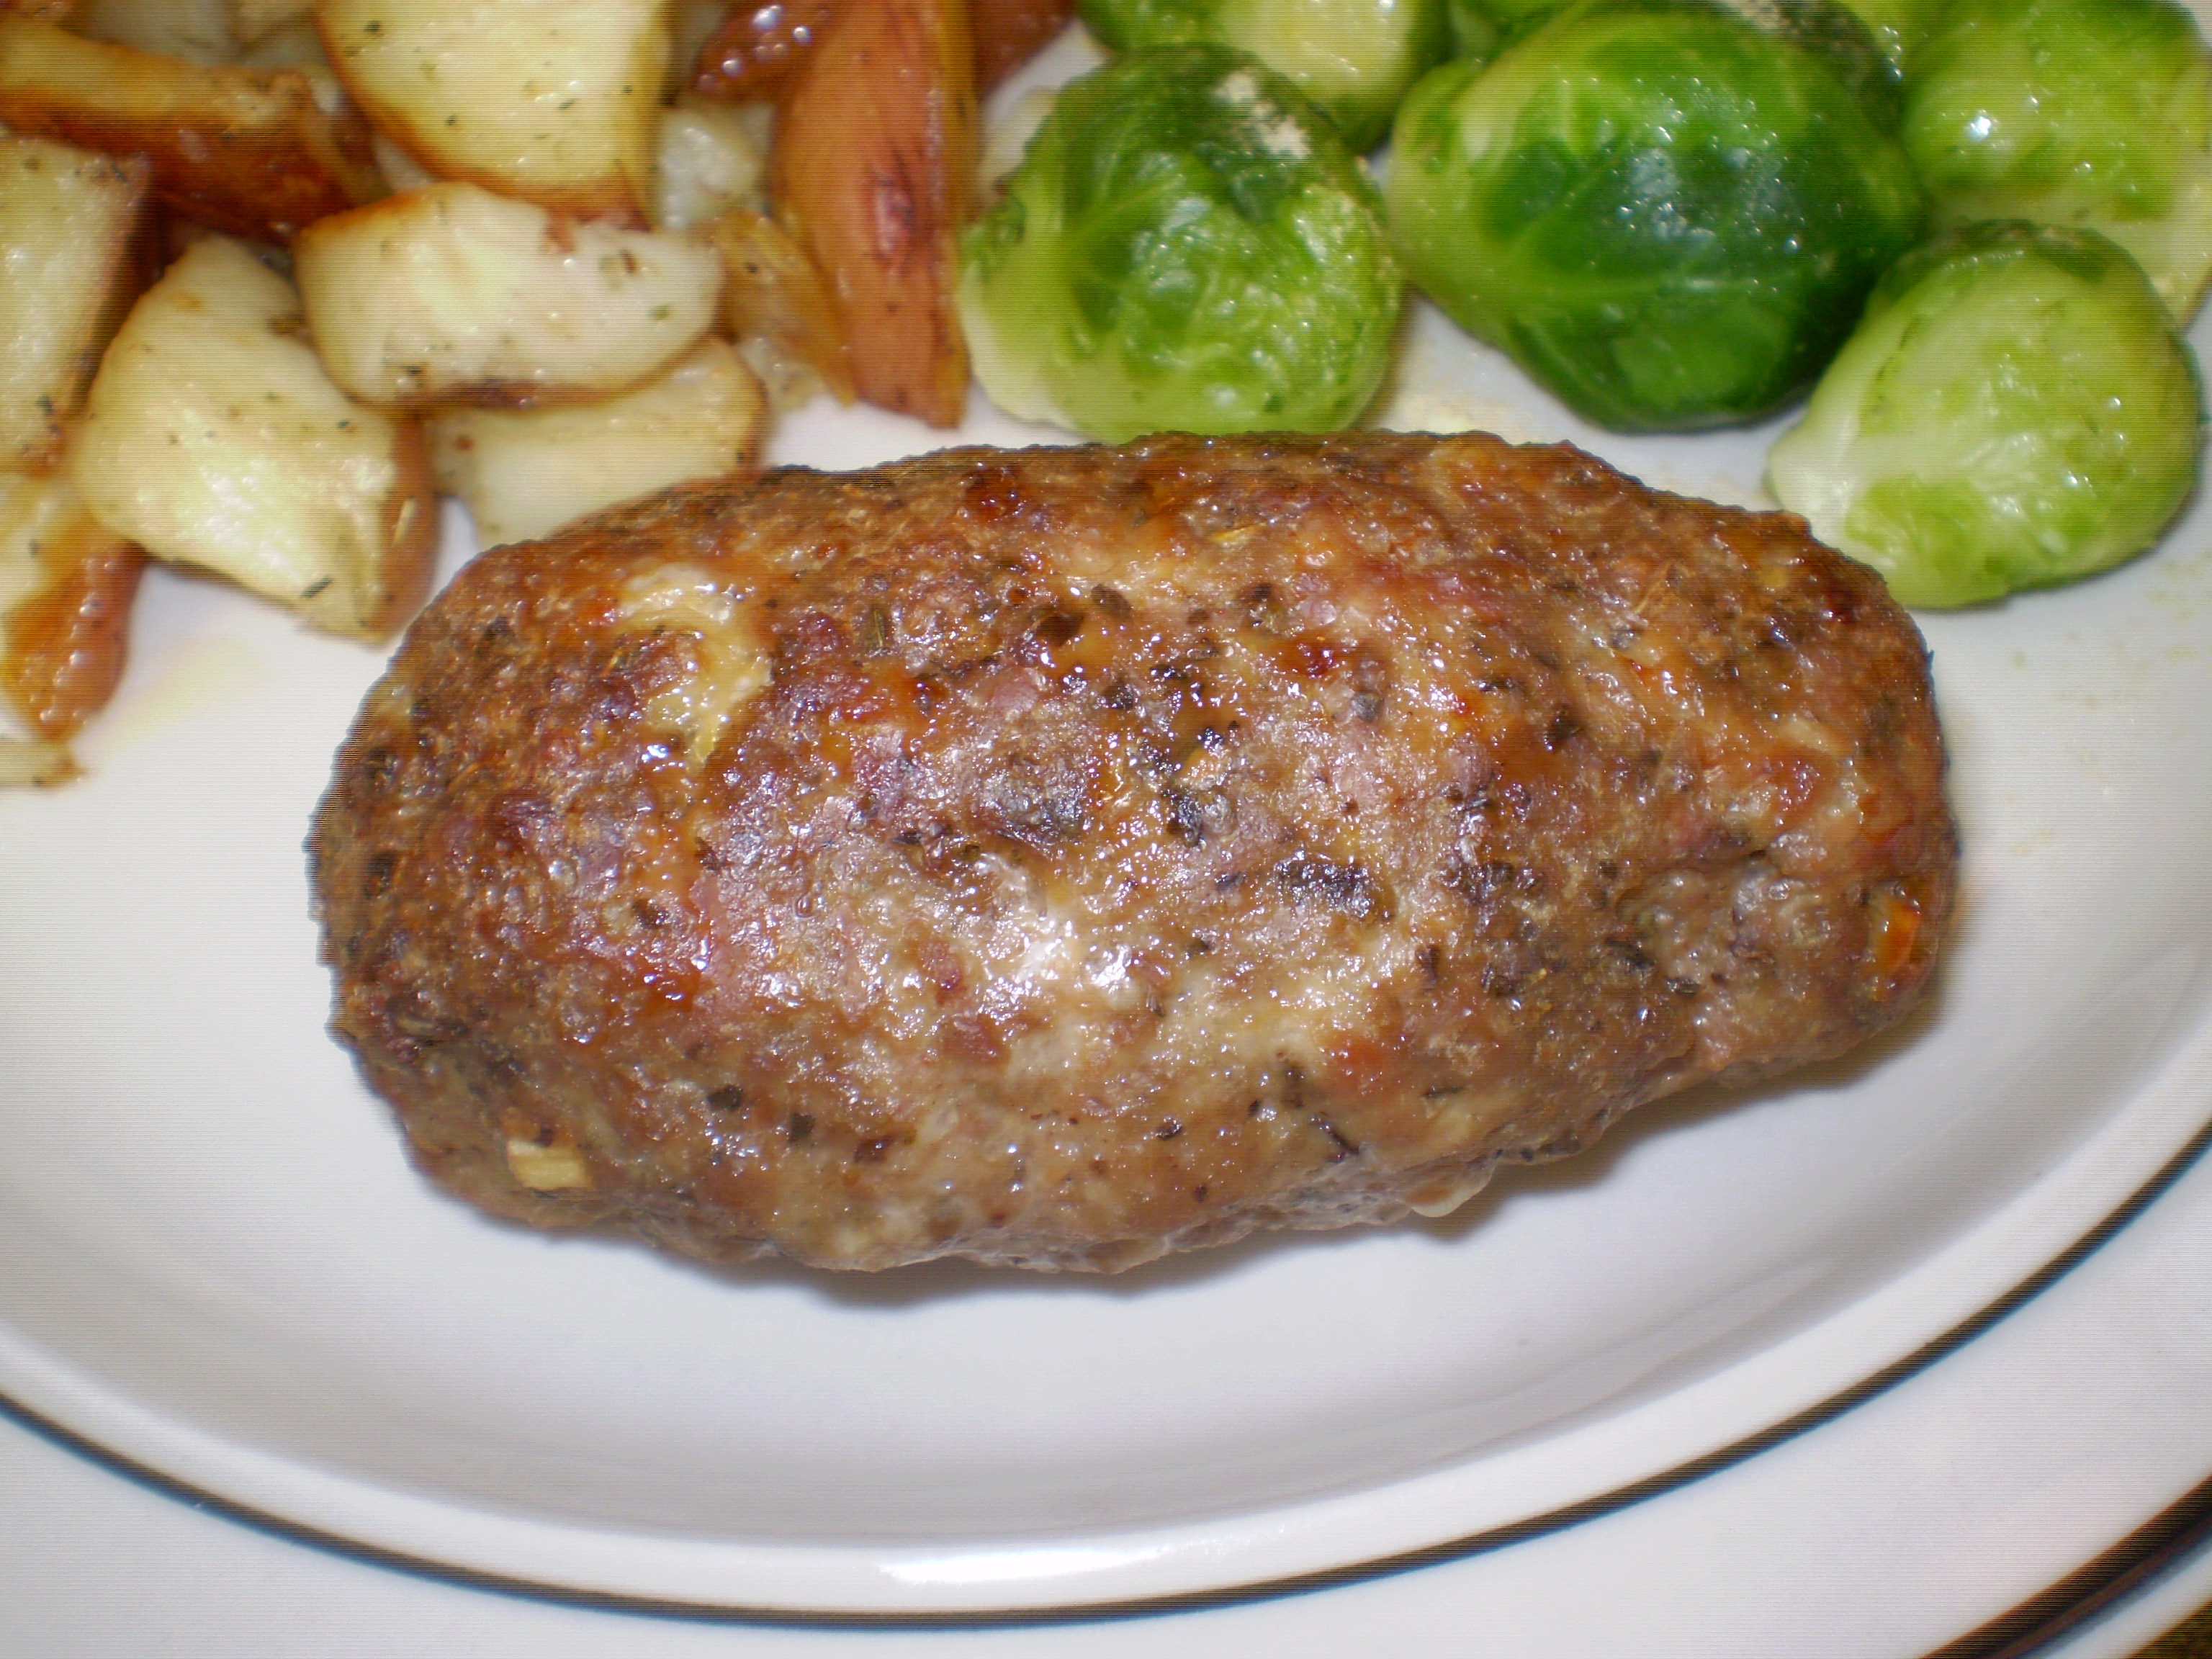
The Closet Italian makes Italian Meatloaf and Meatballs (Momentum/PointsPlus 5)

My passion is cooking, but my bliss is cooking Italian…anything Italian. Since I happened to swing by the specialty grocery store today, I went ahead and picked up the ground veal and ground sausage (both organic and corn free) to make Italian meatloaf.

Now most folks know meatloaf as that hearty, budget-saving dinner staple: a ground beef, egg, ketchup, bread crumbs and spice mixture, perhaps with some diced veggies thrown in and a quick ketchup or bbq sauce carmelized (or burned) on top. Yep, I sure love that too. My PaPa’s recipe is still our family favorite.

But this is Italian meatballs made into a mini-loaf; it’s also much more dense than traditional American meatloaf. And it’s also perhaps the second hardest recipe for me to transfer. You see, there are no measurements…none, whatsoever. So I’ll do my best with guidance.

The thing to remember is that if you mix and combine to your taste, there’s little chance of going wrong.

Ingredients (this comes from the very first time I made this):

  • 1 lb ground beef (for hearty flavor and density)
  • 1/3 lb ground pork (for sweetness and fat)
  • 1/3 lb ground veal (for the smooth, silky texture)
  • 1 egg
  • 1 tsp Worchestershire sauce (make your own GF/CF/SF with this recipe)
  • 1-2 cloves of garlic, minced
  • 1 cup finely diced onion
  • 1-2 T each: basil, oregano, hot red pepper flakes (depends on how you like the flavors)
  • Salt and Pepper to taste

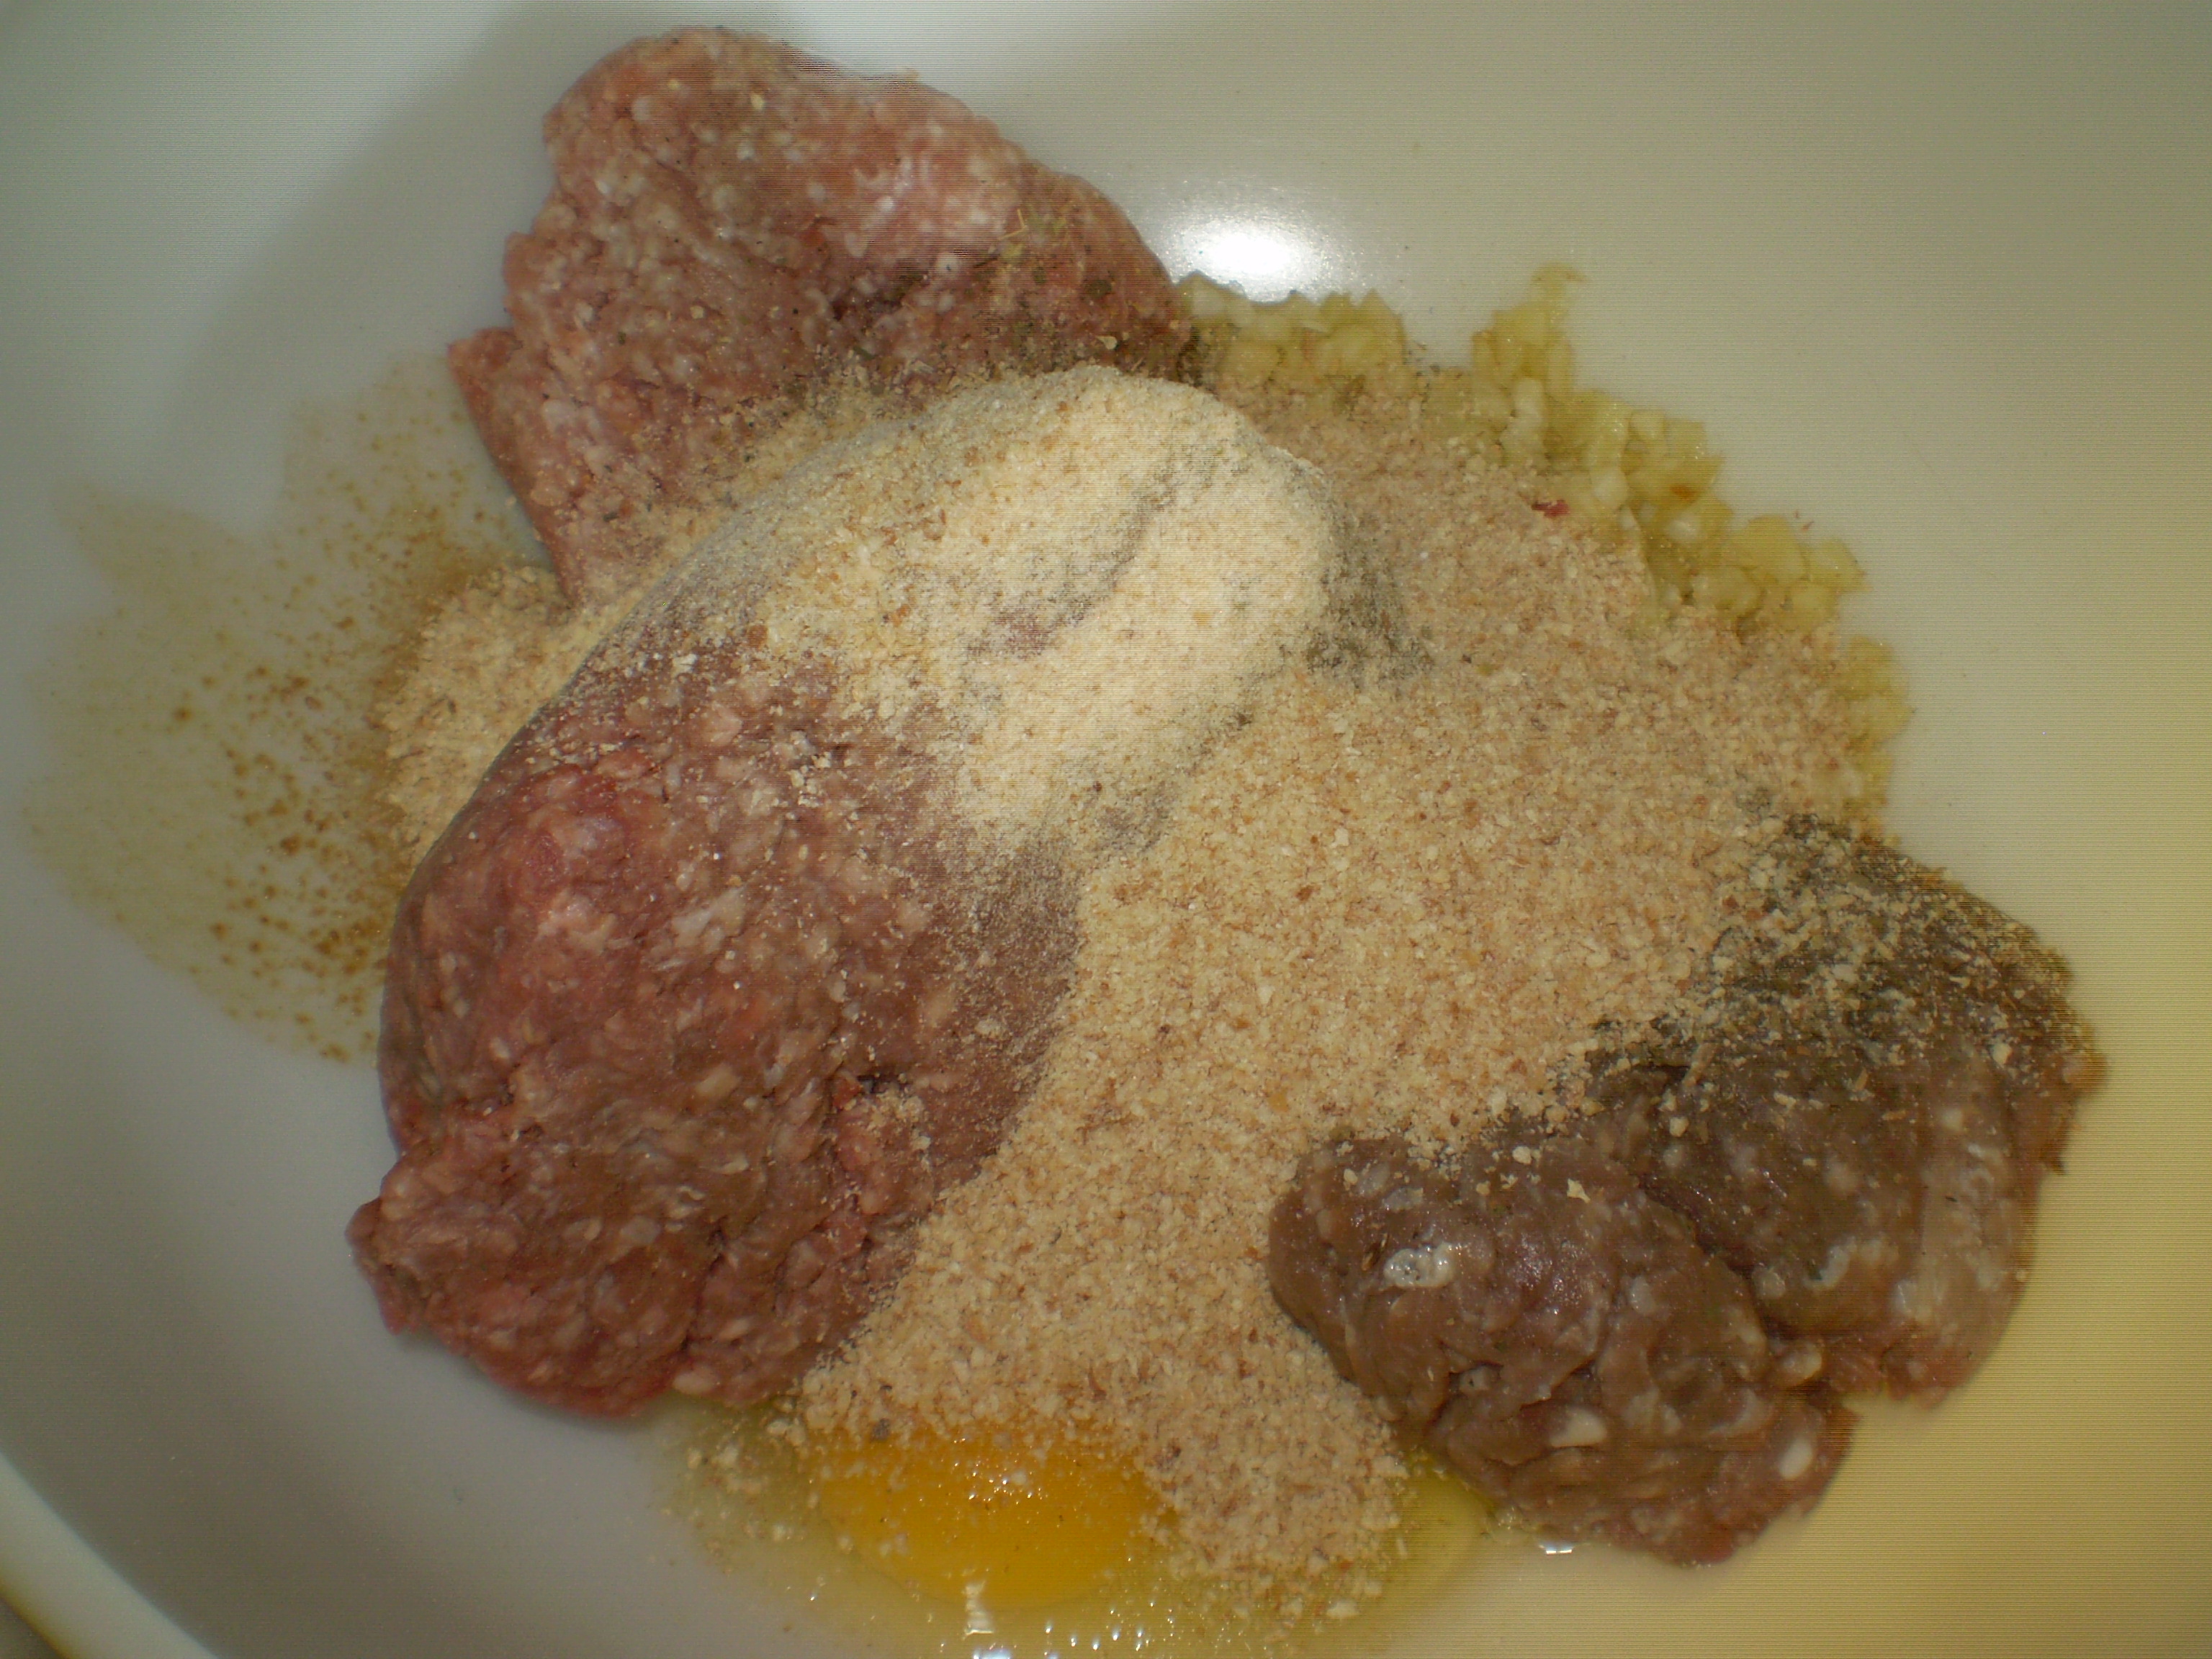
Dump all of this into a large mixing bowl. Wash your hands thoroughly. Using your hands, mix and blend and squish everything together, working the mixture for about 5 minutes.

Now, here’s where the rubber meets the road in making meat mixtures…you need to taste it…yes, while it’s still raw. This is why it is so important to use organic meats, local if you can get it so you know exactly where the meat comes from. Just a tiny bit, now, to make sure you’ve got a pleasing blend of herbs and spices.

And now come the options. This is originally an Italian meatball recipe, but is wonderful for a variety of presentation options:

  • Meatballs–shape very small spoonfuls into 1-inch meatballs and bake at 350 for 30 minutes
  • Meat Muffins–shape into 3-inch balls and bake in a sprayed muffin tin at 350 for 30 minutes
  • Meatloaf–shape into a log or in a loaf pan and bake at 350 for 45 minutes (for mini-loafs as well)
  • Meat Cut-outs–“roll” out the meat mixture to 1-inch thick (or just pat it out with your hands if you want) and cut out with large, simple cookie cutter shapes; this is great for getting kids to eat meatloaf. Bake at 350 for 30 minutes
  • Stuffed Meat Loaf–select a “filling” such as any sauteed veggies (or combination), cheese, nuts…or all of these mentioned. Using half of the meat, make a “bowl” and fill with your filling. Shape the remaining meat over the top and seal the seam well. Bake at 350 for 45 minutes.

And then there are the sauce options. Tonight, I’ve gone “nude,” but typically I’m a classic Roman when it comes to dressing my Italian meatloaf…it has to be traditional Roman marinara: roasted tomatoes, anchovy paste, garlic, basil, oregano, salt, and pepper. I’ve had a couple of requests to share my marinara technique, and I will; just waiting on my local fresh tomatoes to come into season. When that happens, I’ll buy about 60-80 pounds of tomatoes and make about 4 gallons of basic marinara. I use this as spaghetti sauce base, bolognese base, in cabbage soup, in gumbo and jambalaya, in taco soup, and more!

Italian dishes to come: traditional Roman marinara, risotto (northern Italian), homemade pasta (egg, no-egg, whole wheat, flavored), white/cheese sauces, and more!!!

This recipe made six (6) mini-meatloafs for 5 points each, Momentum or PointsPlus.

Posted in Cooking, Healthy in Mind and Body

Hot Chocolate in 5 Minutes (Momentum 4/ PointsPlus 4)

What’s better for relaxing you when you’re all twisted up over a man? Sure, it’s a trick question. For me, though, warm, rich hot chocolate is the best medicine, especially when it’s after dinner and approaching bedtime and I’m probably wishing he was with me.

Oh, sure, you’ve probably got packets of hot chocolate mix in your cupboard. It may even be the premium stuff. But if you’ve read my perspective on natural ingredients, you know what I’m about to say. Icky-poo icky to all of those chemicals created in a laboratory to taste and smell like chocolate but aren’t chocolate at all. Especially when it takes the same amount of time and effort to make your own rich, creamy hot chocolate.

Seriously! In the same time it would take to wait for the water to boil in the kettle to mix with your packet, you can have real, homemade, ingredient-controlled hot chocolate…and you guarantee that it’s exactly the strength and sweetness you want it!

Ingredients:

  • 8 oz of your favorite kind of “milk” (cow, soy, almond, rice, goat)
  • 1-2 tablespoons of unsweetened cocoa
  • 1 teaspoon of instant espresso
  • 1-2 tablespoons of sugar (or equivalent artificial sweetener of your choice)
  • optional: 1 teaspoon natural vanilla, hazelnut, almond, or cinnamon extract (especially if you use cow milk and/or unsweetened versions of soy, almond, or rice milk)

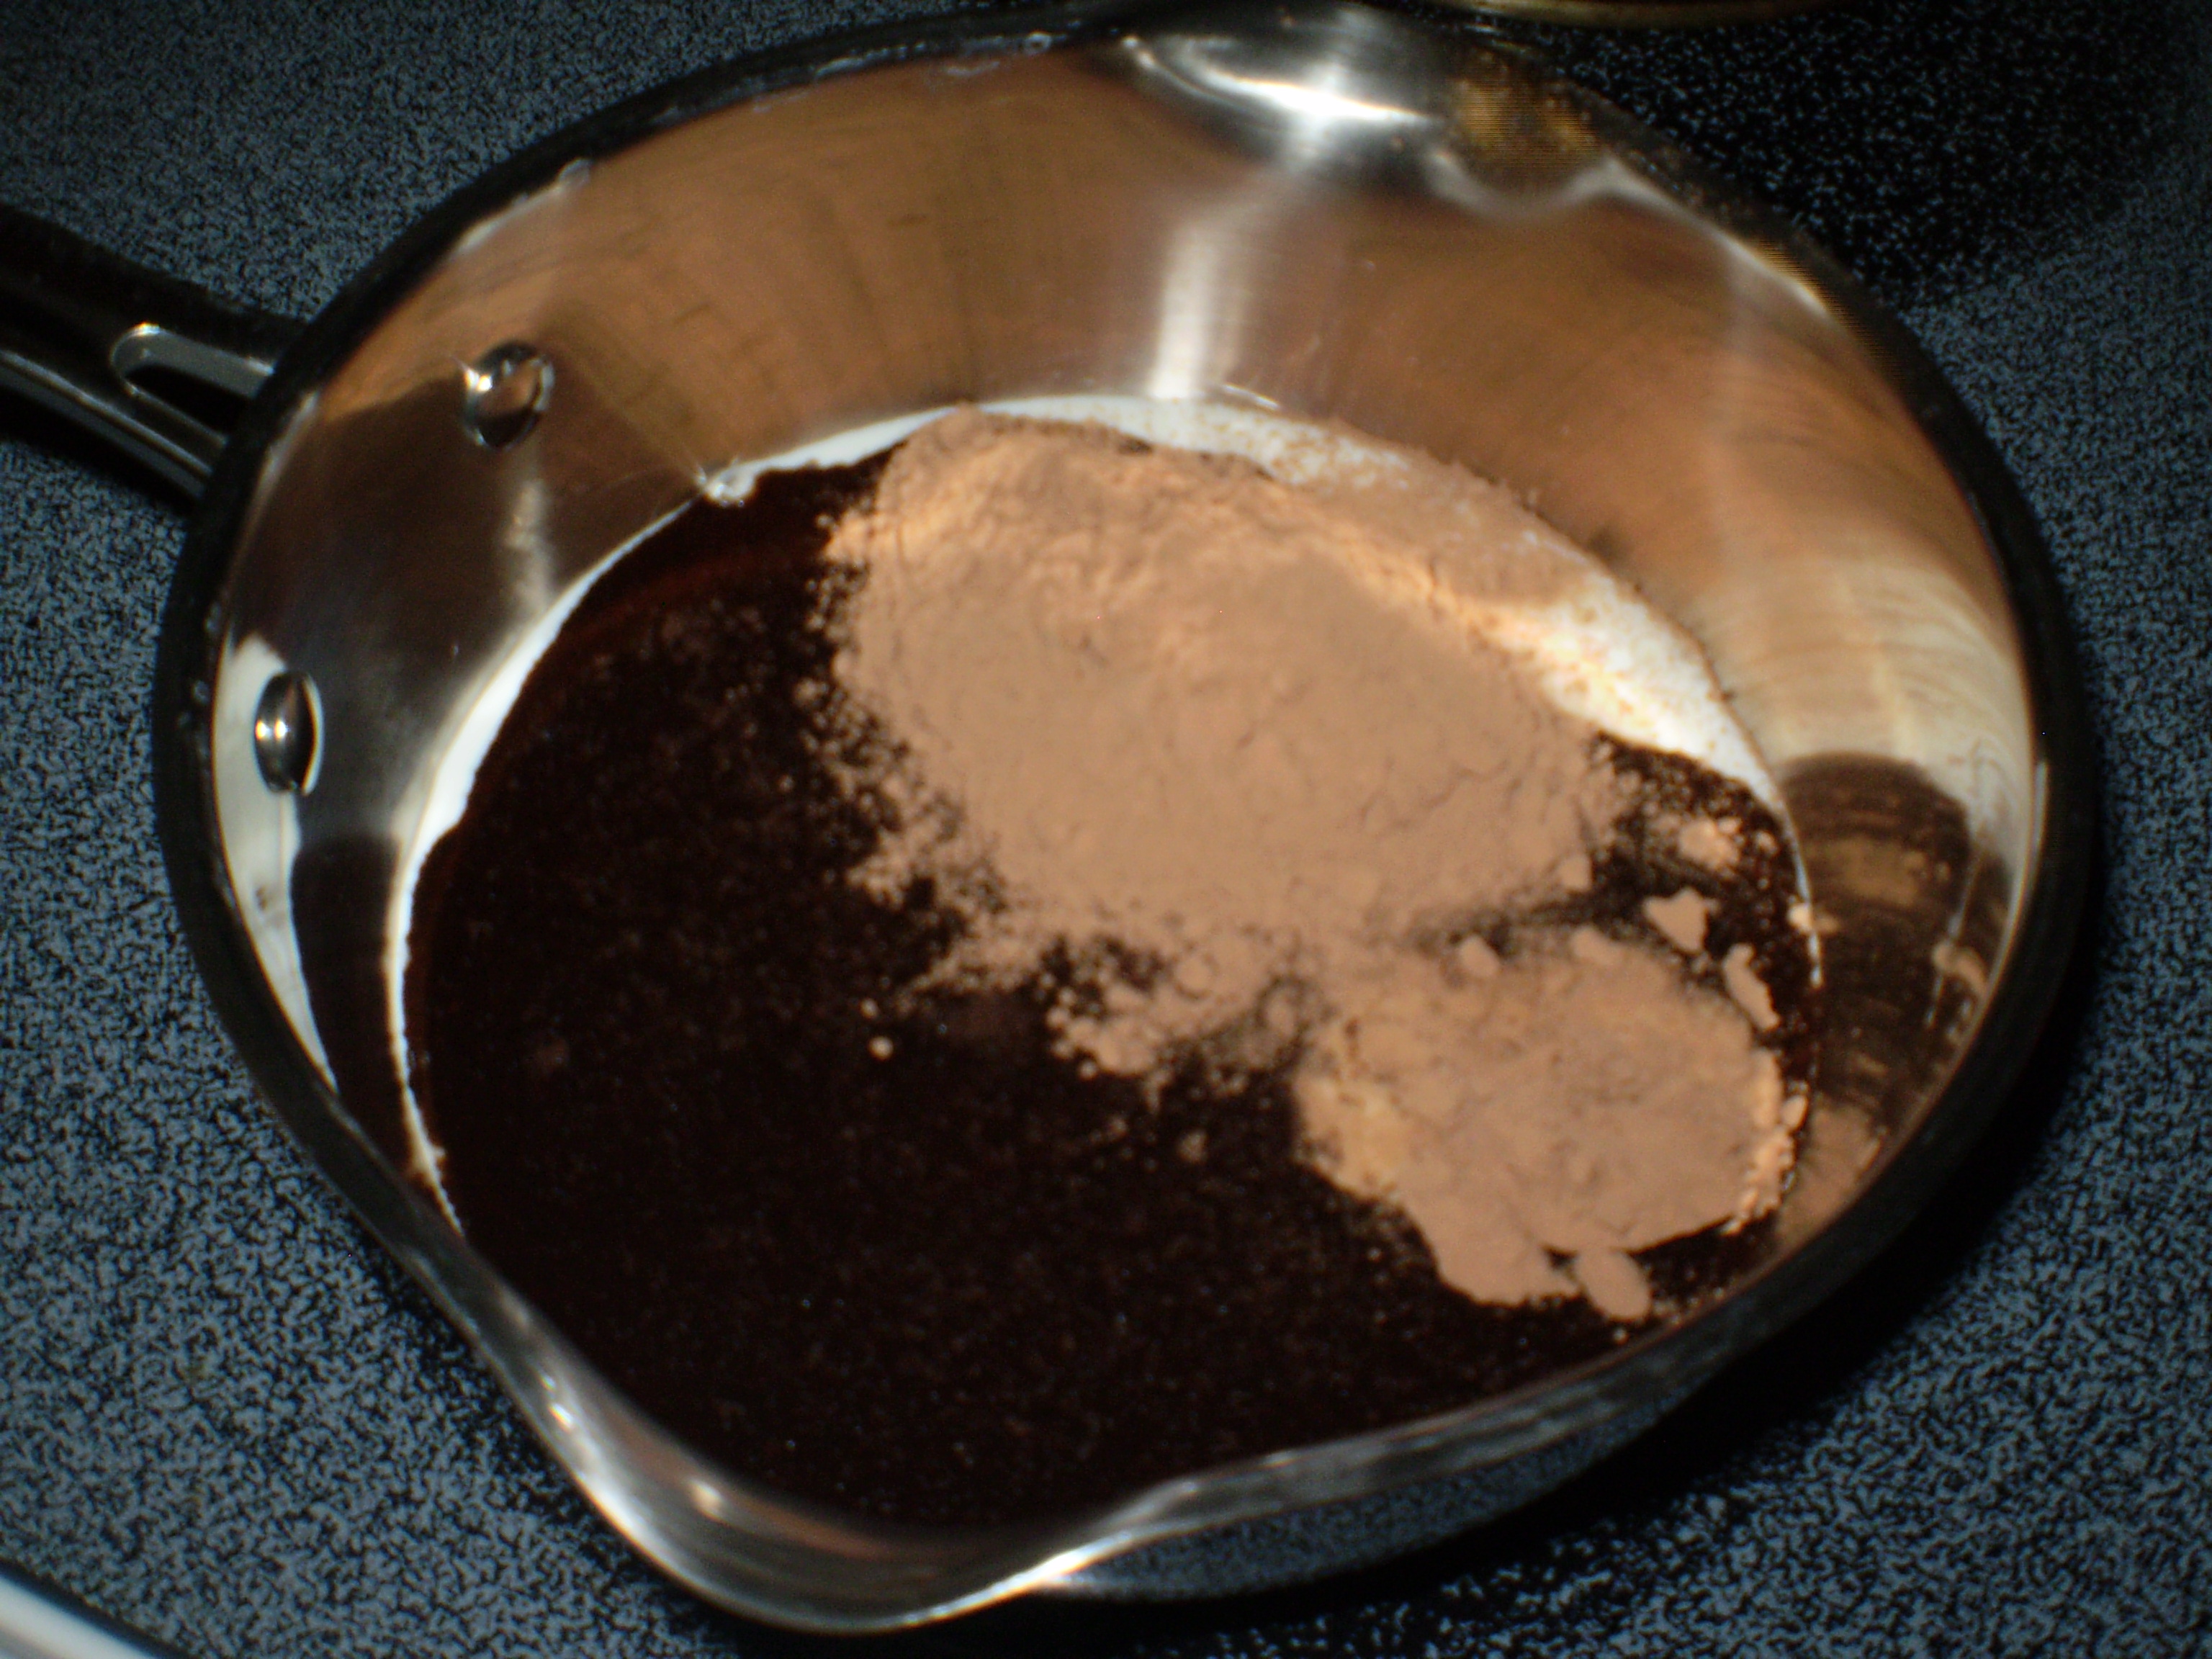
Start with your milk, cocoa, espresso and extract in a small saucepan on medium heat. Whisk briskly to blend the ingredients and loosen any lumps in the cocoa or espresso (or sift these if you feel like taking the time). As you blend and see the brown and white gradually transform into a beautiful chocolatey color, you will notice a light bubble foam developing on the top; this is normal and should not be confused with the beginnings of a boil-over.

Stop and taste the mixture with a teaspoon to check for the sweetness level. If you are a true “dark” chocolate person, you will not desire any added sweetness; the “edge” of the unsweetened chocolate and the espresso will tickle your tastebuds just right. But if you are like me and need sweetness to untangle your evening nerves, begin by adding 1 teaspoon of sugar (or equivalent artificial sweetener). Again, whisk briskly and taste. Continue adding up to 1 tablespoon of sugar in small sprinkles until you achieve your desired flavor.

Remember, never allow the chocolate to boil…EVER! If you do, you will burn the milk, create a skin from the carbohydrates in the milk (all milks have carbs!), and the drink will become slightly (or more) chalky.

I like to use a combination of 4:1 of organic vanilla almond milk to skim organic cow milk for optimal creaminess for me. Others will appreciate the slight tang of goat milk. Regardless of which milk you use, please use organic, non-gmo milks and go very light on soy milk, which in significant quantities (more than 2 oz per day) can accelerate puberty in girls, delay puberty in boys and lead to a number of later life health problems, which have been confirmed by long-term studies only recently concluded.

Momentum Points (using 7 oz almond milk, 1 oz skim milk, and 2T real sugar) = 4

PointsPlus (using 7 oz almond milk, 1 oz skim milk and 2T real sugar) = 4