Boiled stuff…all together…including boiled dough. Only the countriest of country kitchens in the American South have been able to render boiled dough a culinary delight.
Many younger and even some middle-aged (like me) Americans believe a dumpling is the original creation of the Asian cuisines: a little pocket of dough filled with something. They seem to focus on the filled part and ignore the boiled part.
You see, country people got stuff to do. They don’t have time to roll and cut the dough and fill it with the chicken and vegetables from the stock before boiling it. But at the very root of things, country American chicken and dumplings are arguably a deconstructed Wonton soup. Hmmm, so it really is all in the presentation.
For me, I’ll stick with ugly yummy classic American chicken and dumplings:
Step 1: boil chicken and make stock – these things happen simultaneously
It’s important any time you are making a chicken stock or chicken soup that you use skin-on and bone-in chicken and that you use both white and dark meat. Why? That’s where the flavor lives: in the fat and in the bone. I promise that leaving the skin on will not make your stock oily, only that using the most flavor-filled parts of the chicken will make it rich and dark stock. That’s what you want: not golden or yellow but a light to medium brown color!
- 1 whole split chicken (ask your grocery store butcher to do this for you or buy 2 split breasts and 4 split thighs with skin and bones)
- 4 large carrots, cut however you want (I like 1-inch barrels) or half a bag of baby carrots
- 1-2 onion family choices: white or sweet onion sliced, leek or green onion chopped to 1 inch pieces
- 3-10 cloves of garlic – depends on how many vampires you’ve got hanging around
- salt and pepper
- hot water to cover the chicken completely
Turn on the sink faucet to the hottest setting to let it get hot. In the largest stock pot you’ve got (at least 8 quarts), place your carrots and onions and garlic on the bottom. Place the chicken pieces on top of this; smush it all down well. Liberally salt and pepper the pot, roughly 2 tablespoons of each; yes, it really needs that much salt. Cover with hot water from the kitchen sink, probably to about 1 inch from the top of the pot.
Place the full stock pot on your large burner on high. It’ll take 20-30 minutes to come to a full boil; be patient. Let it roil for 3-5 minutes, and then turn it down to medium low to simmer for 2-3 hours. You want to see a tiny bit of movement on the water; it should not be completely still. Turn the burner off and get ready for step 2.
Once you remove the chicken for picking (step 1), you may find that your stock fills only half of your pot. If you’ve followed my flavor instructions and your stock is a rich medium or dark brown, add up to 4 cups of hot water to dilute the stock for direct eating. I often have 2-cup servings of frozen stock in the freezer and may add one of these as well; my freezer stock is actually broth with much more vegetables and already diluted for immediate eating.
Step 2: Cool and pick the chicken
Using a slotted spoon or tongs, remove the chicken from the pot. I usually place mine in a colander so that it gets good airflow for quicker cooling. Once cooled, pick the chicken.
What, you don’t know what that means? Truly I know a lot of people who don’t know how chicken gets from pieces to shredded. Before you get started, make sure you have a chicken plate and a discard plate; I use paper plates for this step. So here’s how it goes:
- pick up a piece of chicken in your right hand (reverse the hands if you’re left handed)
- use your left hand fingers to grasp the chicken skin and fat flabs and pull them off; place them in the discard plate or bowl. Generally breast pieces will have less skin and fat than thigh/leg pieces
- switch the piece of chicken to your left hand
- use your right hand fingers to pull the large chunks of chicken off of the bone and place them on the chicken plate; discard the empty bone to the trash plate
- take up the large chunks in your left hand
- using a pinching motion, use your right hand fingers to pinch and tear the large chunks into many smaller ones
- continue until you have picked all of the chicken off of all of the pieces
Now some of you reading have already rolled your eyes and dubbed me patronizing to be so specific, but I’ve had the pleasure of teaching my same-aged friends and their children cooking basics, and you can’t even imaging how difficult it is to employ these basic motor skills for the first time as an adult.
NOTE: some folks also remove the vegetable flavorings, but I like them so I keep them. Other traditional vegetable additions include celery and peas (see side note at the bottom).
When you’re about 30 minutes from serving time, you’ll take step 3.
Step 3: Make the dumplings
There are lots of styles of dumplings, but the dough is about the same. If your people have memories of fluffy round dumplings, you’ll want to keep the following dough pretty wet and sticky; these are biscuit dumplings. If your people have memories of long flat dumplings, you’ll want to add a little more flour to form a solid ball of dough to work with; these are pie crust dumplings. The basic recipe is the same:
- 2 cups all purpose flour (make this gluten-free by replacing standard flour with Bob’s Red Mill Gluten-Free All Purpose Baking Flour)
- 1 t baking powder
- 1 cup chicken stock
- 1 egg
Drop them all in a bowl together and use a fork to blend them; do not use a whisk or you’ll end up with a blob of unblended dough inside the tines of the whisk and it’ll be a pain to get it all out.
If you want the puffy biscuit dough dumplings, stop mixing as soon as everything is combined. Drop the dough into the boiling stock. Since dumplings cook through in about a minute, this is a fast process.
If you want the flat pie crust dumplings, keep dusting the mixture with flour (probably 2 T at a time) and mixing until the dough comes together into a ball that does not sag or flatten and the sides stay smooth when you tough them, not sticky or tacky. Sprinkle a handful of flour on your clean kitchen counter and coat both of your hands with flour. Pinch off a generous handful of the dough and, on the floured counter, use your fingers to press it into a long flat lasagna noodle shaped dough. With a sharp knife, cut the dough into 1 inch strips on the short edges (1-inch x 2-inch). Peel the dough strips off of the counter one by one and drop them into the boiling stock. Repeat until all of the dumplings have been dropped.
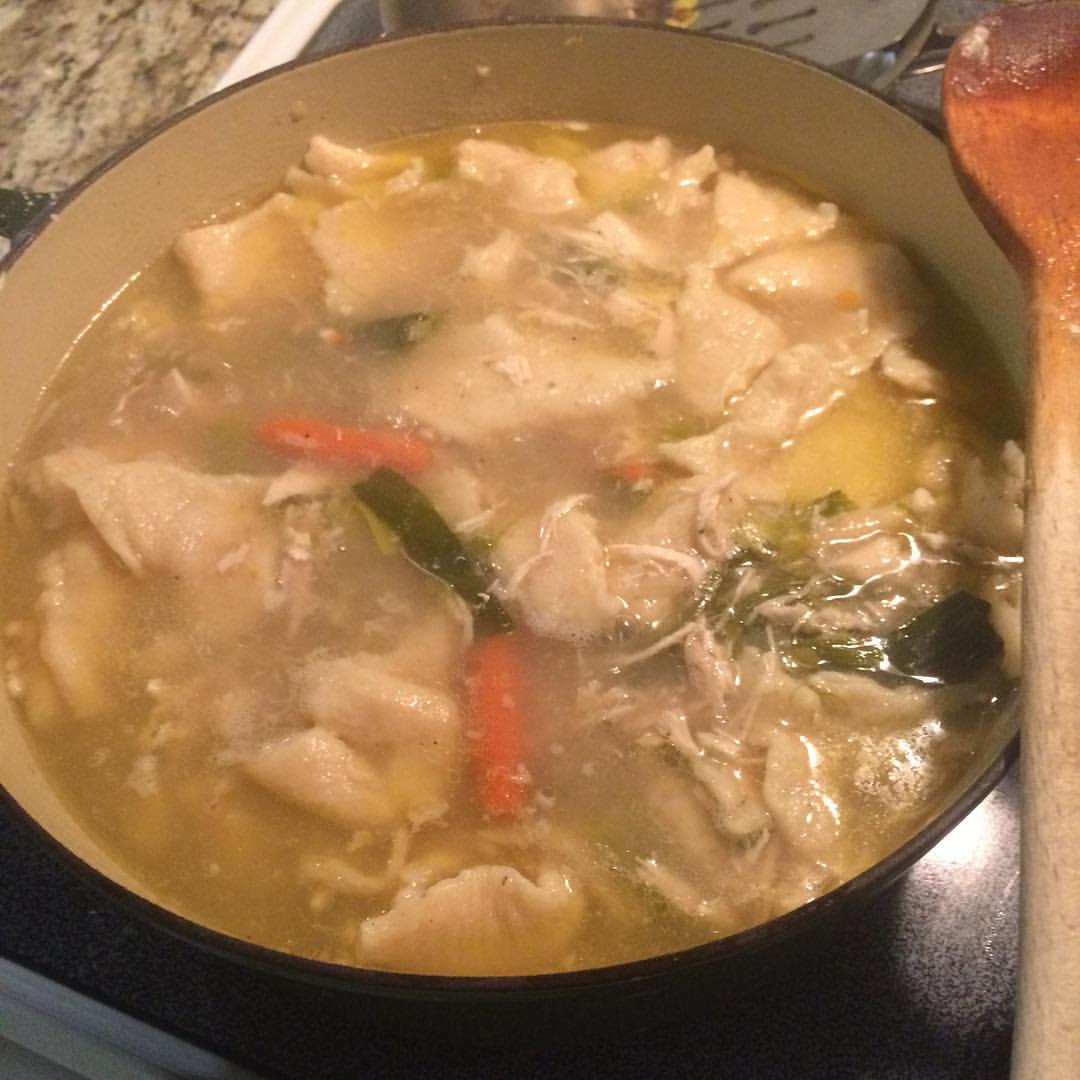
Add the picked and shredded chicken back into the stock and dumplings to warm for about 20 minutes. Serve piping hot!
Side Note: One of the most beautiful things about this recipe/technique is that it’s almost a chicken pot pie. Yep, use the same stock making, the same dumpling making, and use the stock to make the pot pie sauce. Really couldn’t be simpler.
