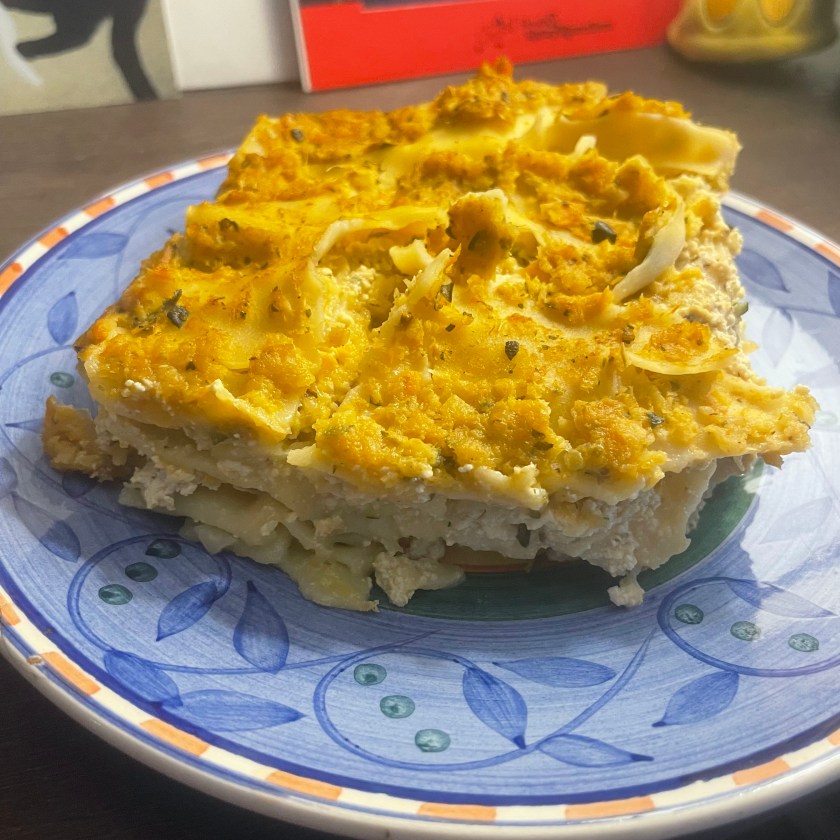
I’ve been craving lasagna, but anything Italian is really hard when your food allergies/intolerances hit all three major Italian points: pasta, cheese, and tomatoes. I mean, c’mon, it’s their flag, for crying out loud.
Gluten-free Lasagna Noodles
Gluten free pasta is easy as long as you have some kind of access to the Italian made stuff – and thank Amazon, I do! These gluten free, egg free, no cook lasagna noodles are perfect. In fact, one box makes two 9×9 lasagnas for the single person (or maybe 2-person family). Highly recommend, but you do you.

Tomato-free Sauce
This piece of the puzzle has taken me the longest to figure out because all of the “red” vegetables are nightshades, and that’s specifically what I need to avoid – no tomatoes, no peppers. And it finally hit me – ratatouille sauce: roast down what’s currently in season and then blend into a sauce.
What I made today is
- 1 zucchini
- 2 carrots
- 1 whole pod of garlic
- 1 package of frozen riced cauliflower
- 2 cups homemade vegetable stock
- 2T Badia Italian Seasoning
- 1t salt
- 1t pepper (I like a little kick)
- 2T cooking oil of your choice (I like grapeseed oil)
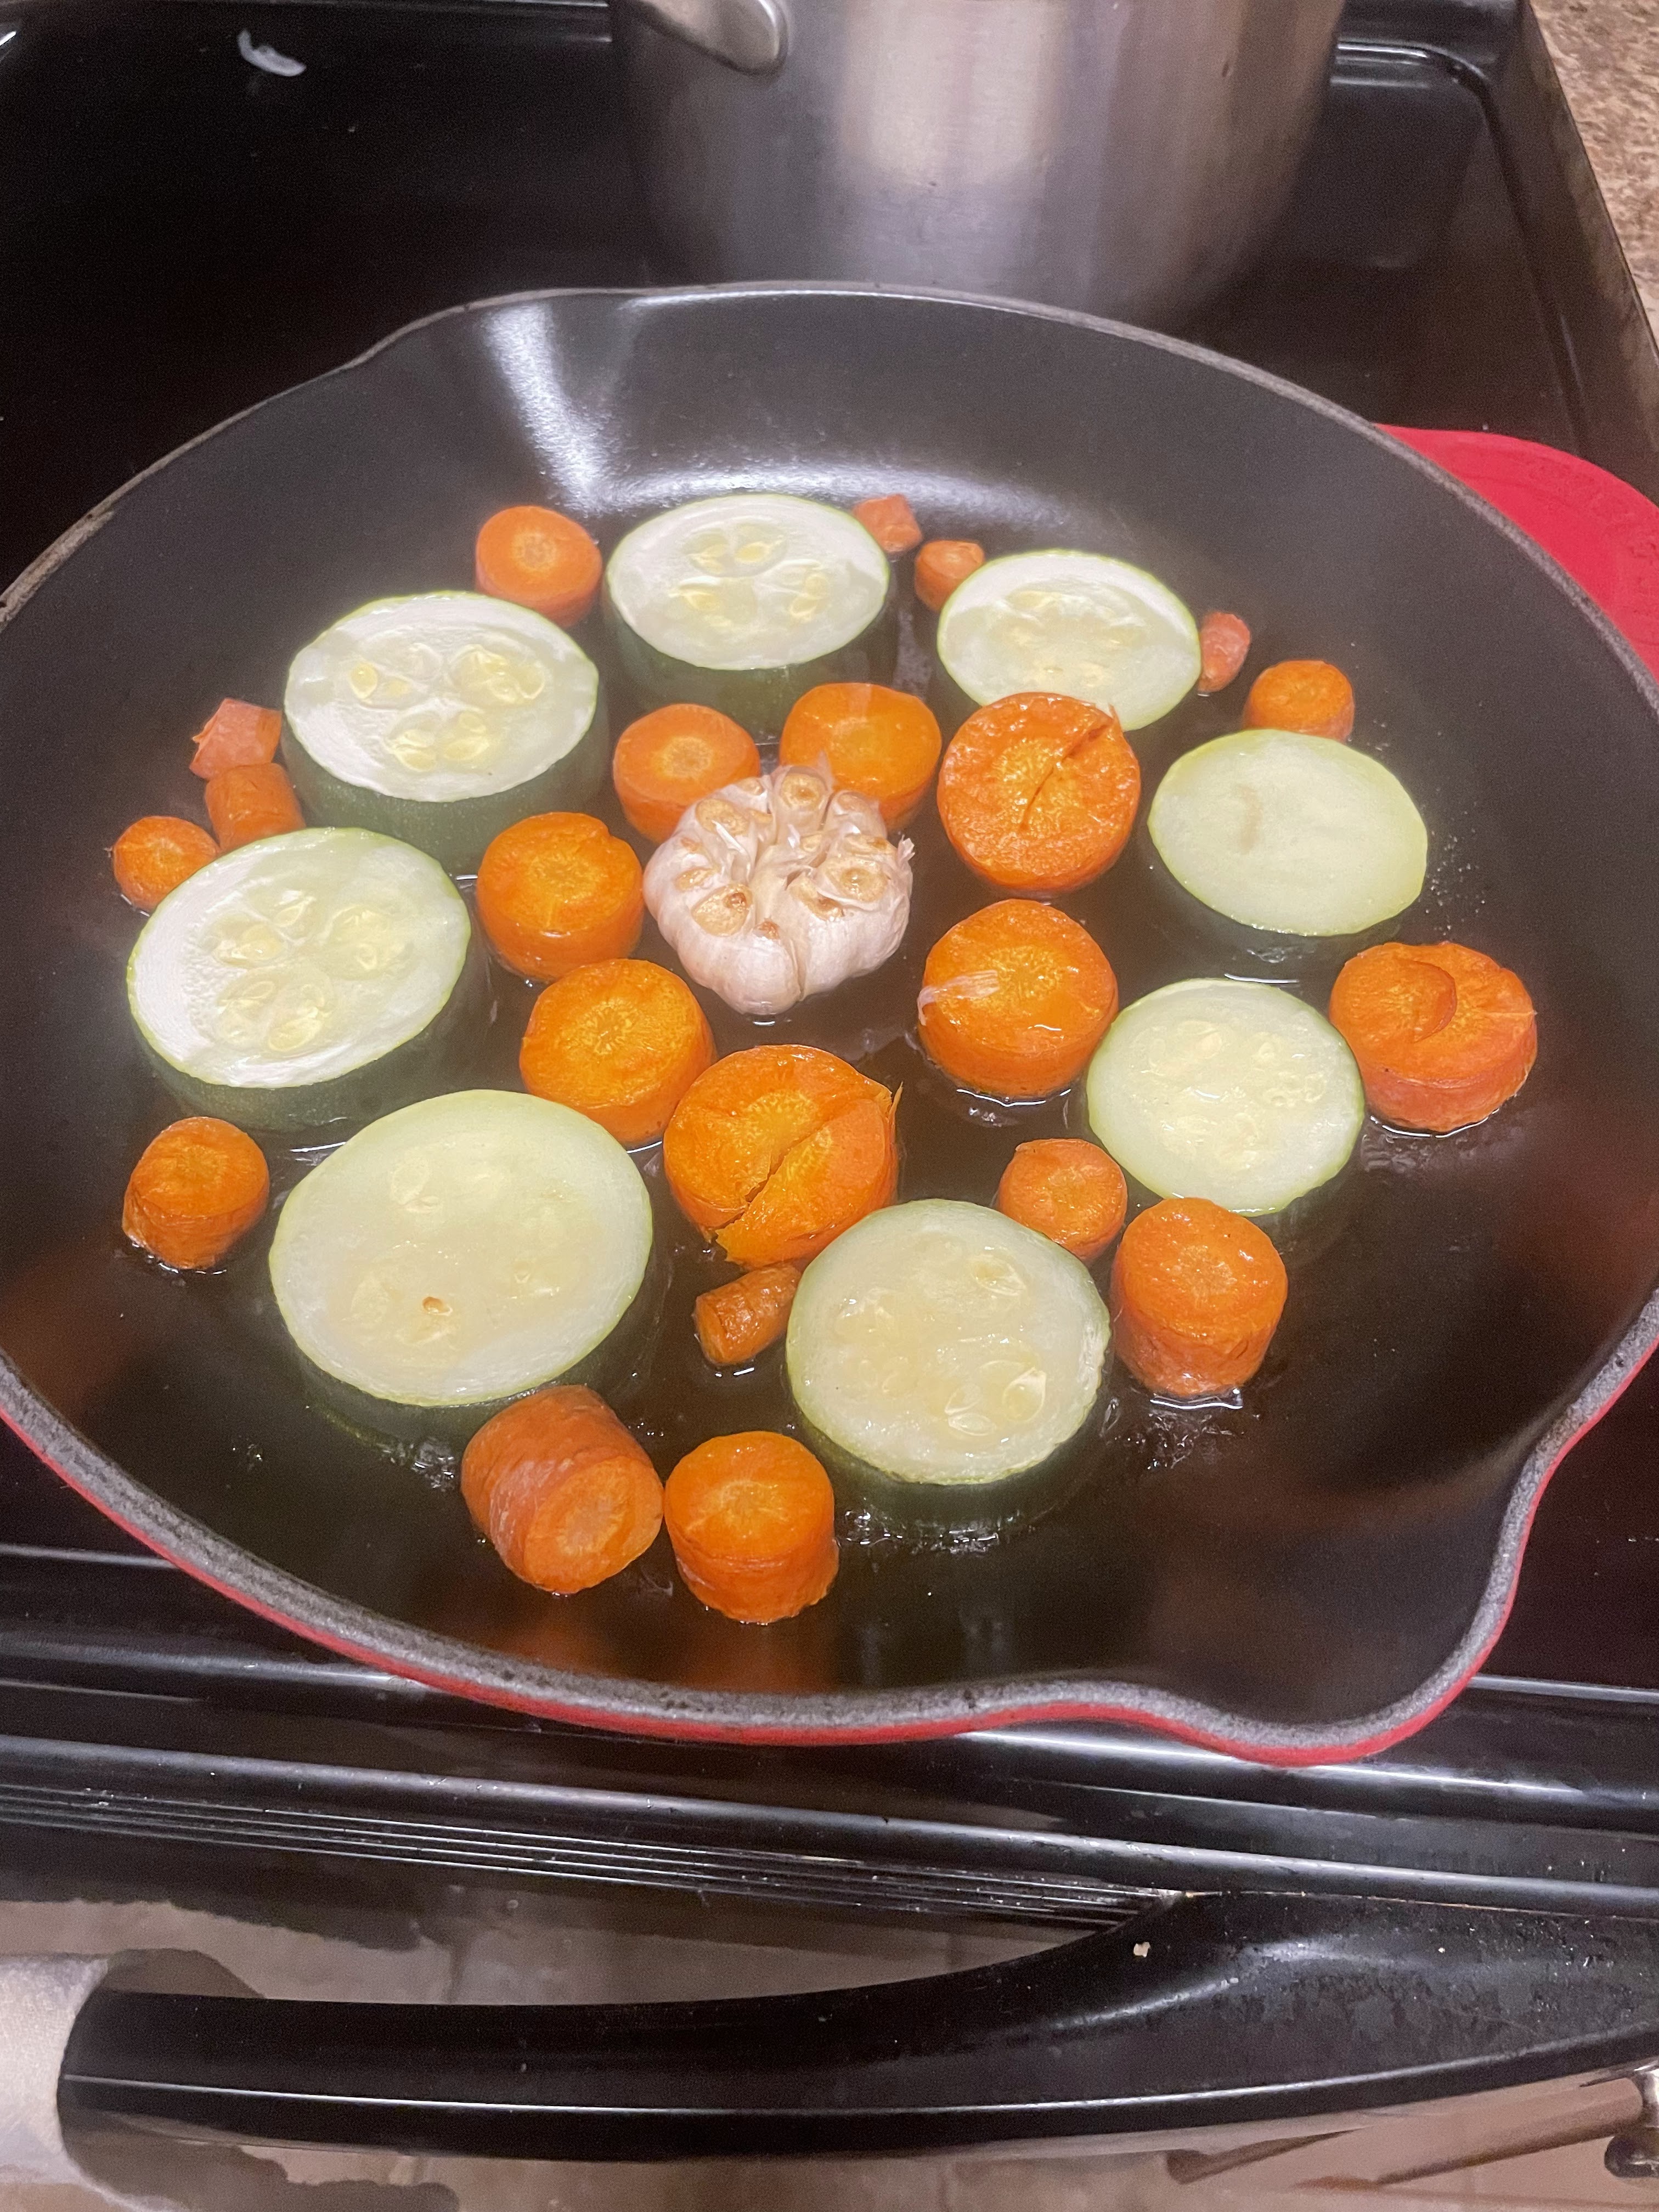
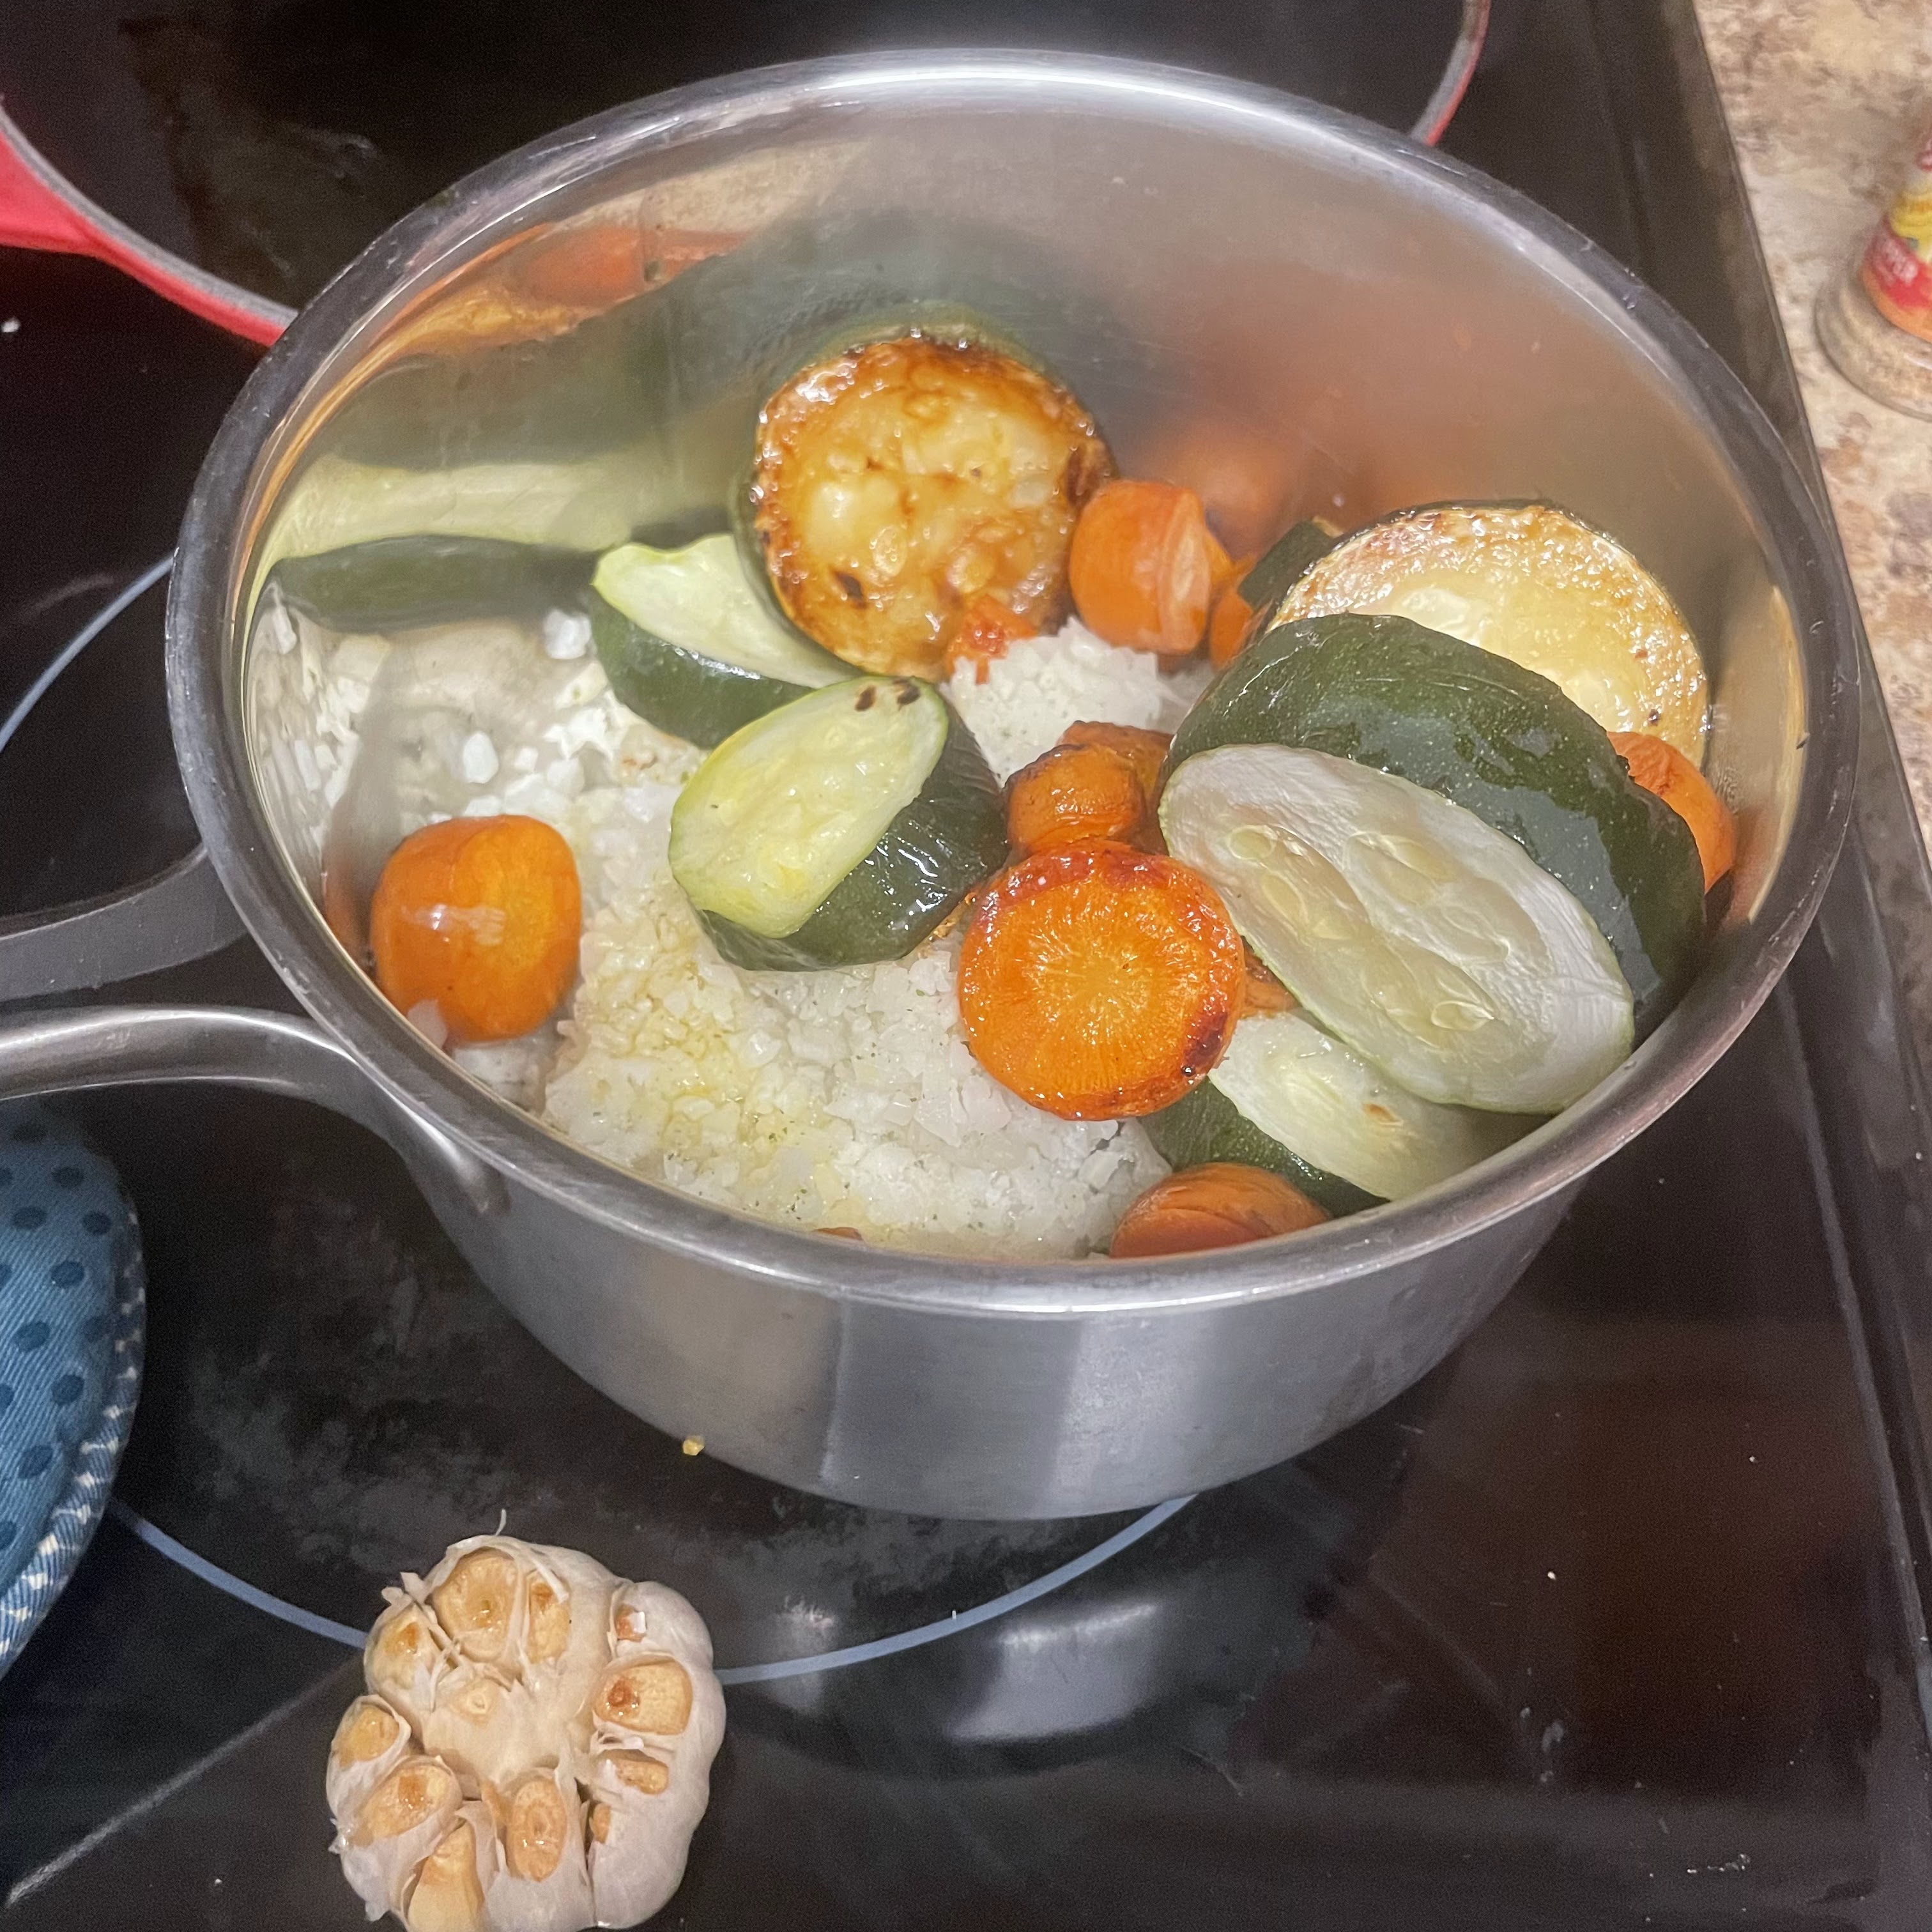
Roast the zucchini, carrots, and garlic at 350 for 45 minutes. While those are roasting, dump the frozen riced cauliflower in a sauce pan with 1 cup of the veggie stock and heat on low, mainly to thaw the cauliflower; you don’t need to “cook” anything.
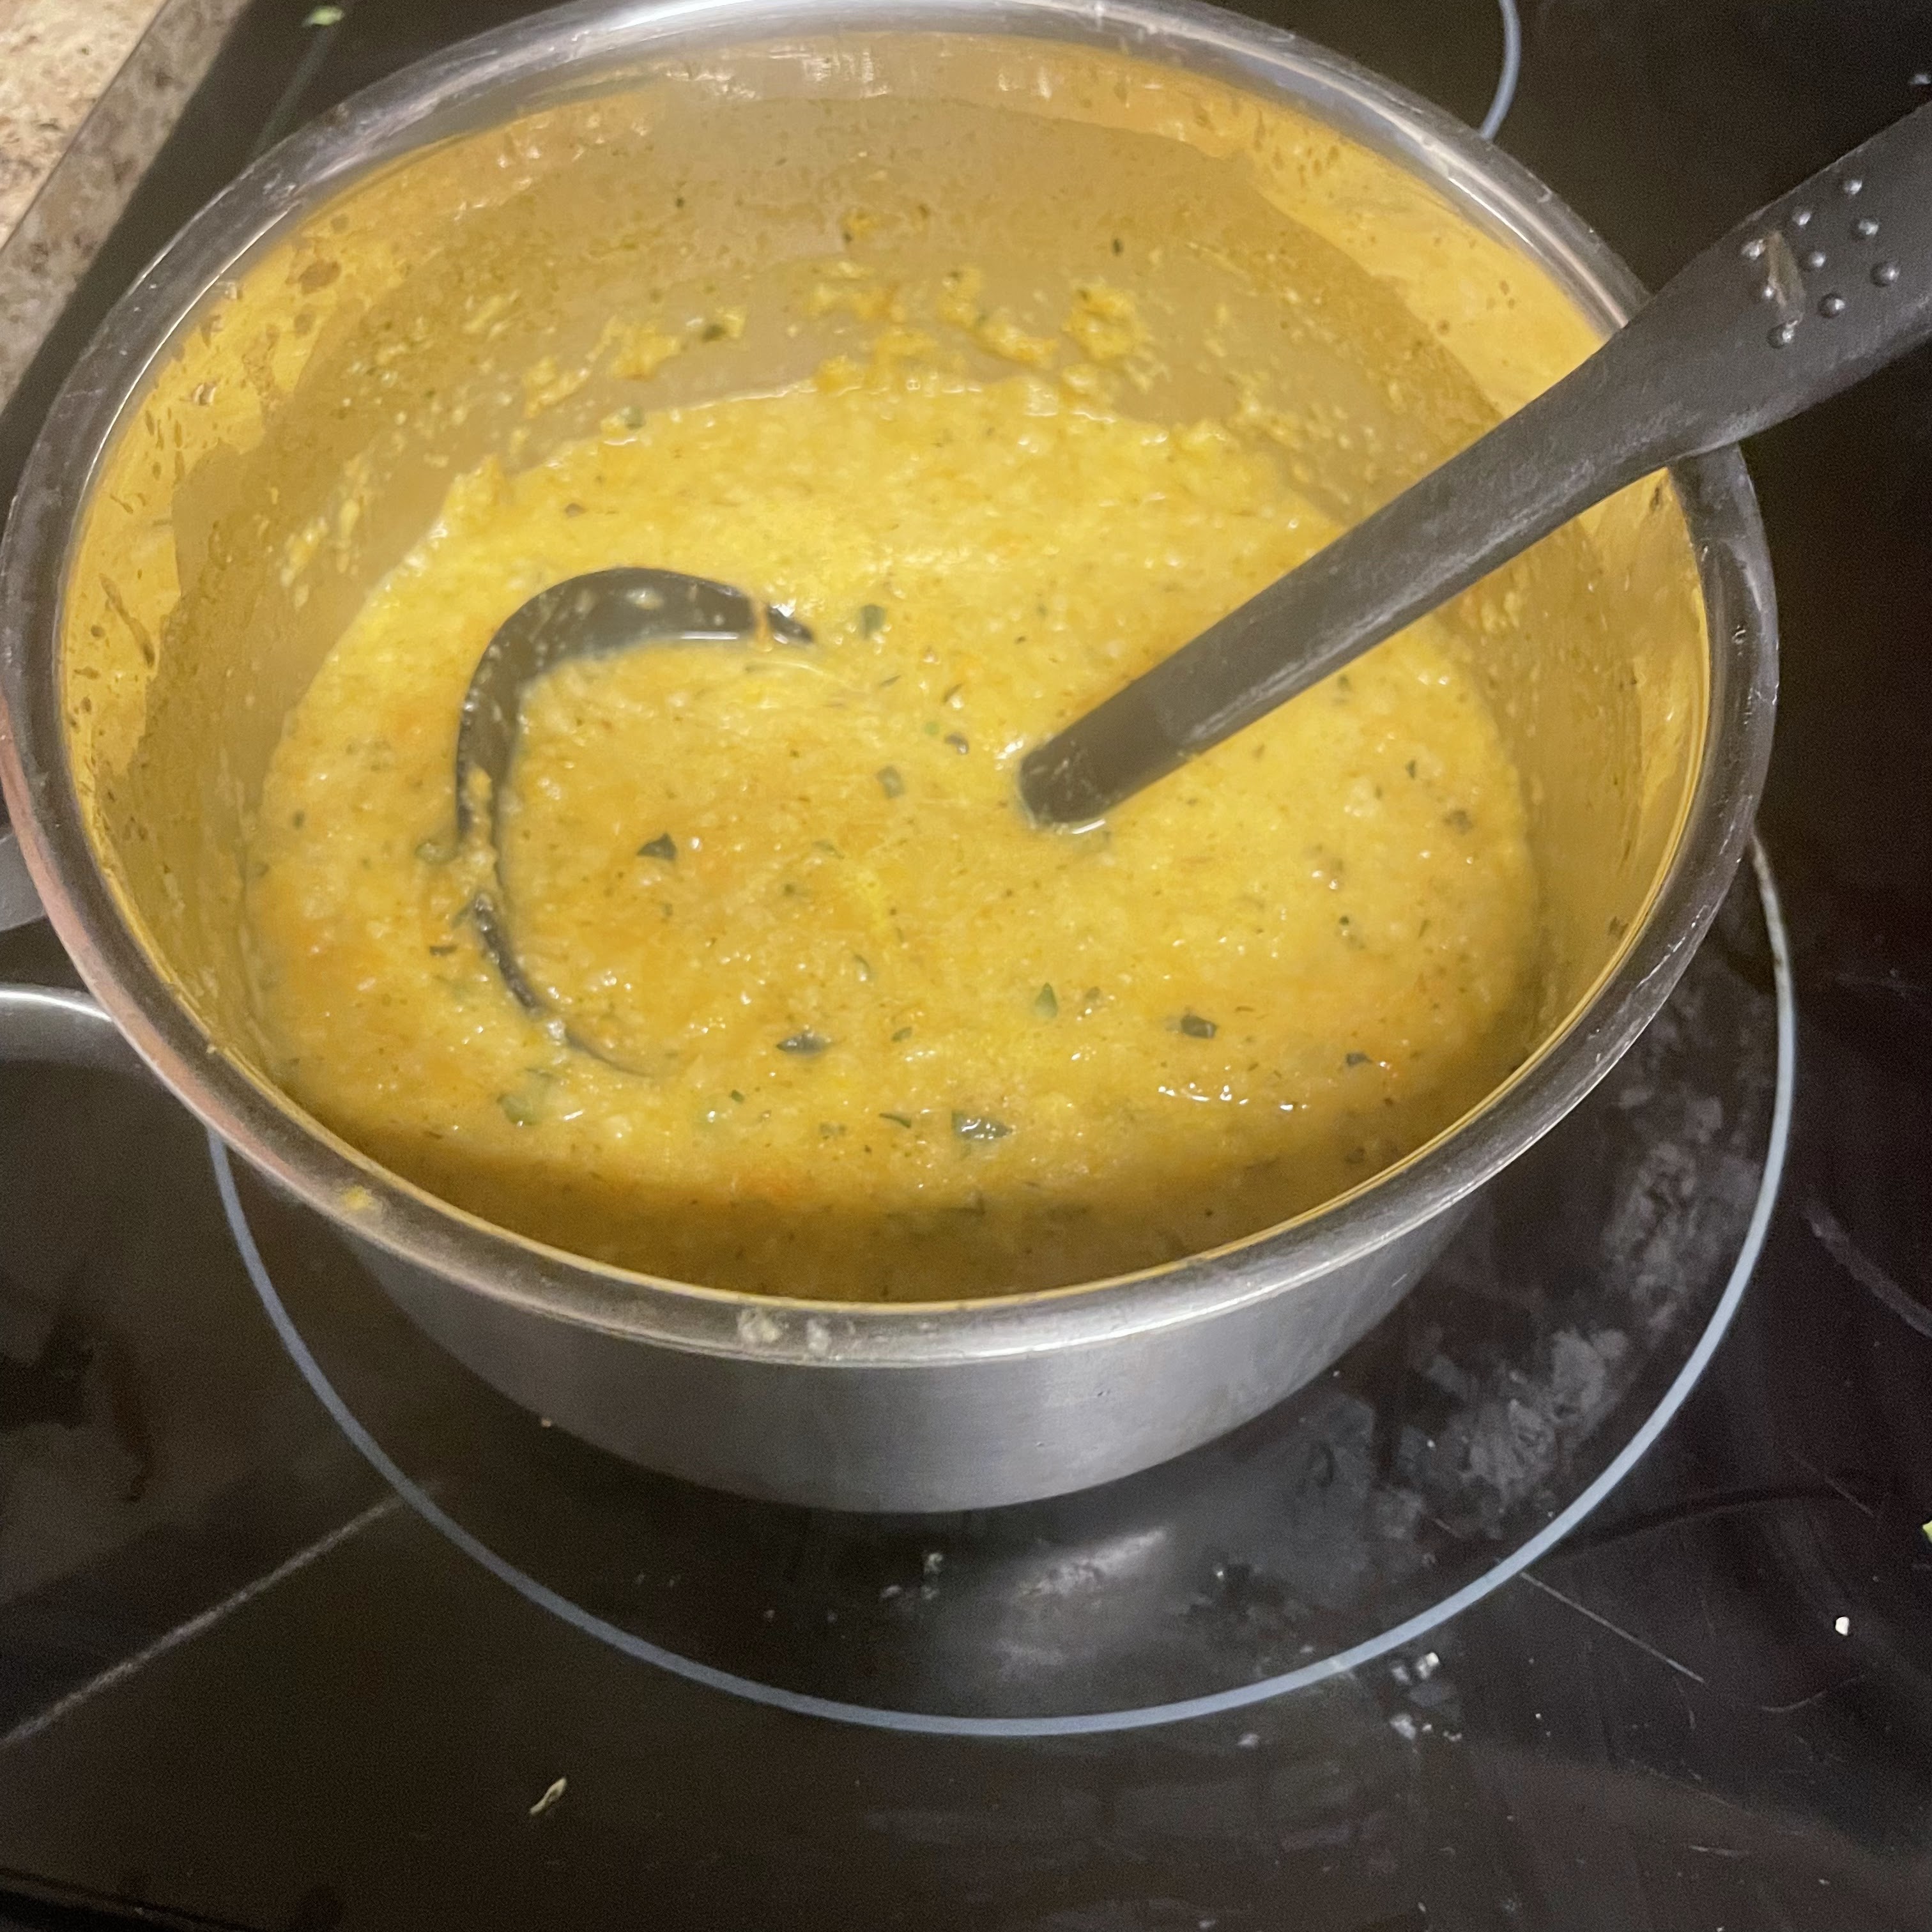
When the roasting veggies are done, add them to the sauce pan and blend with an immersion blender. Add more veggie stock as needed to get to your desired thick or thinness.
Set aside until ready to assemble.
Dairy-free Ricotta Filling
In the absence of any options for dairy-free ricotta in any market (brick-and-mortar or online), I turn to tofu, which is my go-to for replacing “creamy” ingredients. Normally for this I use silken tofu as it’s already in a soft, silky, creamy state. But I only had extra firm tofu today to make this recipe, so here’s how I turned it into even better faux ricotta than when I use silken: crumble it up well with your fingers, add about 1 cup of liquid (I used my homemade veggie stock), and blend with an immersion blender (secret weapon of this recipe, IMO). Then I add my “regular” mixins:
- 1 cup shredded zucchini
- 1 package of sliced mushrooms – sauteed until golden brown
- 1/2 medium white onion, finely diced (about 2/3 cup) – sauteed with the mushroom until translucent
- 3 cloves garlic, finely minced
- 1T Badia Italian Seasoning blend – you do you
- 1/2t salt
- 1/4t pepper
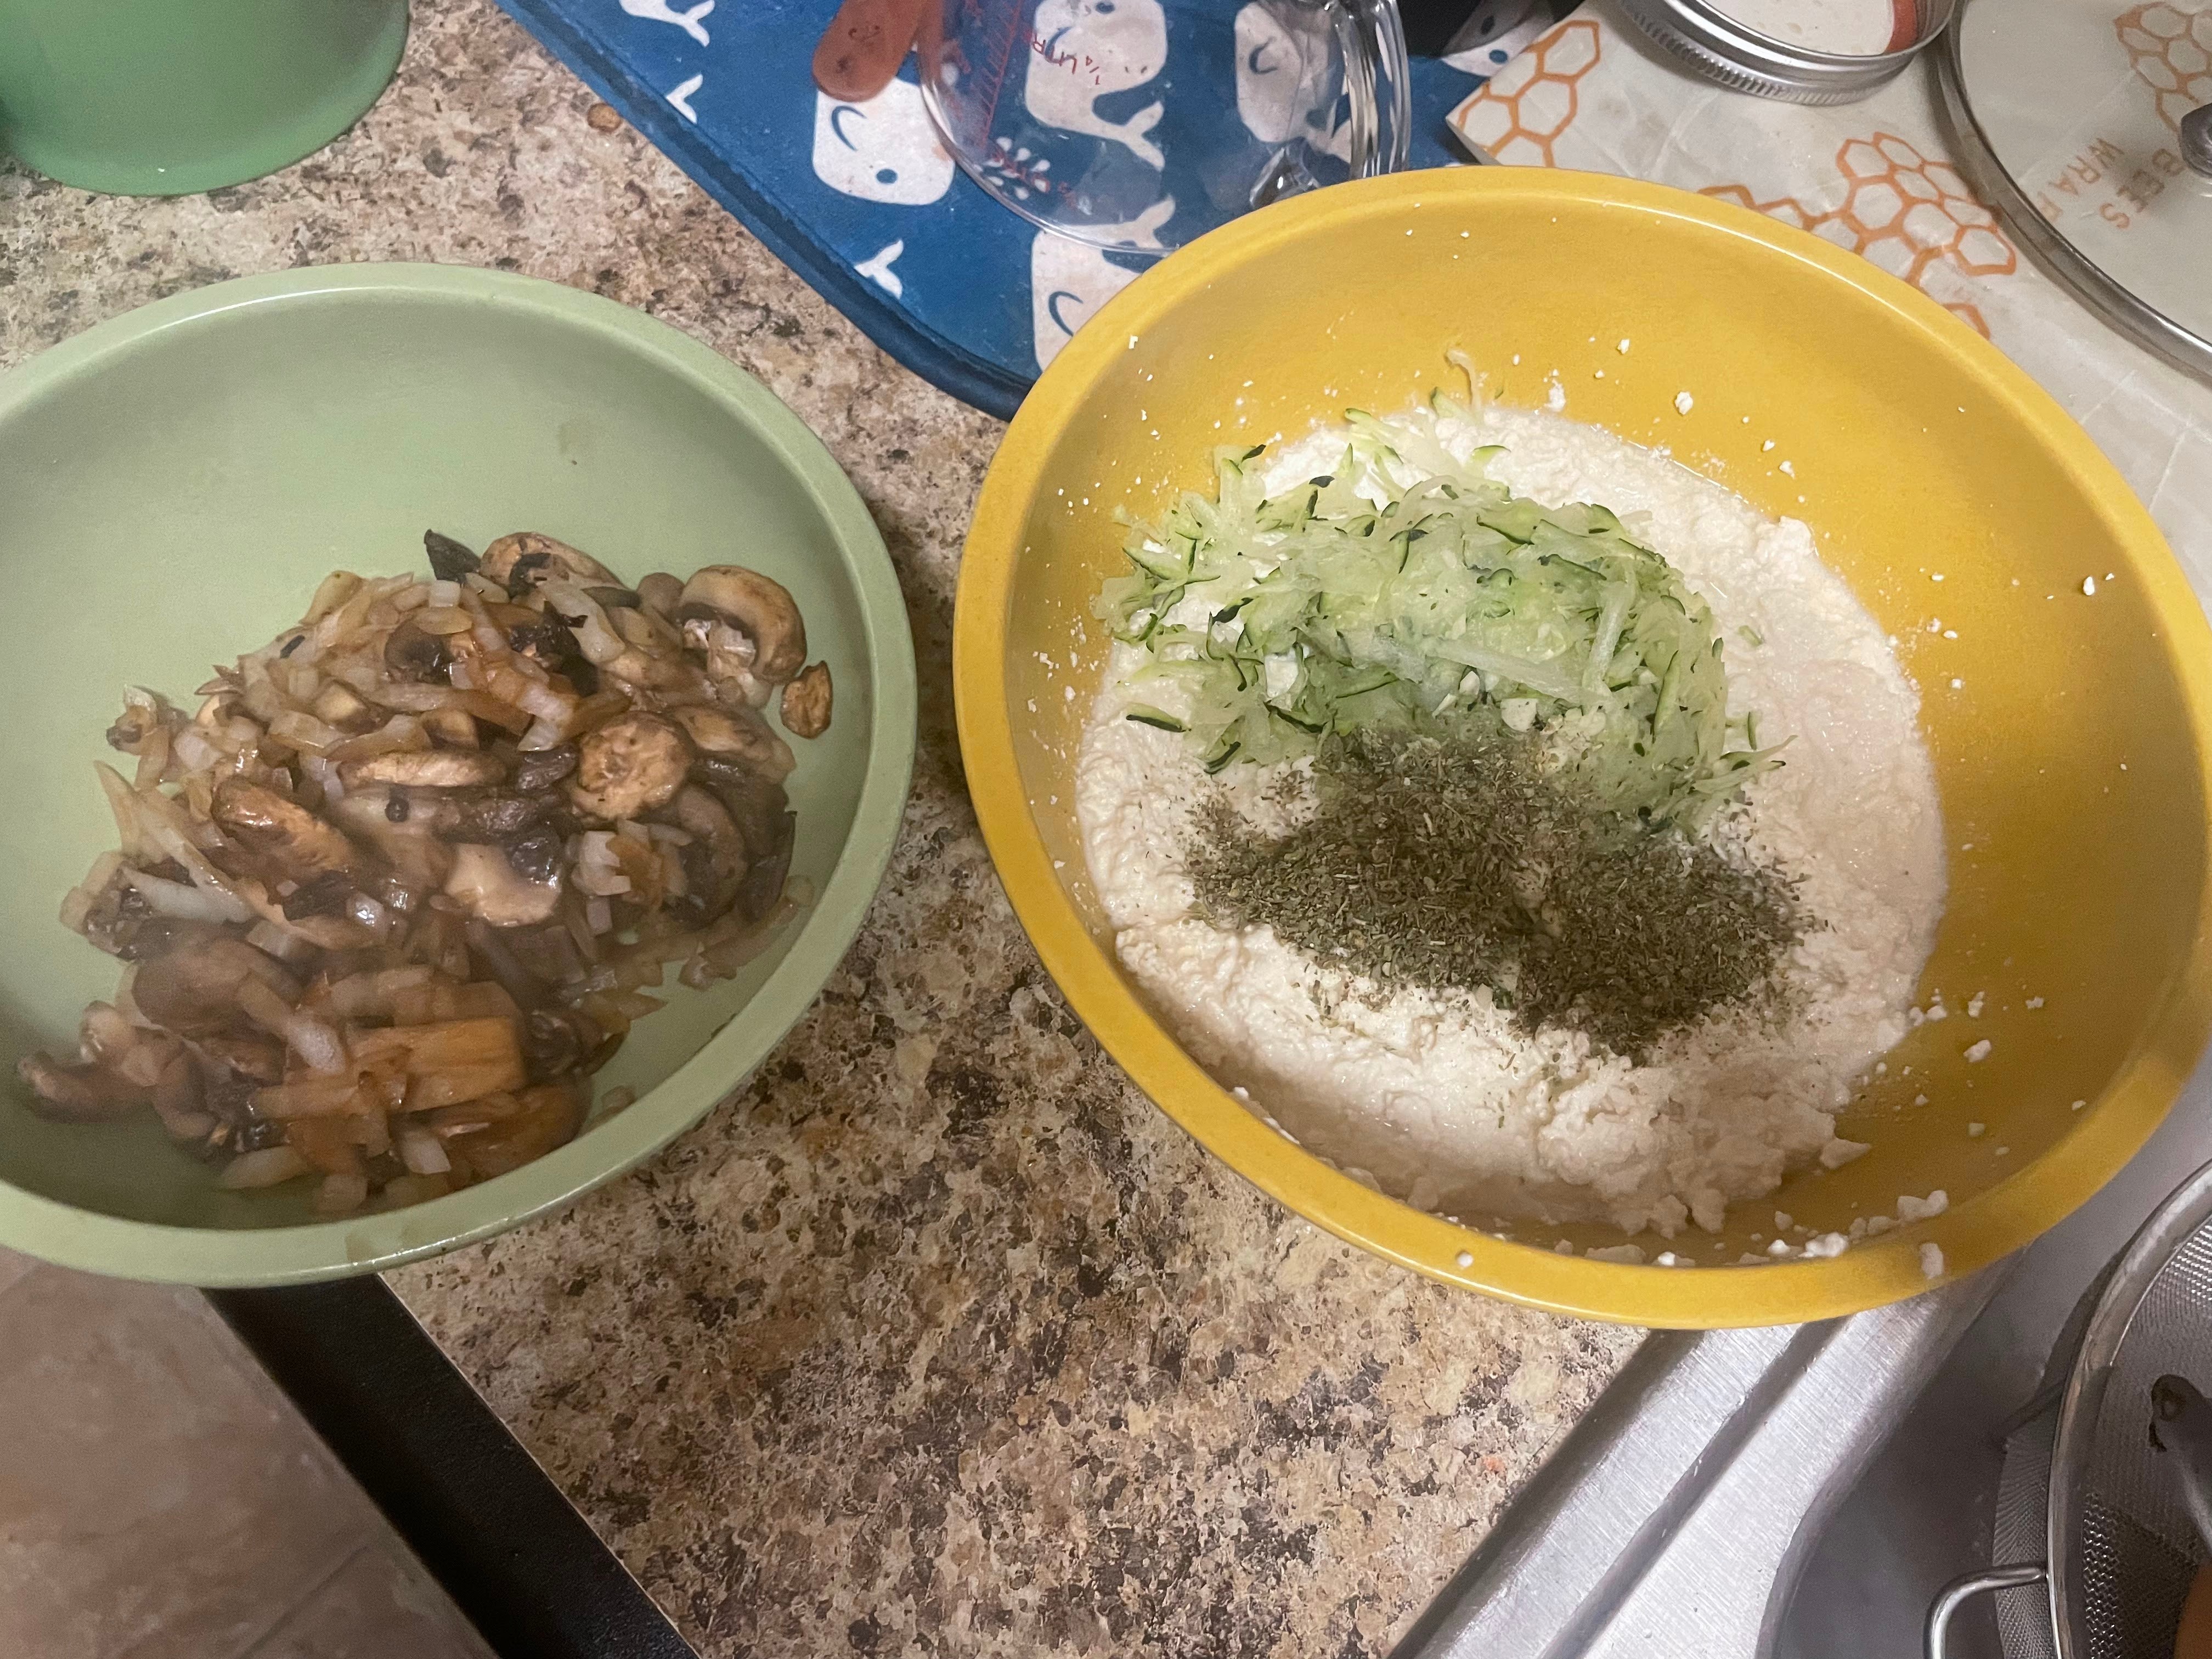
Cook the mushrooms by themselves in the same pan you roasted the ratatouille veggies in – no extra oil is needed. Once the mushrooms have browned and the water they released evaporated, move them all to the outer edge of the pan and drop in the onions. Sautee maybe 2-3 minutes more until the onions are less white and moving towards clear-ish. Scoop it all into a bowl to cool for just a minute before mixing into the tofu ricotta.
Mix well in a bowl and set aside until ready to layer.
One of my favorite things about tofu as opposed to soy is that tofu is high protein with almost no carbs; soy is just the opposite – mostly carb with a modest amount of protein much lower than the carb load.
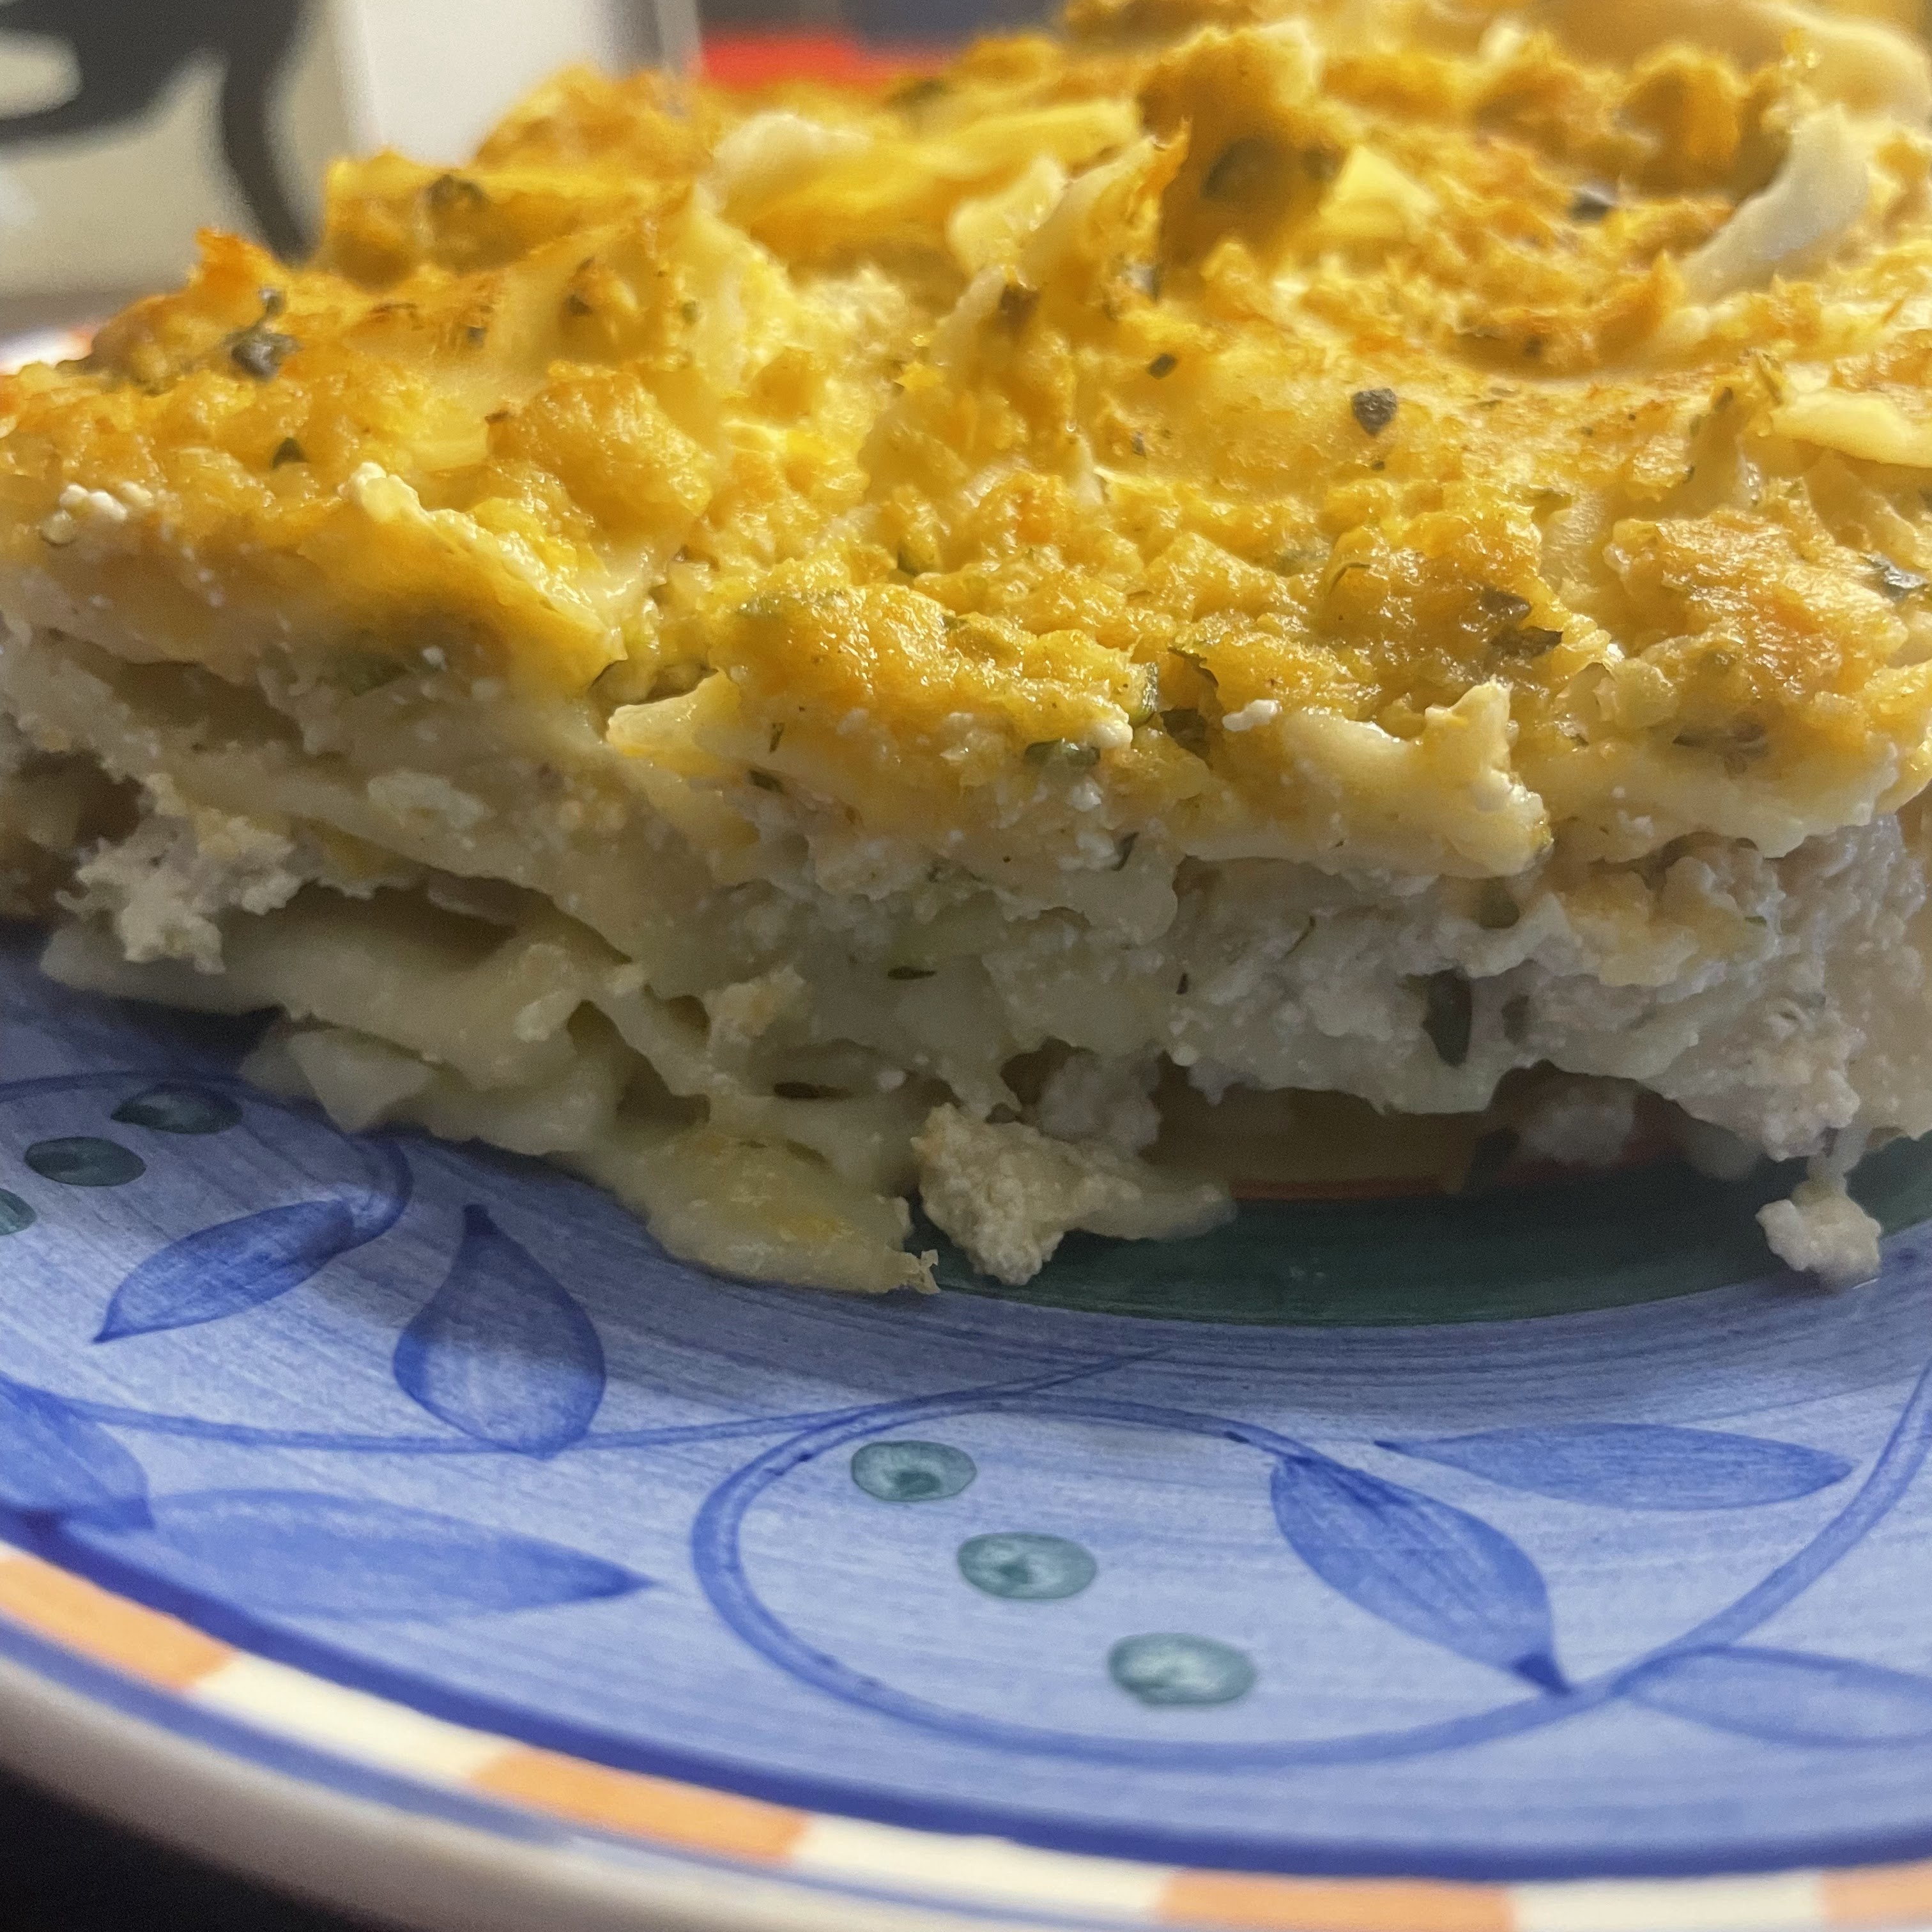
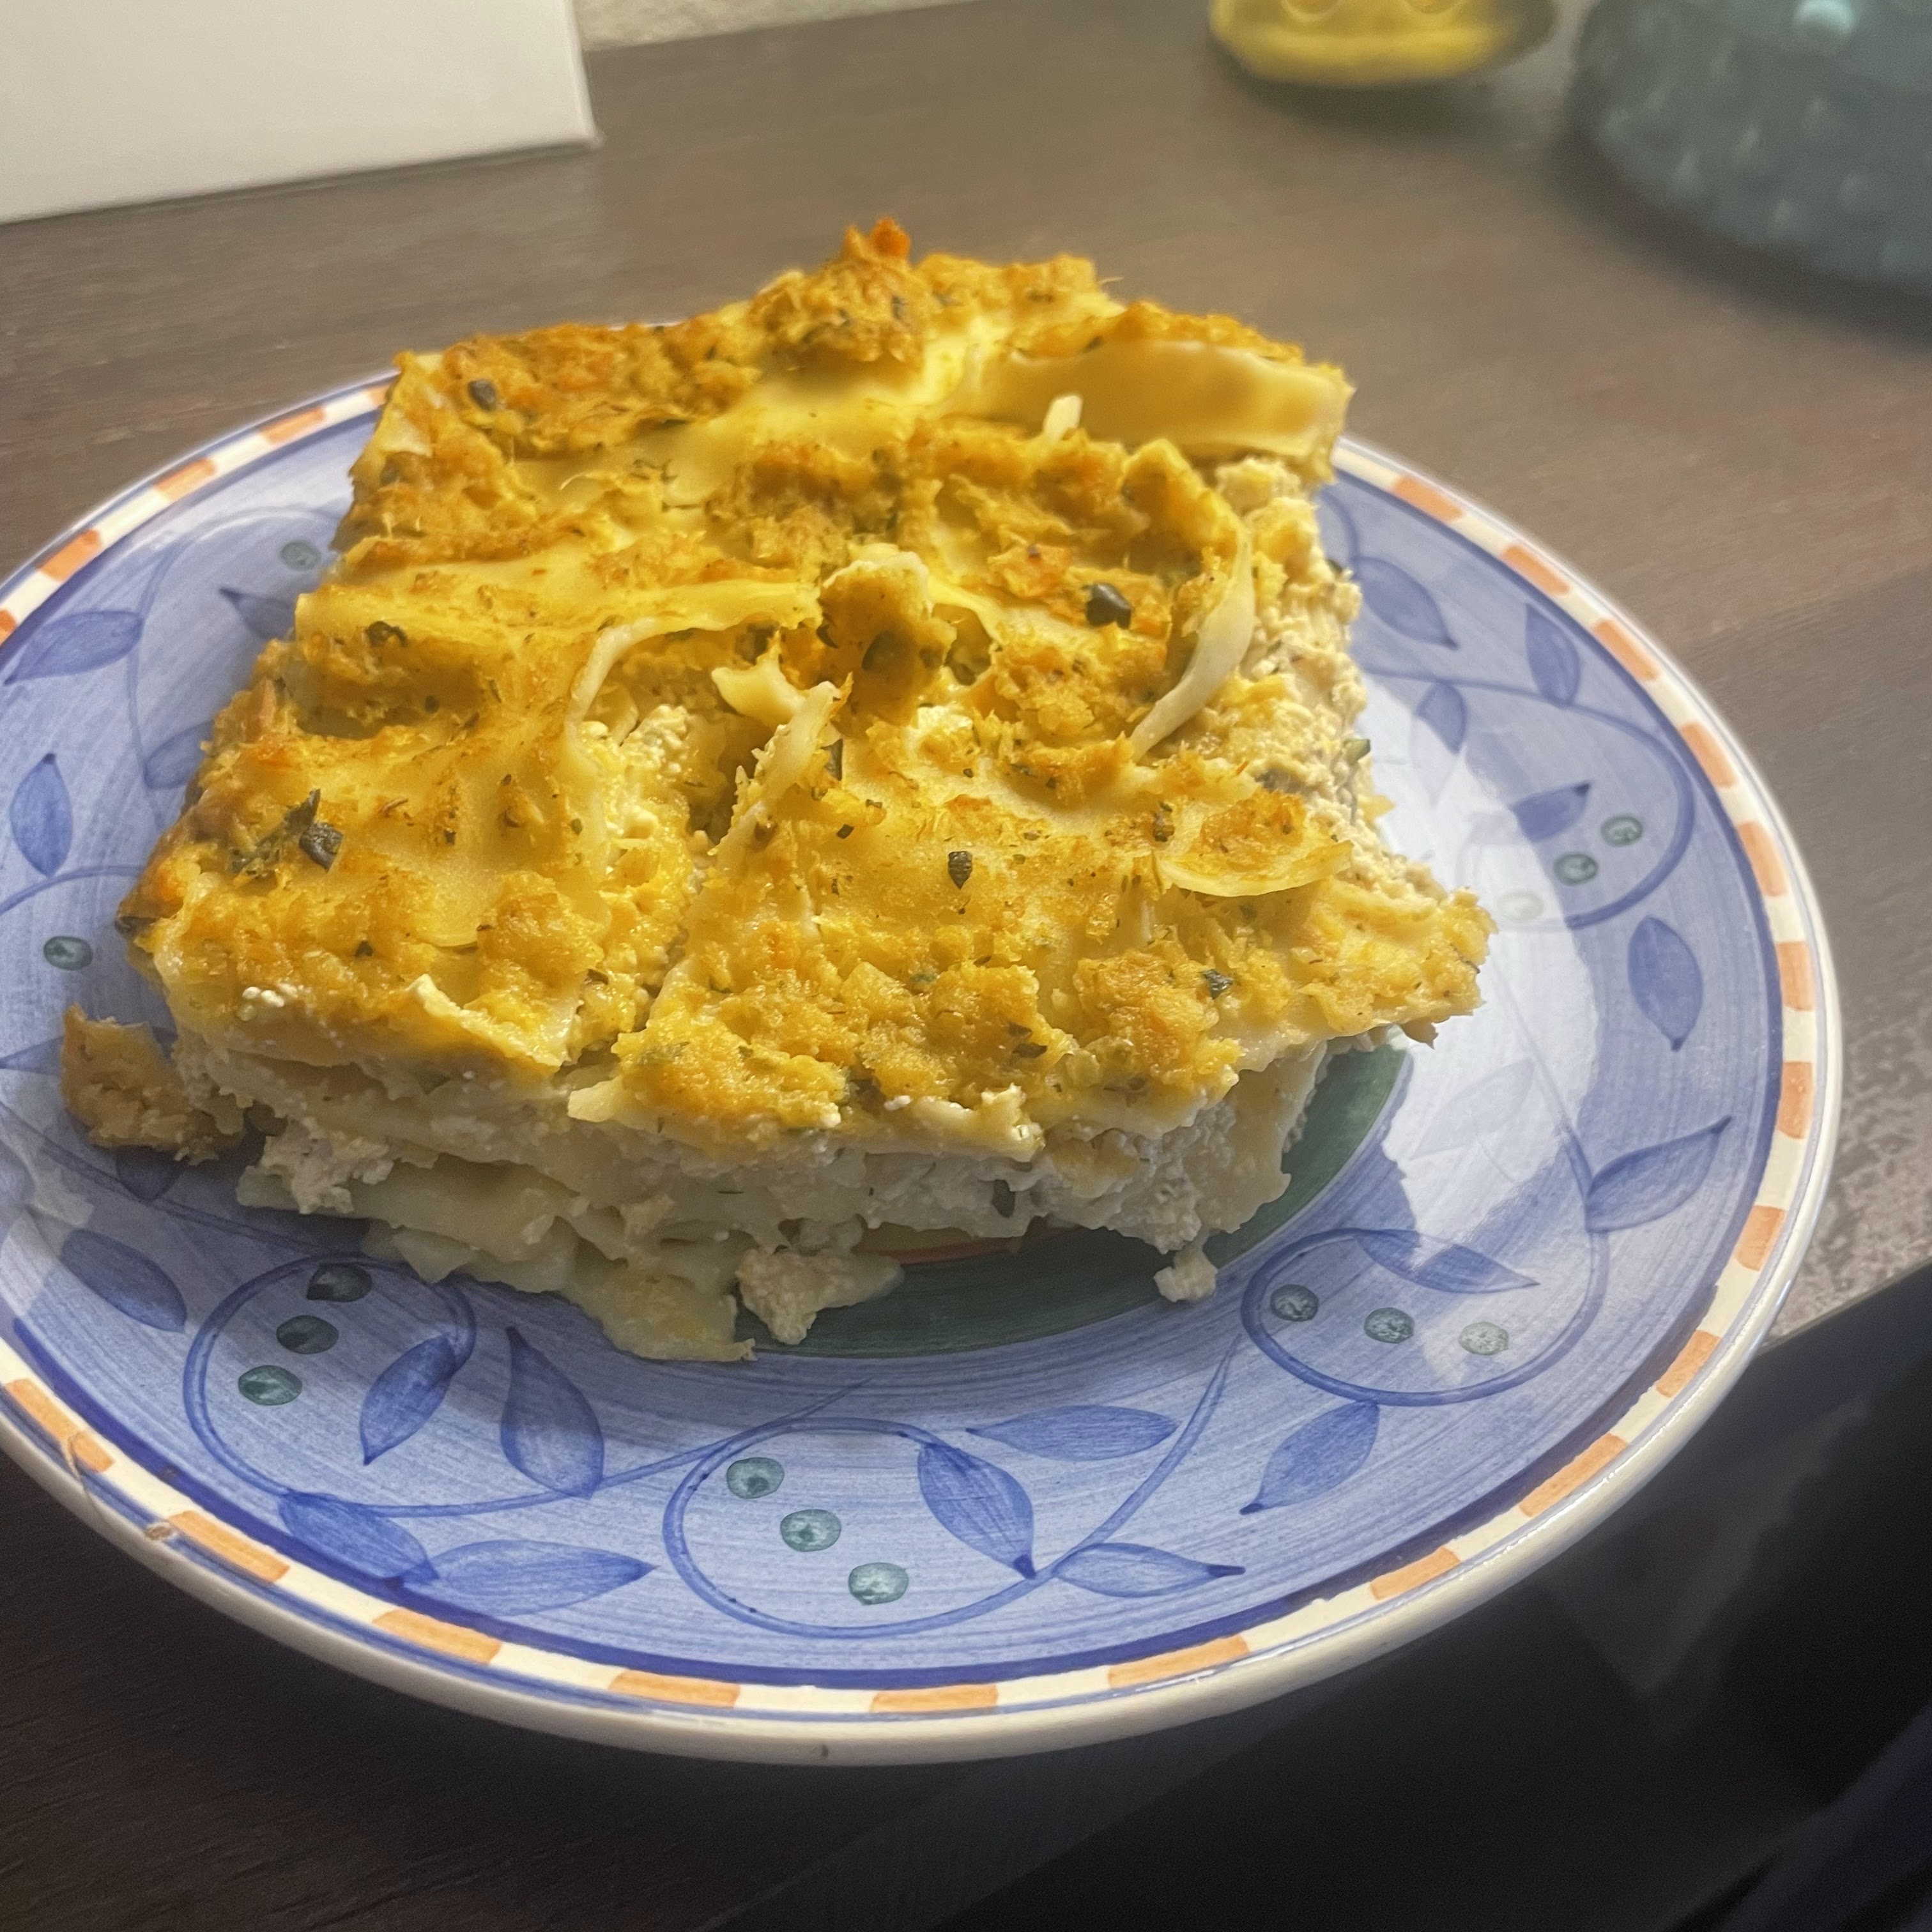
Let’s Assemble
There’s no wrong way to layer lasagna, but I have a few things I like to do to ensure the no-cook noodles are given the best shot at success:
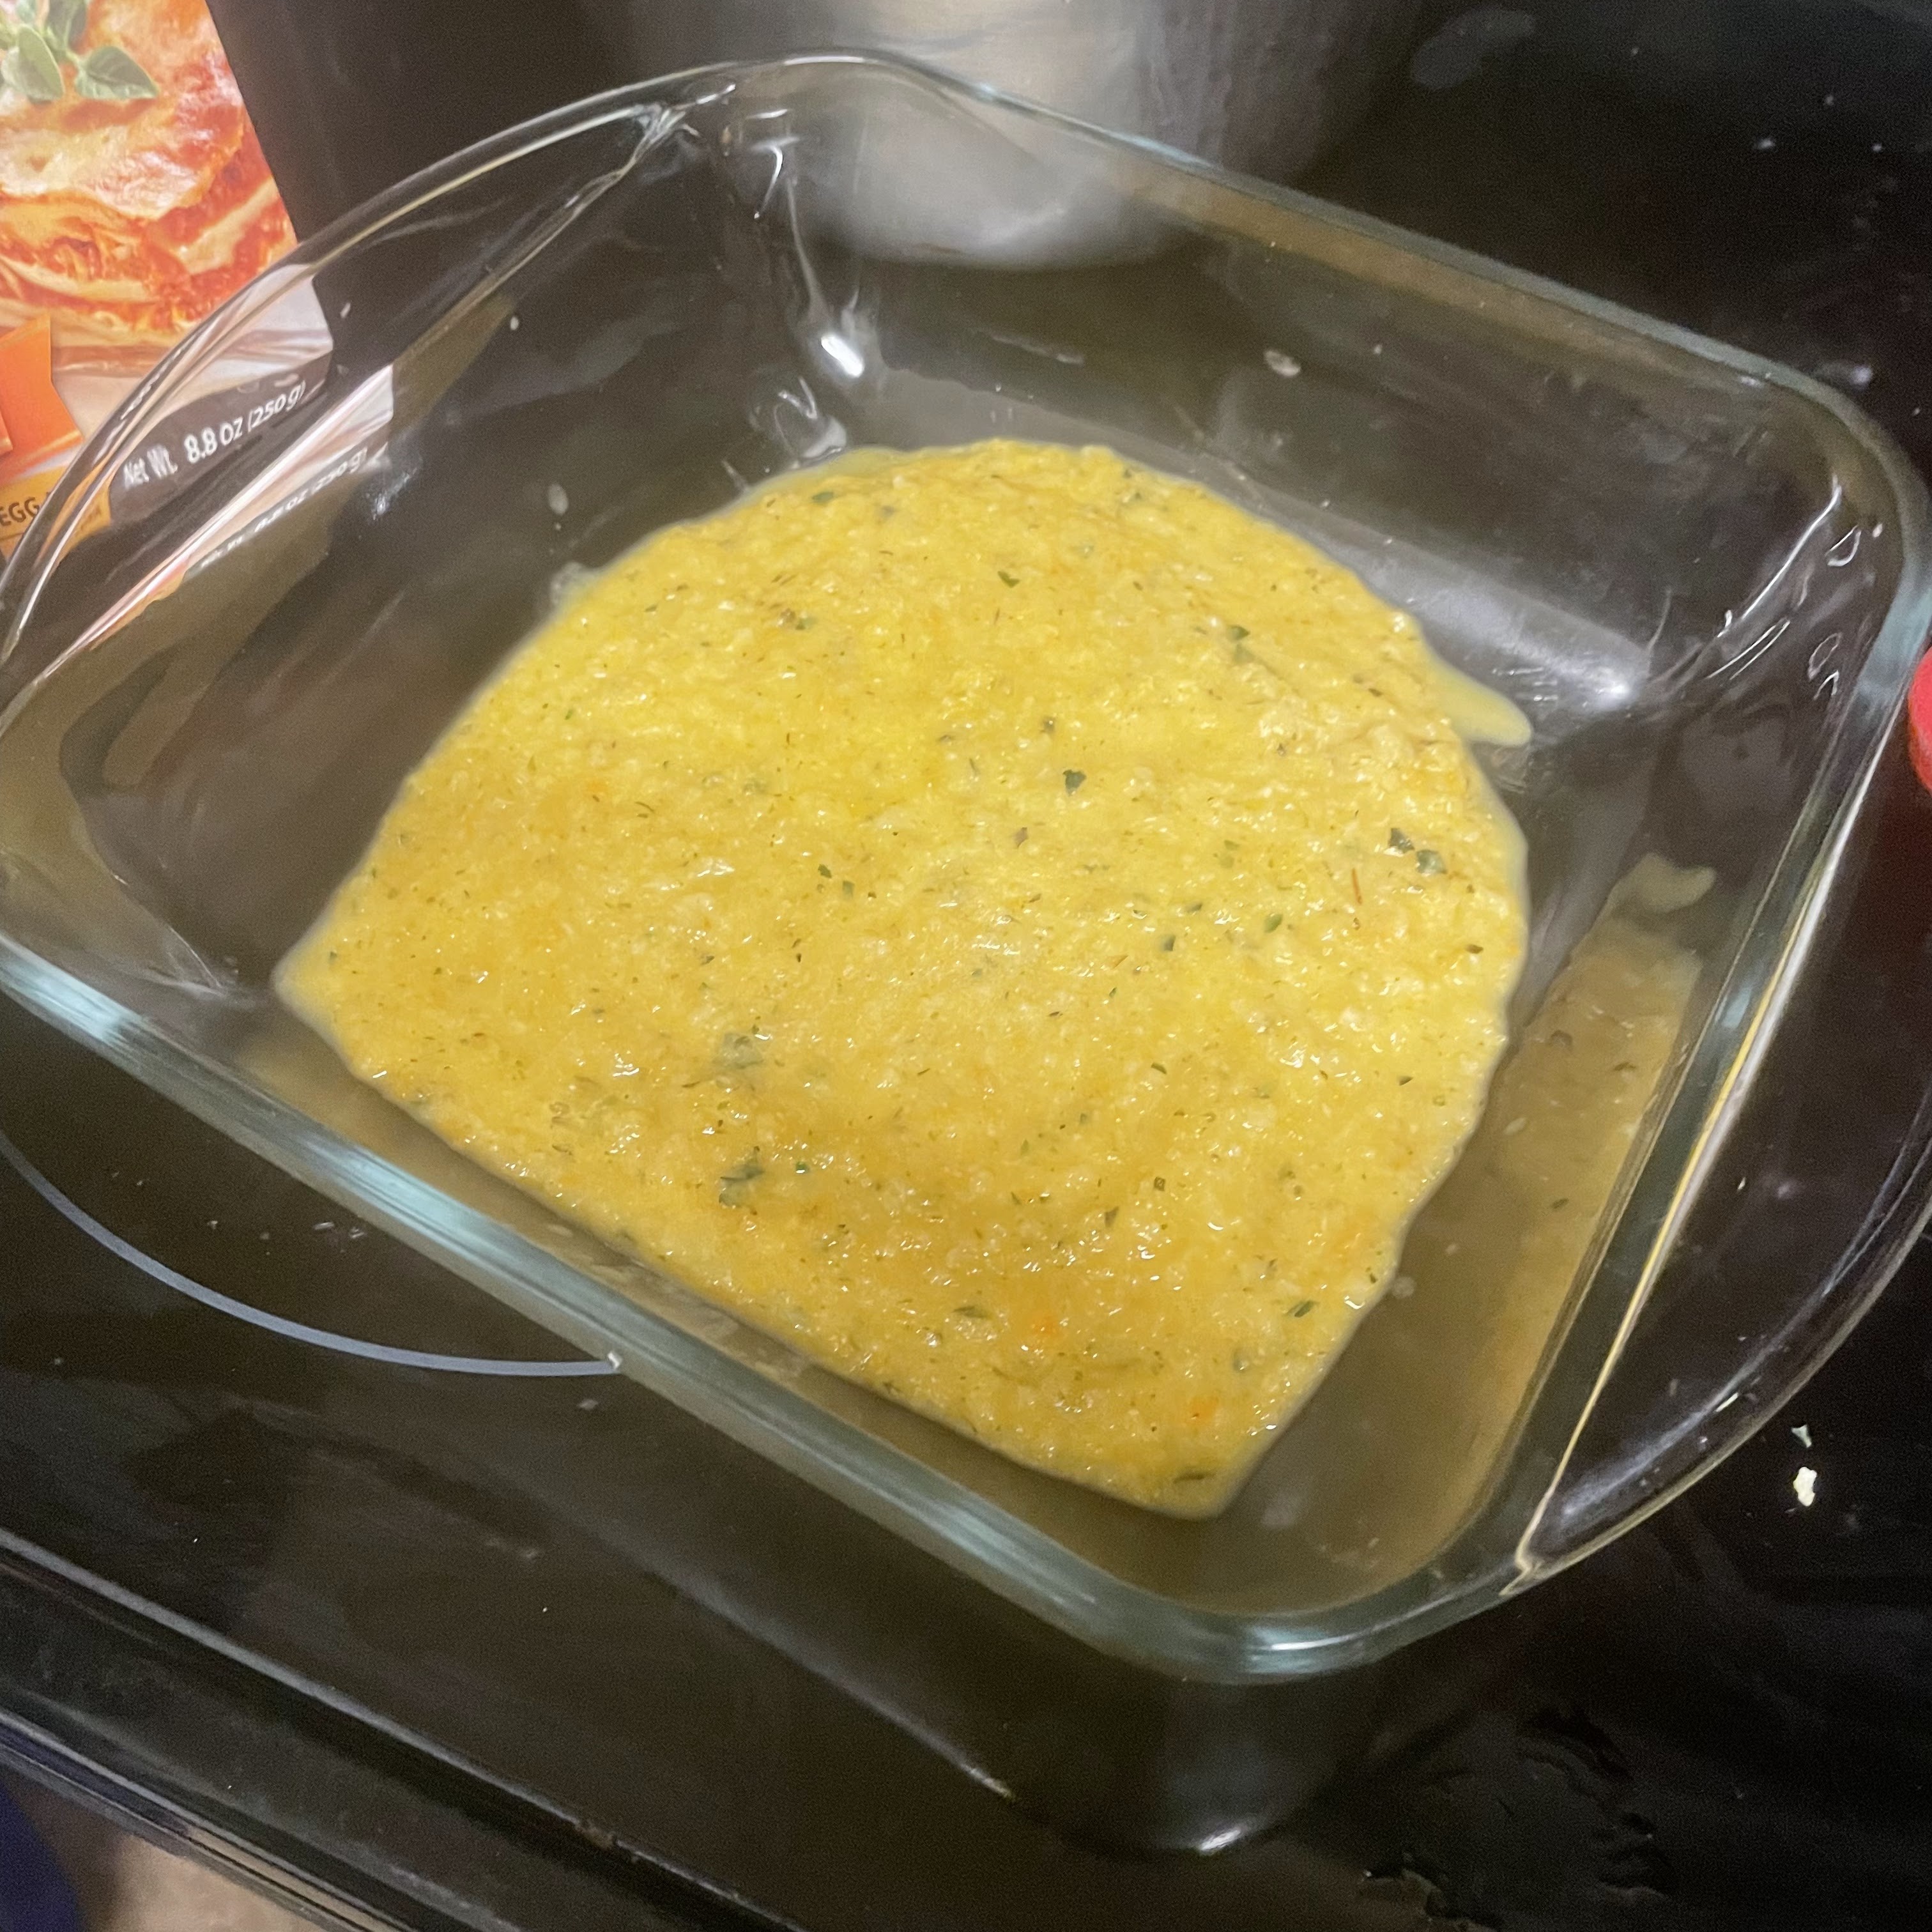
- Start with sauce on the bottom of the pan before you put in noodle sheets
- Top each layer with sauce so the noodles are always being set into sauce
When you do this, you ensure that there is always liquid surrounding the noodles during cooking so that they come out lovely and fully cooked like pasta should be.


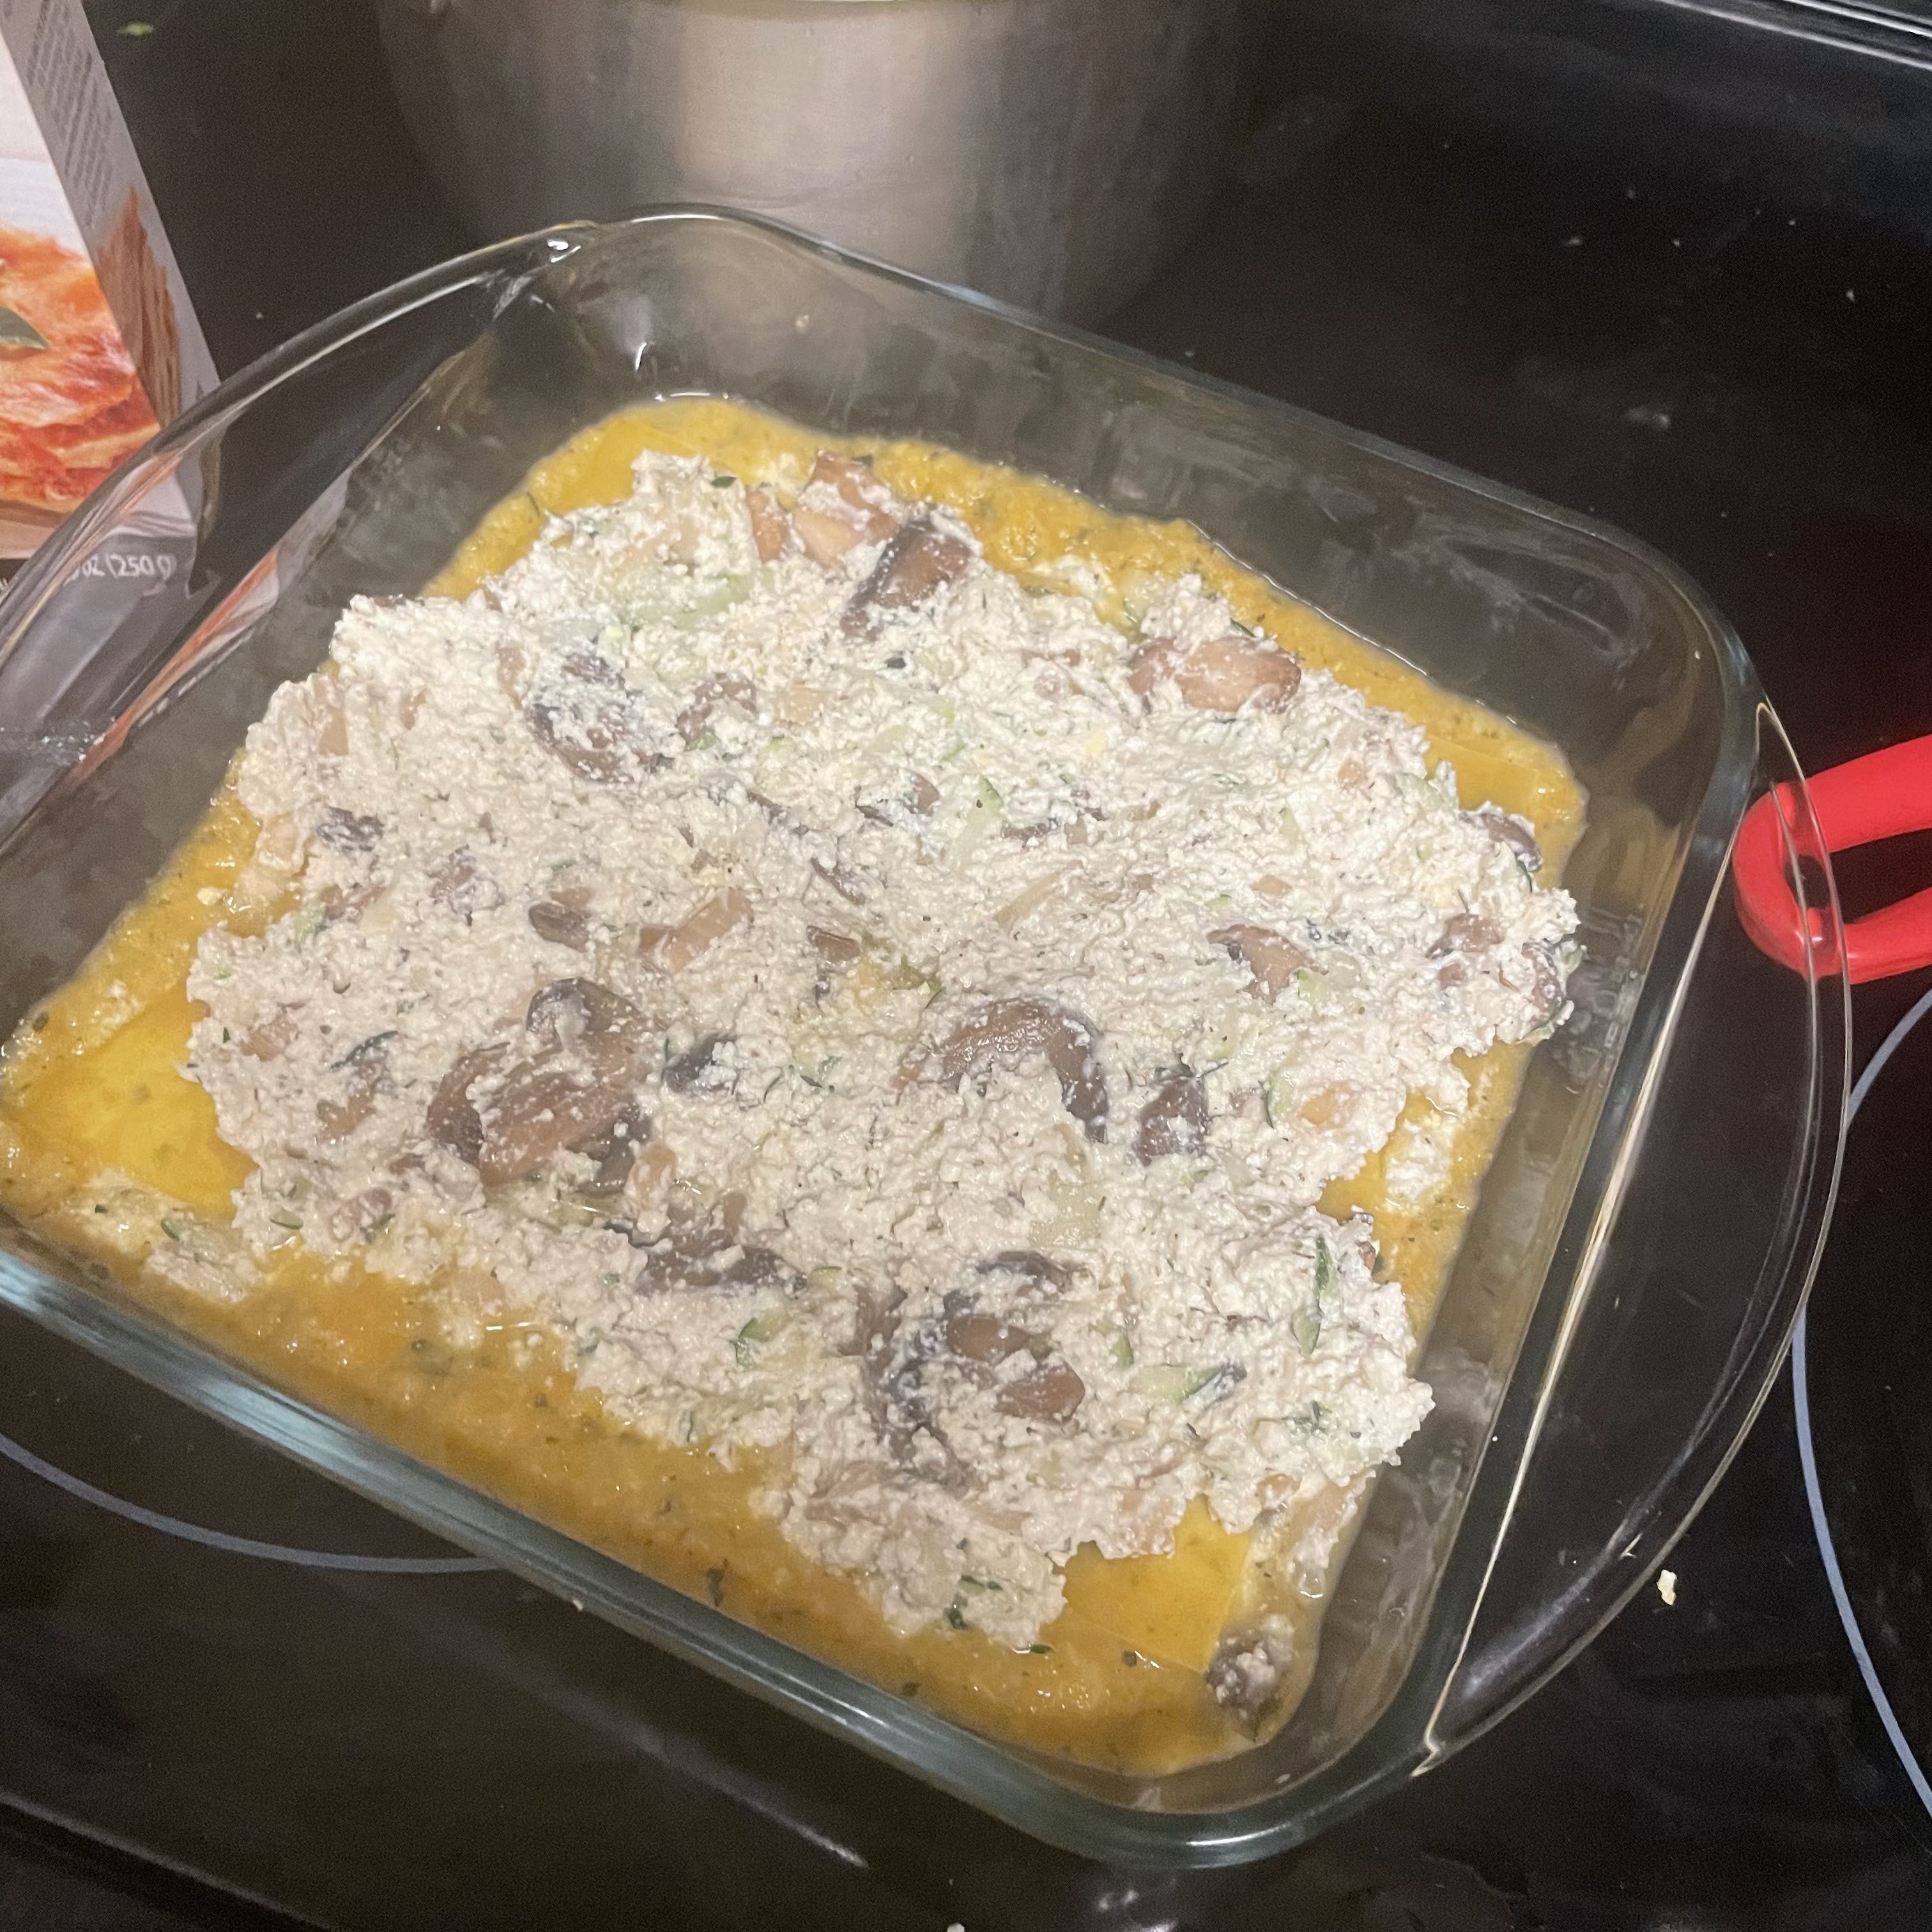
Otherwise, the tip is to be patient, and to press the thicker layer instead of “spreading” them.
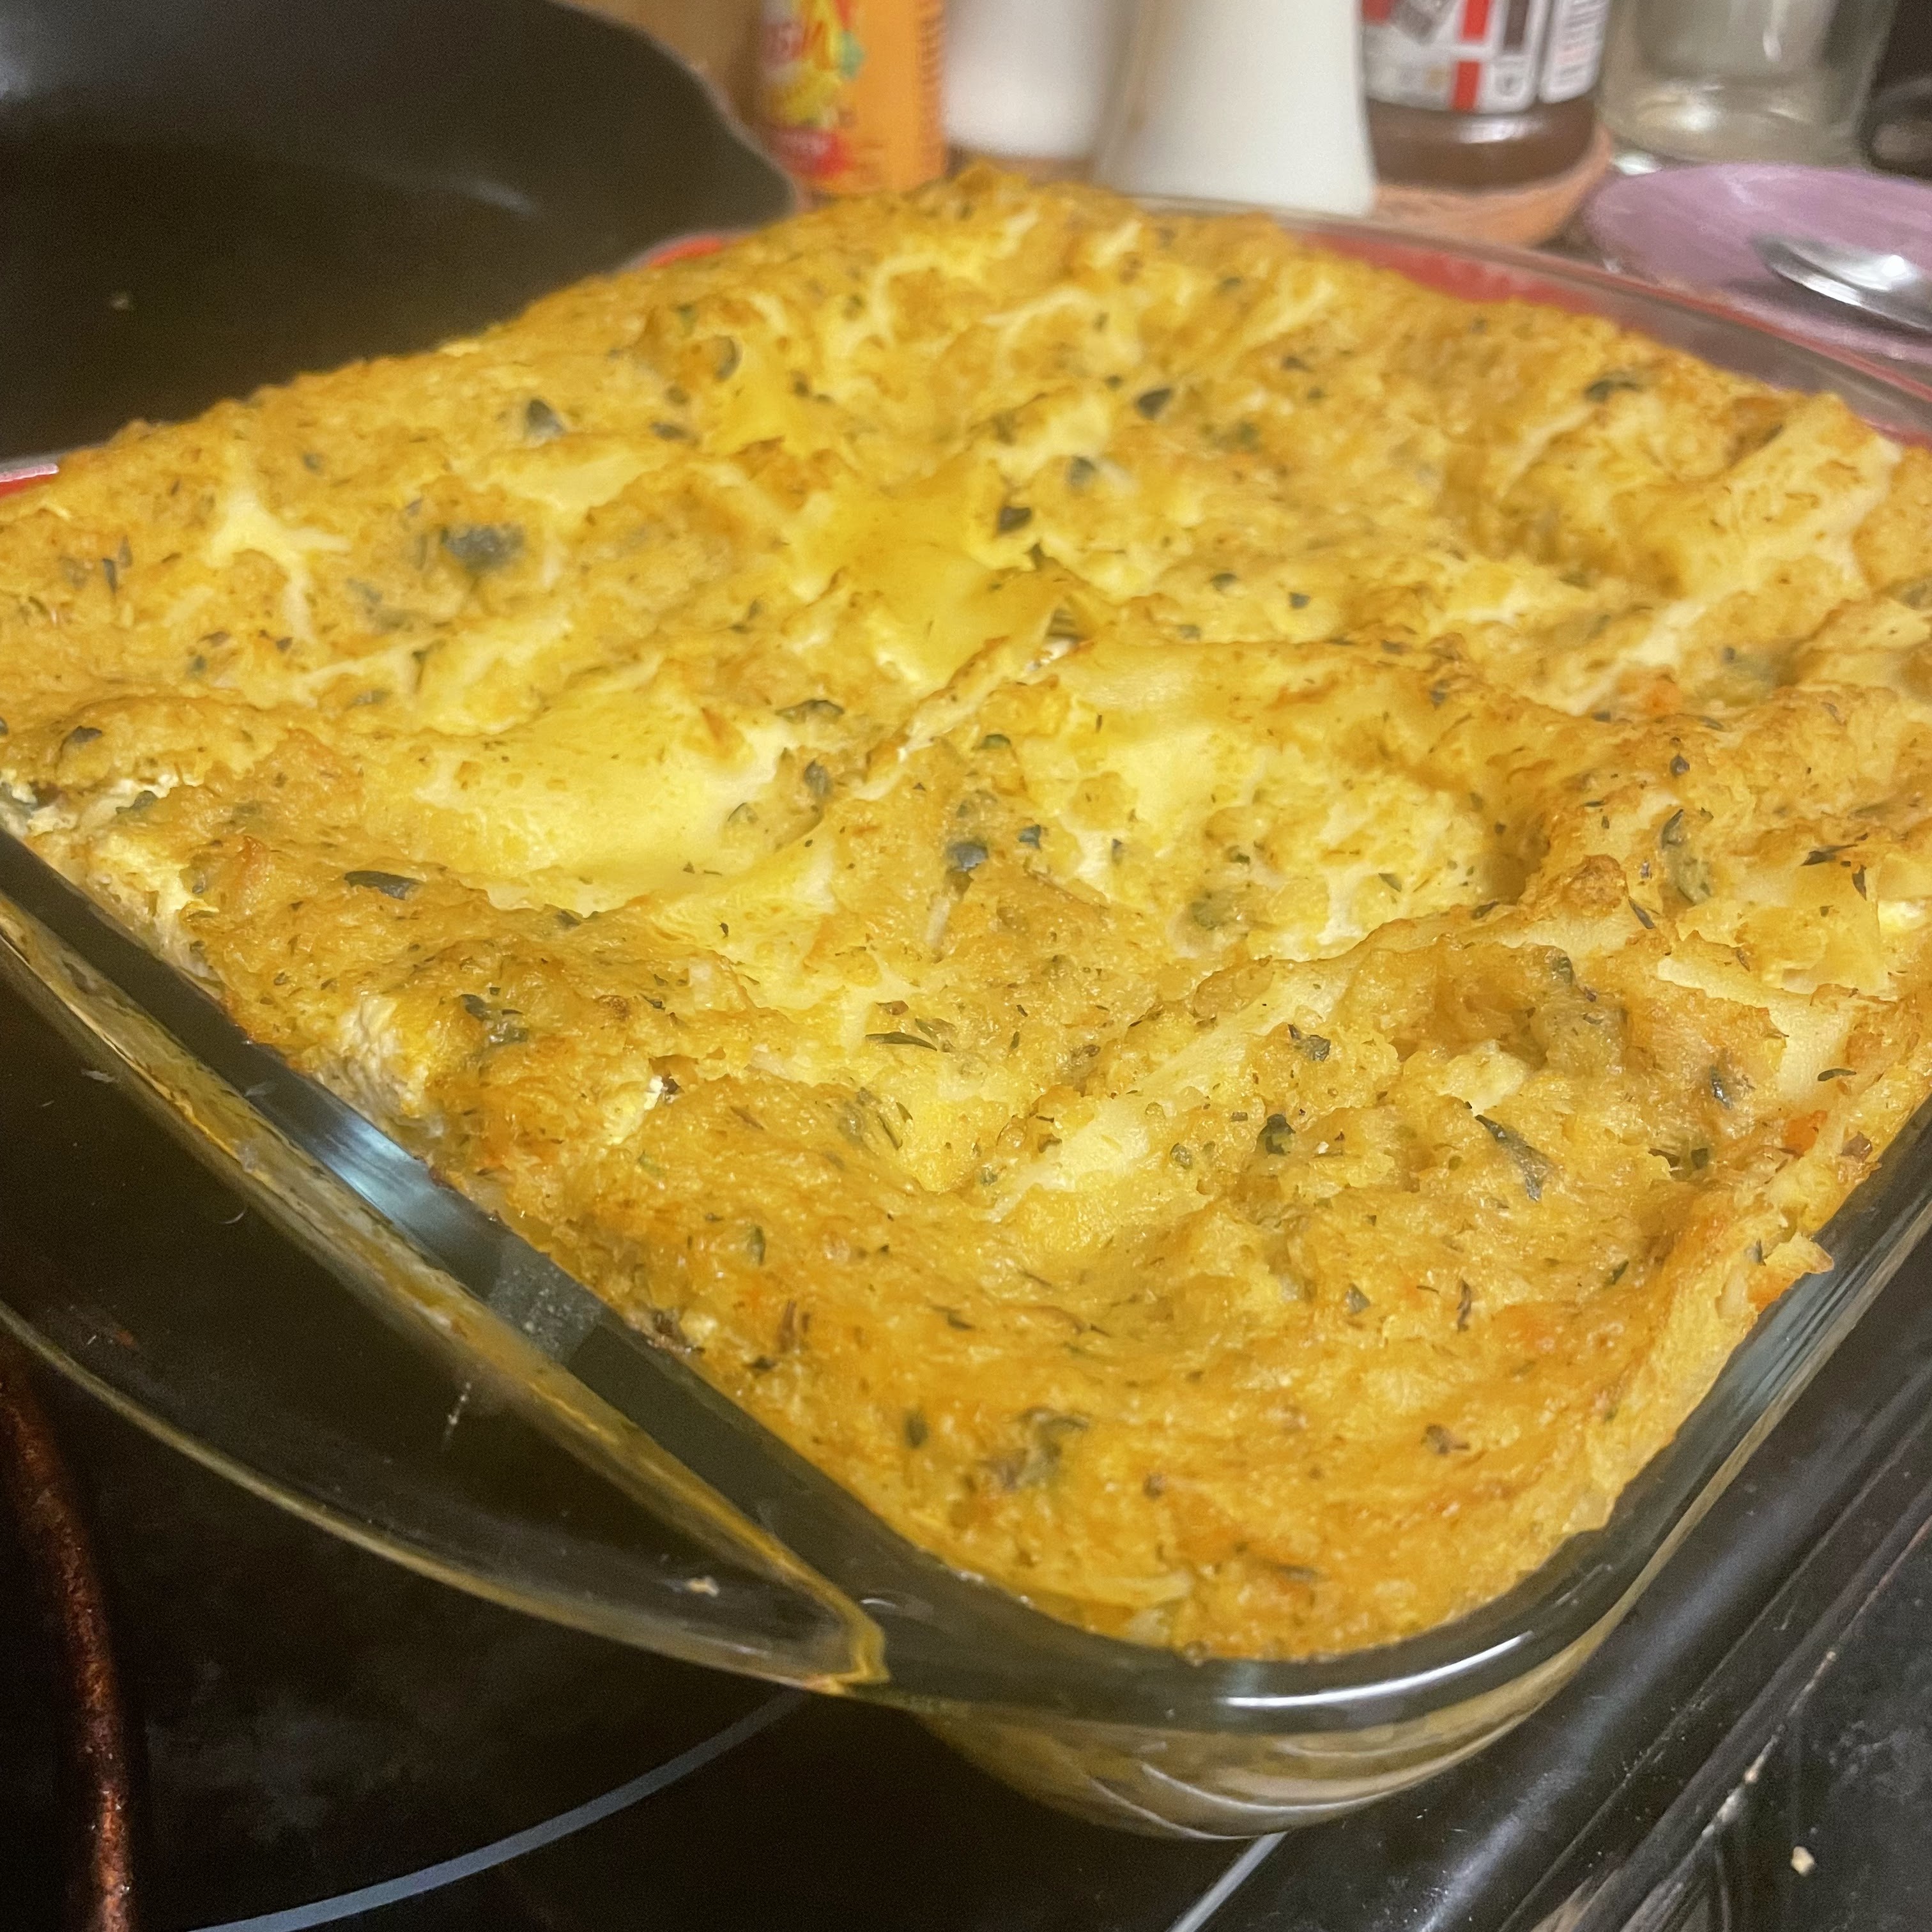
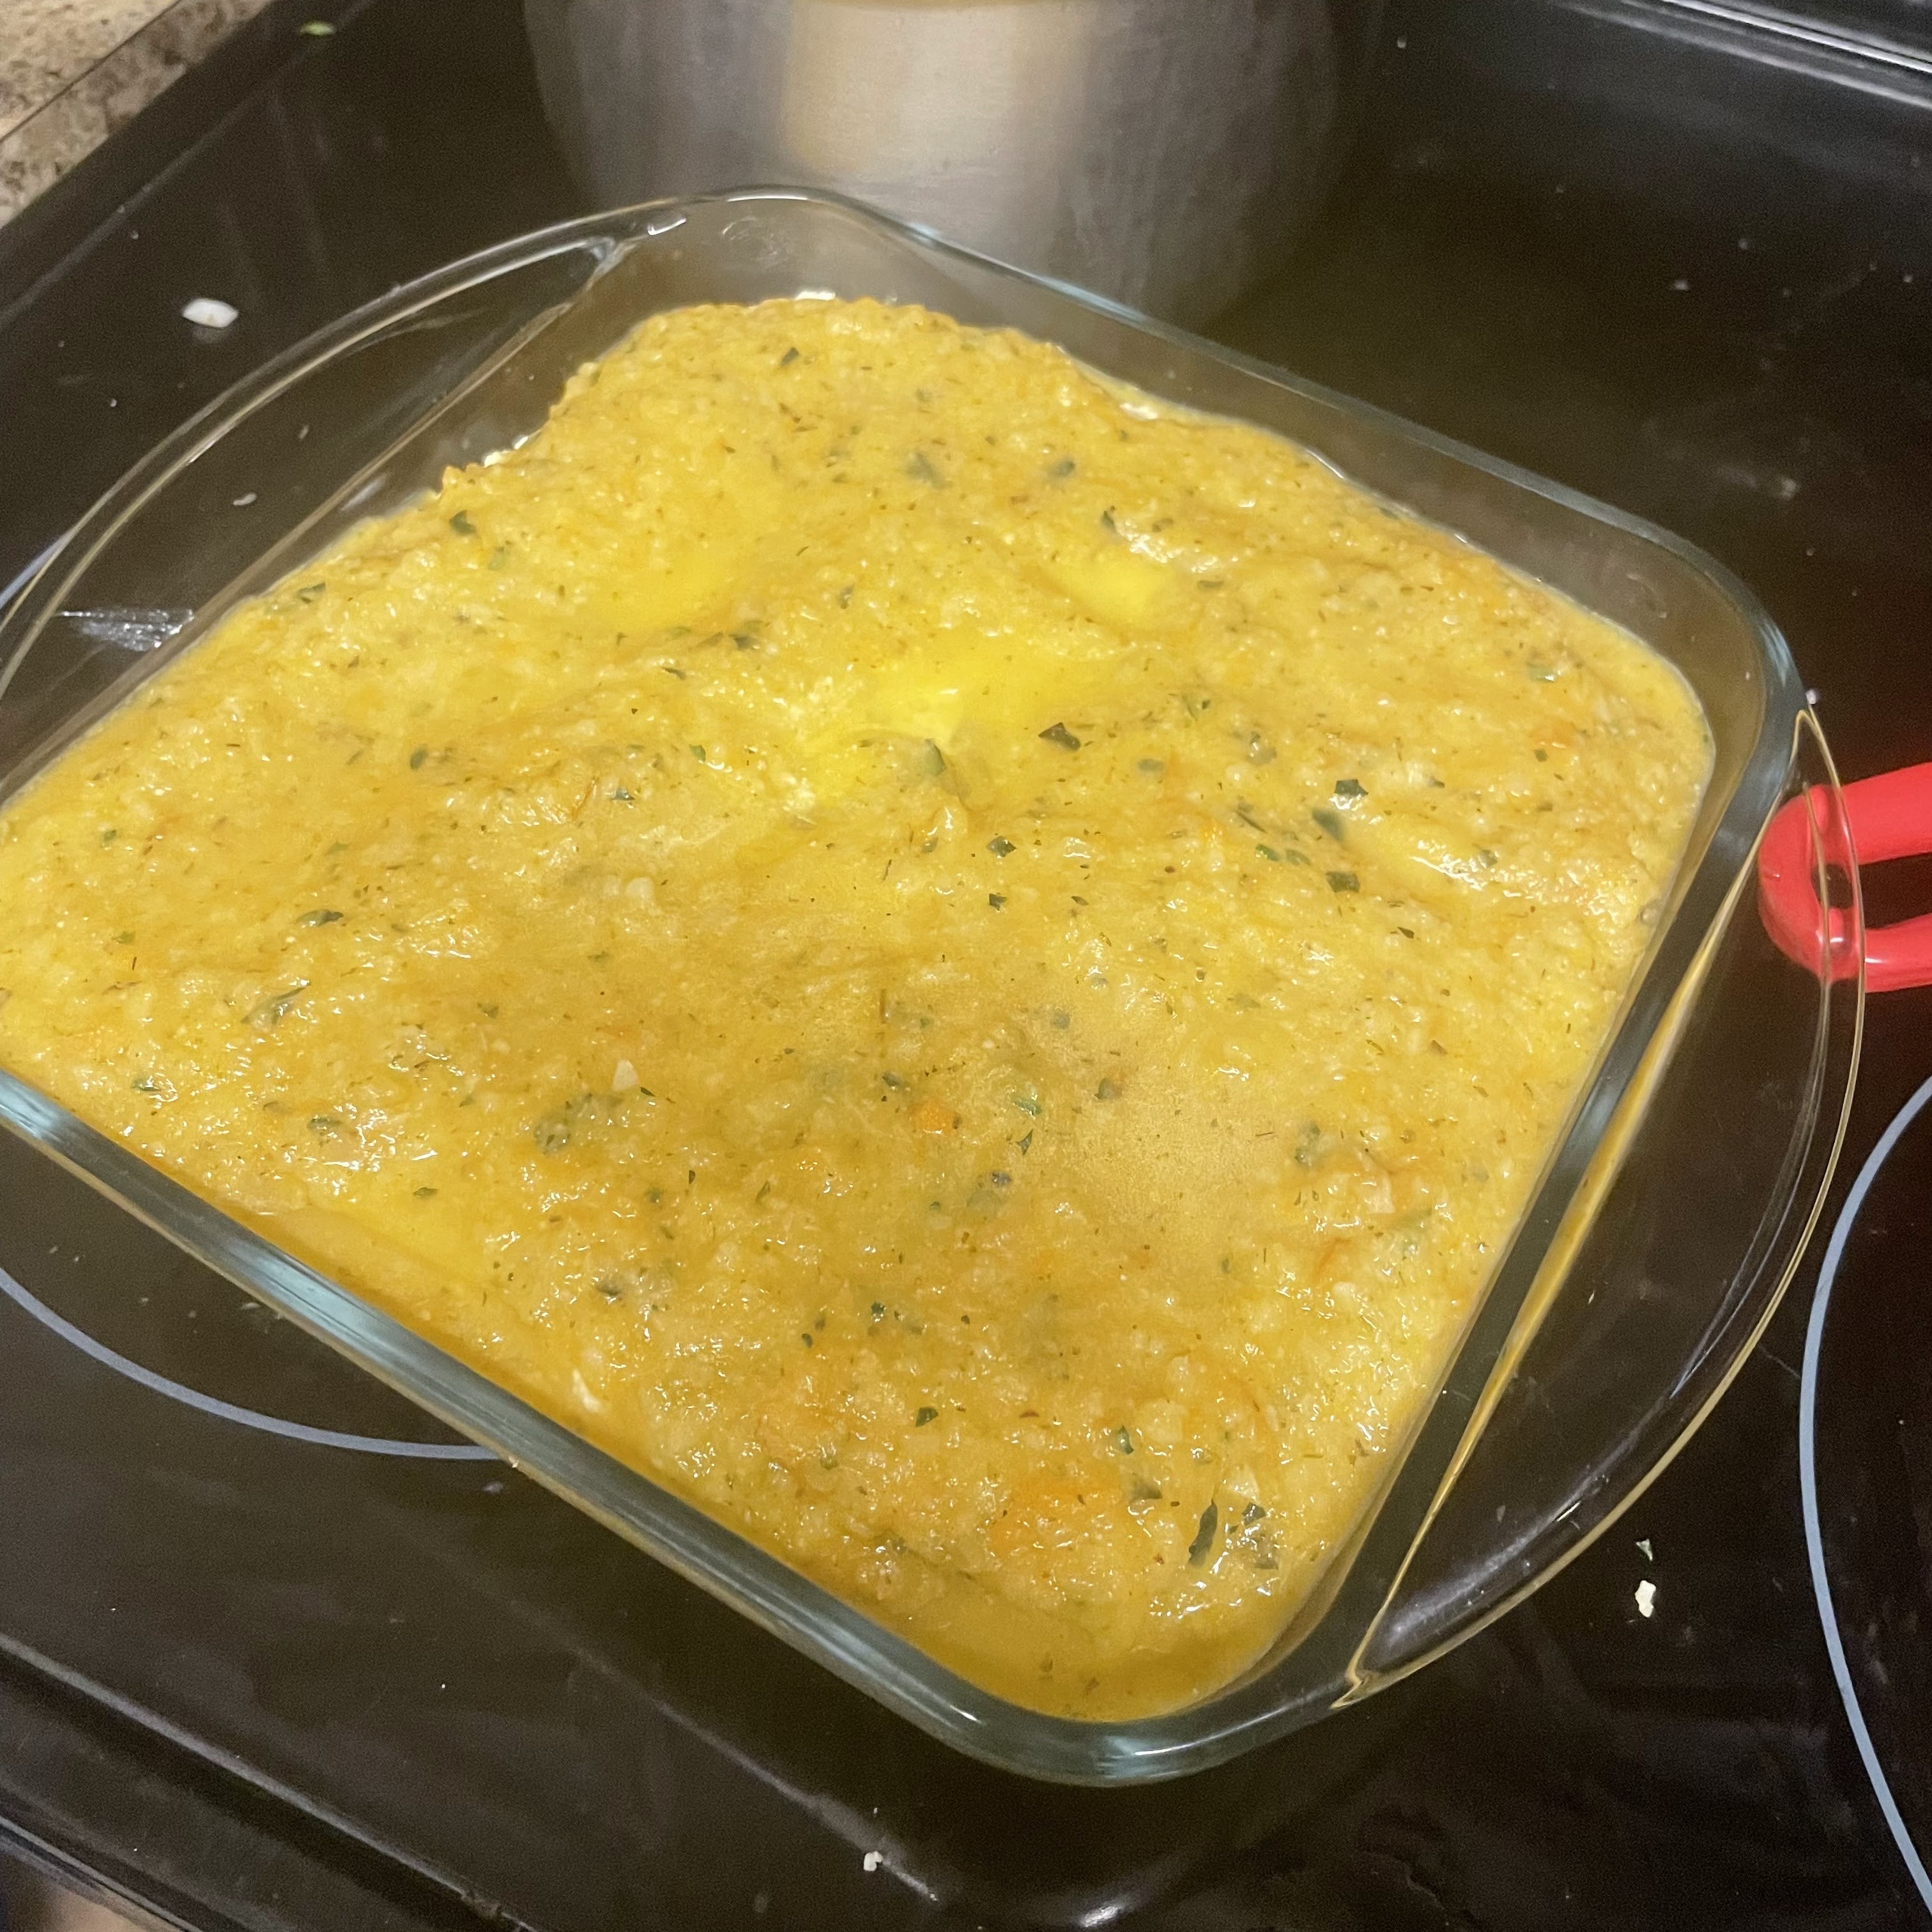
Final Bake
Once you’ve got all your layers done, bake at 350 for 35 minutes. If you are using any cheese on top of yours – regular or dairy free – I recommend adding at the 30-minute mark and baking for about 10 more minutes (longer if you like your cheese browned and crunchy).